Coffee Bloom Explained: Why 30 Seconds Changes Your Pour-Over
A coffee bloom that lasts about 30 seconds is not a ritual deadline. It is a practical pause that gives trapped carbon dioxide room to escape and gives water time to reach more of the grounds. For a 20 g dose, start with 40–60 g of water, pour it evenly in 8–12 seconds, and wait until roughly 30–45 seconds or until vigorous bubbling has eased.
The number matters because it changes the beginning of extraction, not because 30 is a magic number. Fresh coffee can need more time, quiet coffee may need less, and a sour or bitter cup may have a grind problem that no bloom timer can repair.
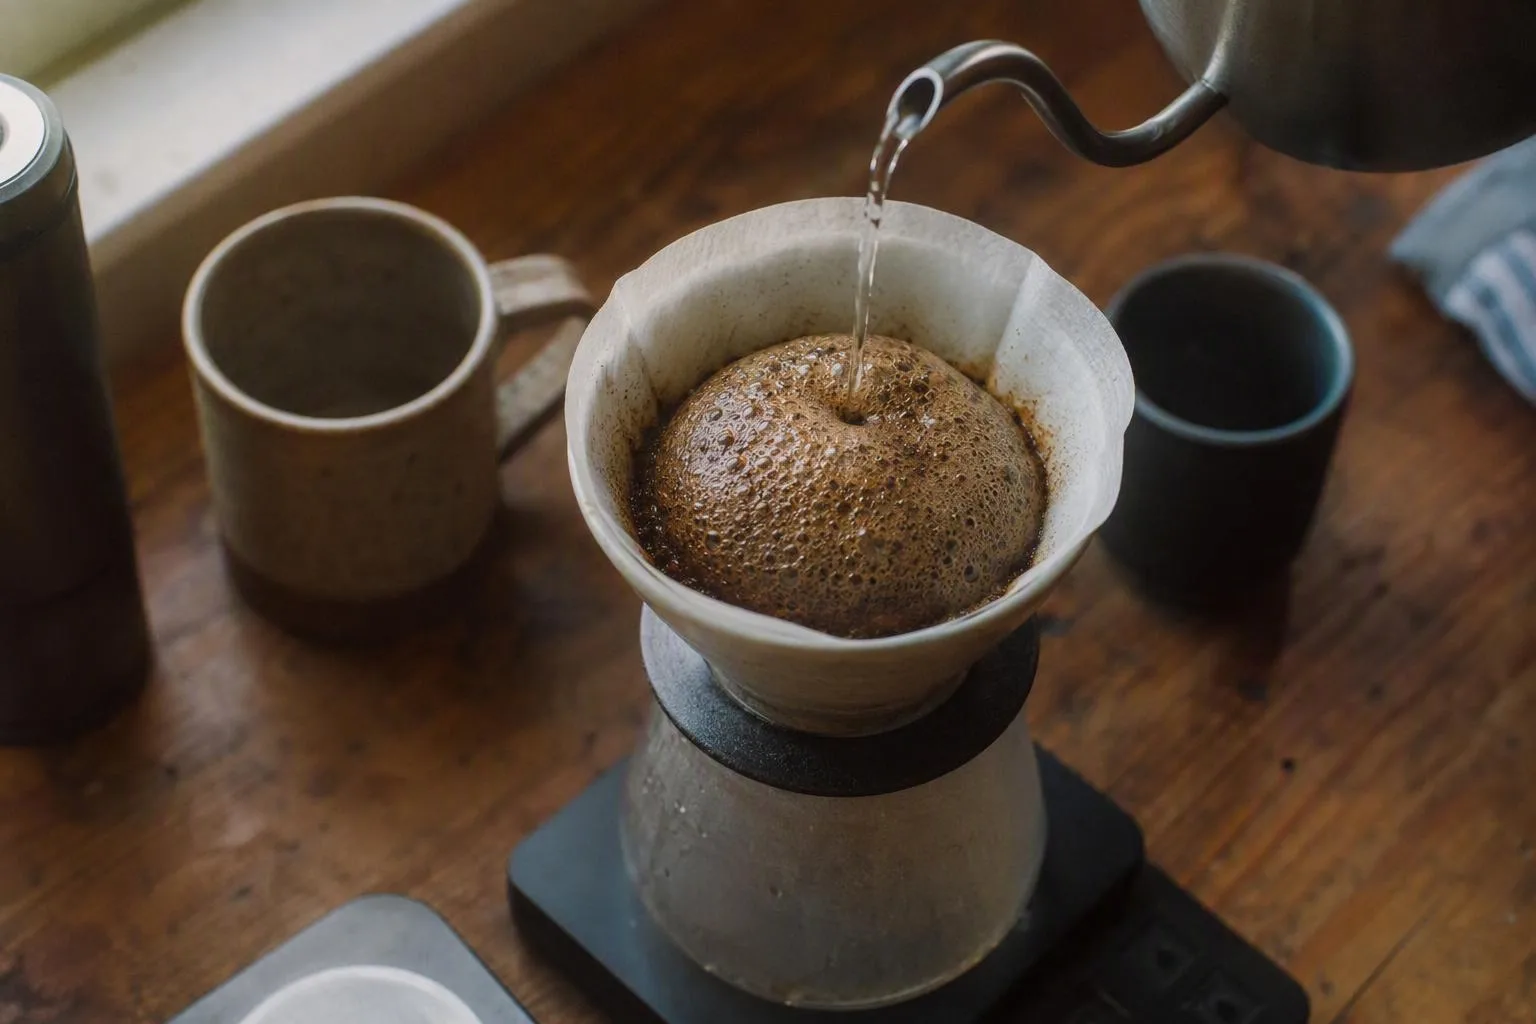
Thirty seconds is a gas-release window, not a ritual
Roasting changes the structure of a coffee bean and leaves carbon dioxide, or CO2, in some of its pores. Once the ground coffee meets hot water, that gas starts moving out. While gas occupies space between particles, water has a harder time making continuous contact with the coffee surface.
That is the basic reason for a bloom. Your first pour is not merely wetting the bed before the real brew begins. It starts extraction immediately, but it also creates the conditions for more even extraction during the pours that follow.
A dry pocket can sit inside a coffee bed even when the top looks wet. Water may run around that pocket, especially if the bed is deep or the grounds have formed a compact layer. The result is an uneven start: some particles have already given up soluble material while others have barely been touched.
The visible swelling is useful information, but it is not a quality score. Coffee with more retained gas tends to rise and bubble dramatically. Coffee that has had more time to degas, or coffee that was ground well before brewing, may look almost still. That quiet surface does not by itself mean the coffee is stale, defective, or unsuitable for pour-over.
Think of 30 seconds as a starting window. If the coffee is still lifting in large bubbles at 30 seconds, waiting a little longer can improve wetting. If bubbling has already slowed and the bed is evenly saturated, adding another minute usually changes less than a sensible grind adjustment.
The first pour has two jobs: saturate the bed and clear CO2
The first job is coverage. You want water to reach the grounds across the whole bed, not just the centre where the stream lands. A controlled circular pour is more useful than a hard jet because it spreads the water without digging a channel through the coffee.
The second job is gas release. As water enters the dry bed, bubbles push upward and outward. Those bubbles can briefly block water from some particles. Once they escape, the next pour can make better contact with the grounds instead of meeting a patchwork of water, air, and dry coffee.
This is why the bloom is better understood as the first extraction phase rather than a pause before extraction. The water is already dissolving flavour compounds. The waiting period changes how evenly the next water reaches the bed.
A gentle swirl helps when the initial pour leaves dry islands at the edge or under the surface. One modest movement can redistribute water and collapse those pockets. Aggressive stirring is a different tool: it can break up the bed, move small particles called fines toward the paper, and increase resistance as those fines collect in the filter.
For 20 g of coffee, use about 40–60 g of water. Apply it over about 8–12 seconds, then inspect the bed. You are looking for broadly wet grounds and a surface that may rise or foam. You are not trying to force the biggest possible dome.
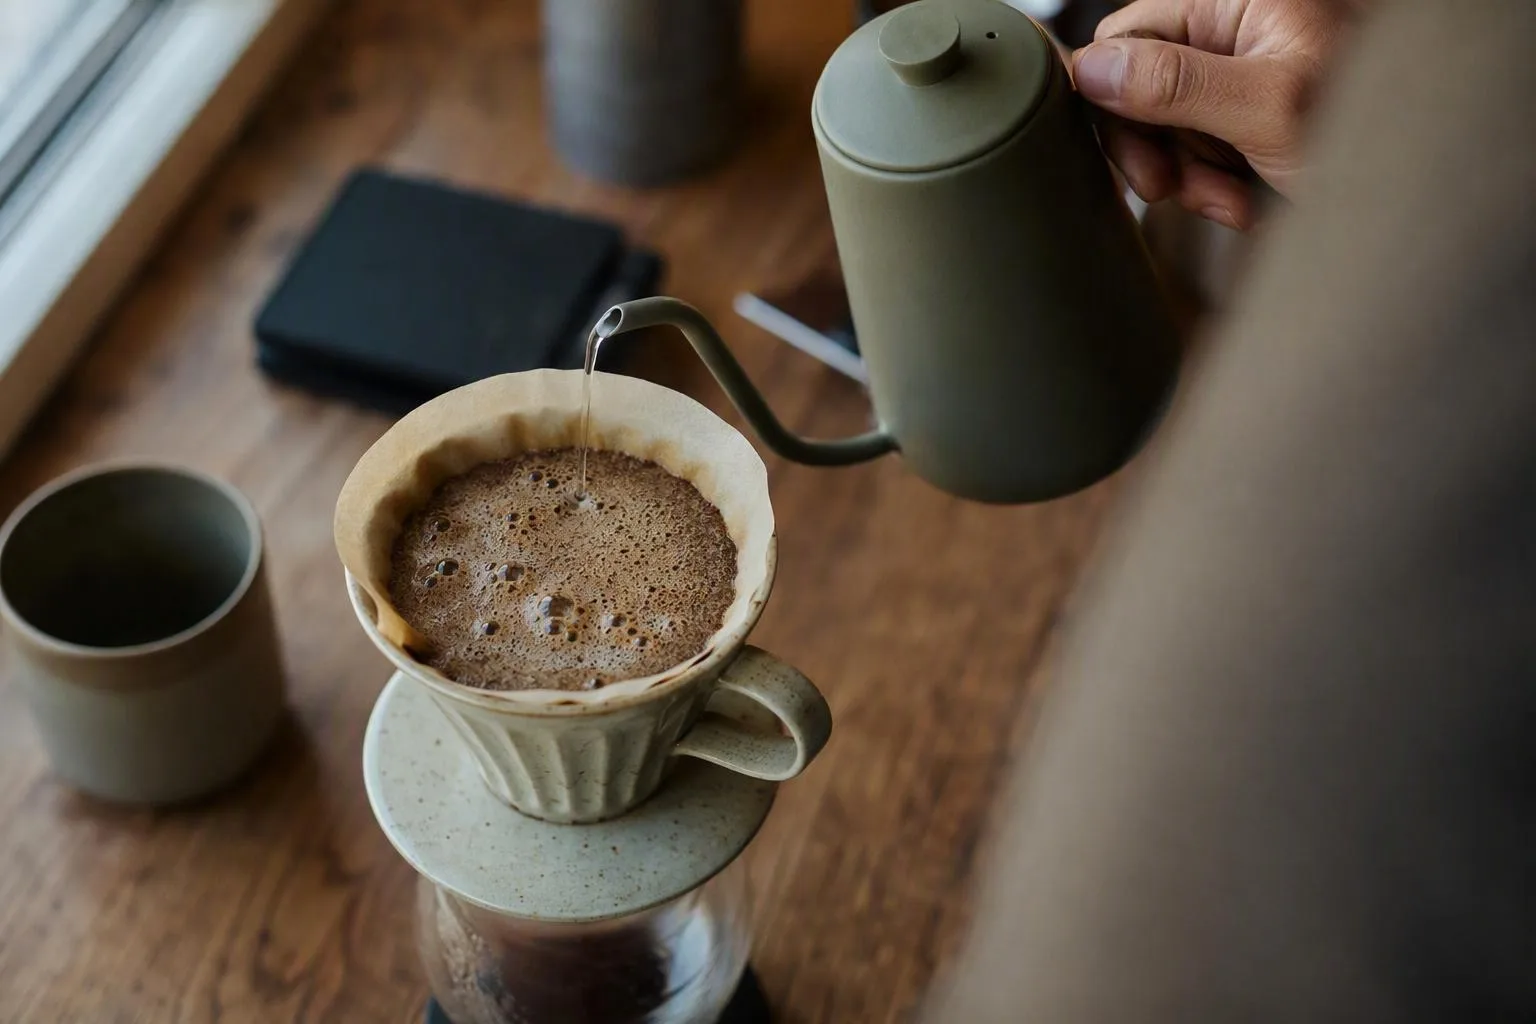
The practical endpoint is a combination of sight and time. If the coffee is still releasing large bubbles and you can see dry areas, keep the bloom open a little longer or improve the coverage on the next brew. If it is evenly wet and the bubbling has become quiet, the main pour can begin.
Build the bloom around dose: 40–60 g for 20 g of coffee
A useful bloom ratio is about 1:2 to 1:3, meaning two to three grams of water for each gram of dry coffee. The range is deliberately broad. A smaller bloom preserves more water for the main brew, while a larger bloom gives a deeper or more stubborn bed extra water to saturate.
| Coffee dose | 1:2 bloom | 1:3 bloom | Practical starting point |
|---|---|---|---|
| 15 g | 30 g | 45 g | 35–40 g |
| 20 g | 40 g | 60 g | 50 g |
| 30 g | 60 g | 90 g | 70–80 g |
These amounts scale directly from the dose. A 15 g brew does not need the same bloom water as a 30 g brew, because the volume and depth of the coffee bed are different. If you use a deeper bed, a very fresh coffee, or a grind that packs tightly, start toward the upper end of the range.
Bloom water is part of the brew, not an addition outside it. With 20 g of coffee and 300 g of total water, the brew ratio is 1:15. If 50 g goes into the bloom, the remaining pours add 250 g. The final drink still received 300 g of water.
Starting below roughly twice the coffee dose can leave parts of the bed dry, particularly when your pouring is narrow or the coffee is densely packed. Starting far above three times the dose can make the bloom easy to saturate, but it also leaves less water for the main pours and can make the recipe less forgiving if you are aiming for a particular total ratio.
For doses outside the examples, the coffee to water ratio calculator is useful because it keeps the bloom and total brew ratio in the same calculation. That prevents a common mistake: increasing bloom water while forgetting that the final brew has become stronger or weaker than intended.
Run the 20/30/45-second test without changing the other dials
If you want to know whether bloom time is helping your coffee, change bloom time alone. Do not alter the grind, water temperature, pouring pattern, total water, or coffee dose in the same test. Otherwise, a better cup tells you that something changed, but not which thing did the work.
- Use 20 g of the same coffee for three brews. Keep the filter, brewer, water, and grind the same.
- Use 300 g of total water and reserve 50 g for every bloom.
- Pour the 50 g evenly over 8–12 seconds, then wait for 20 seconds in the first brew, 30 seconds in the second, and 45 seconds in the third.
- After each wait, use the same two-pour schedule to reach 200 g and then 300 g. Keep the stream height and agitation as similar as your kettle technique allows.
- Record whether the bed was still bubbling, the final drawdown time, and how the cup tastes as it cools.
Keep the water in a practical range such as 92–96°C for all three brews. The point is not to discover a universal temperature. It is to keep temperature from becoming a second variable while you compare the bloom.
At 20 seconds, a visibly active coffee may still contain gas pockets. The likely result is a less even start, which can show up as a sharp or hollow cup if later pours do not correct the wetting. That is a prediction to test, not a verdict: a quiet coffee may behave perfectly at 20 seconds.
At 30 seconds, you have a useful baseline because it gives an active coffee a meaningful release window without making the bloom dominate the recipe. It is the setting to compare against, not automatically the winner.
At 45 seconds, an actively bubbling coffee may become more evenly wetted. If the bed was already calm at 30 seconds, the extra wait may add little and may simply lengthen the brew or allow more early extraction. The result is falsifiable at the kitchen scale: compare the drawdown and taste against the 30-second cup.
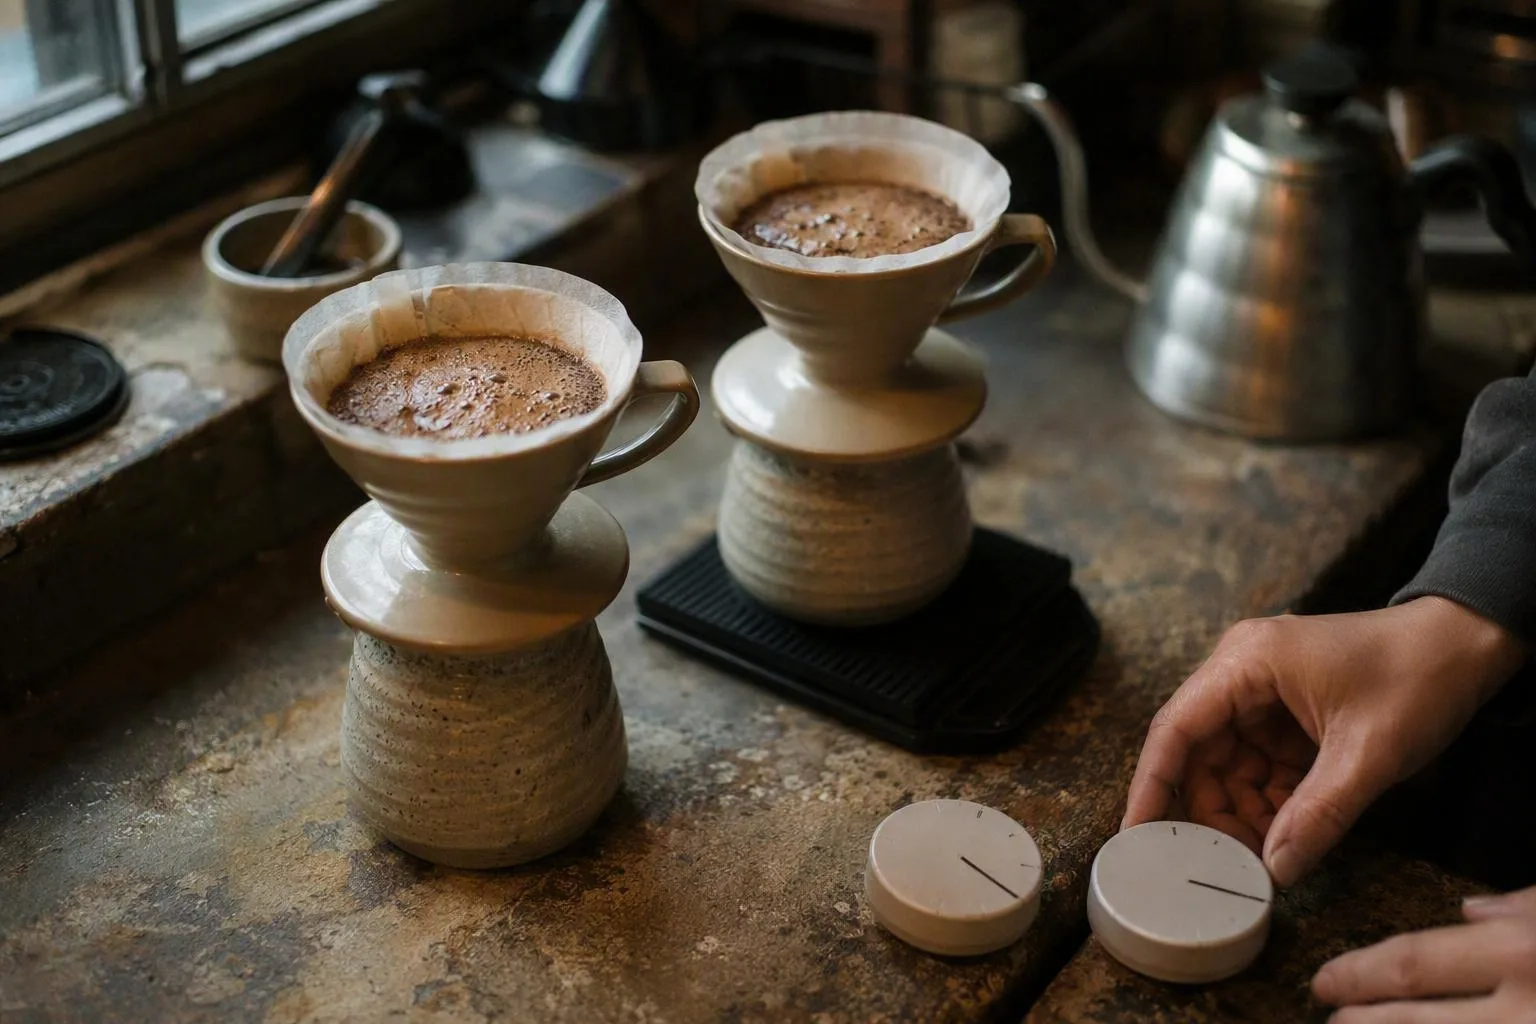
Do not choose the longest bloom just because it sounds more thorough. The useful question is whether the additional time changes wetting or improves the cup. If neither observation changes, the timer is no longer the dial that deserves your attention.
When 30 seconds misleads: bean age, roast, grind, and dose
Degassing means the gradual escape of gases from roasted coffee. Its pace varies with the coffee’s roast development, packaging, storage, grind size, and time since roasting. That makes visible bubbling a better clue than a fixed calendar rule, but still only a clue.
Coffee a few days off roast commonly shows more active bubbling than the same coffee after several weeks. The exact difference depends on how the coffee was roasted and stored. A sealed package can preserve more gas than an open container, while pre-ground coffee has much more exposed surface area through which gas can escape.
Roast colour alone is not a reliable bloom timer. Two coffees that look similarly light or dark can have different internal structure and solubility because their roast development was different. Use the surface activity and the cup as your decision points rather than assuming that every light roast needs a long bloom or every dark roast needs a short one.
Grind and dose also change the job. A very fine grind creates a more resistant bed and can make water spread slowly through the grounds. A larger dose usually creates a deeper bed, so the water has more coffee to penetrate. Those conditions can make an apparently adequate bloom leave dry areas below the surface.
For visibly active, recently roasted coffee, try about 40–45 seconds as a starting point. When bubbling is minimal and the bed wets evenly, try about 20–30 seconds. These are starting ranges, not freshness tests. Decaf and older coffee can bloom quietly and still produce a balanced cup.
Here is the counter-intuitive part: a dramatic bloom can make you feel that the coffee is receiving special treatment while telling you very little about the final extraction. Gas release affects wetting, but it does not guarantee a sweet, strong, or clean cup. The later pour pattern and grind still control much of what reaches the cup.
A repeatable 1:15 pour-over recipe with the bloom made explicit
Use this as a clean starting recipe rather than a finished answer for every coffee: 20 g of coffee, 300 g of water, a medium-fine grind, and water around 92–96°C. Use the lower end for a coffee that extracts readily or tastes dry, and the upper end when the cup is sharp and the coffee seems reluctant to give up flavour.
Set up the brew
- Rinse the paper filter with hot water and discard the rinse water. Add 20 g of coffee and settle the bed so it is reasonably level.
- Start the timer and pour 50 g of water over the coffee in 8–12 seconds. Move the stream across the bed instead of drilling one spot.
- Give the brewer a gentle swirl to wet visible dry patches. Stop before the bed becomes visibly churned or muddy.
- Wait until 30–45 seconds, or until vigorous bubbling has substantially eased. If the surface is calm at 25 seconds and evenly wet, you do not gain much by worshipping the remaining five seconds.
- Pour to 200 g, then finish at 300 g by roughly 1:15–1:30. Use the same gentle pouring pattern each time you repeat the recipe.
For many cone brewers and 20 g doses, a total drawdown somewhere around 2:30–3:30 is a useful observation range. It is not a finish line. Coffee particle size, filter paper, brewer shape, and pouring force can move the time, so taste and flow should outrank the clock.
If the cup is fast, sour, and thin, make the grind slightly finer before extending the bloom. Under-extraction means too little soluble material has moved from the grounds into the water; a finer grind increases available surface area and can slow the flow enough to improve contact. If the cup is slow, harsh, and drying, coarsen slightly or reduce agitation before shortening the bloom.
Those grind changes are not interchangeable with a longer wait. A bloom can improve initial saturation, but it cannot correct a channel, a badly resistant bed, or a total brew ratio that is too weak. If you want formal vocabulary for brew strength and extraction, the Specialty Coffee Association brewing standards are a useful reference; the practical diagnosis still starts with what you can see and taste at home.
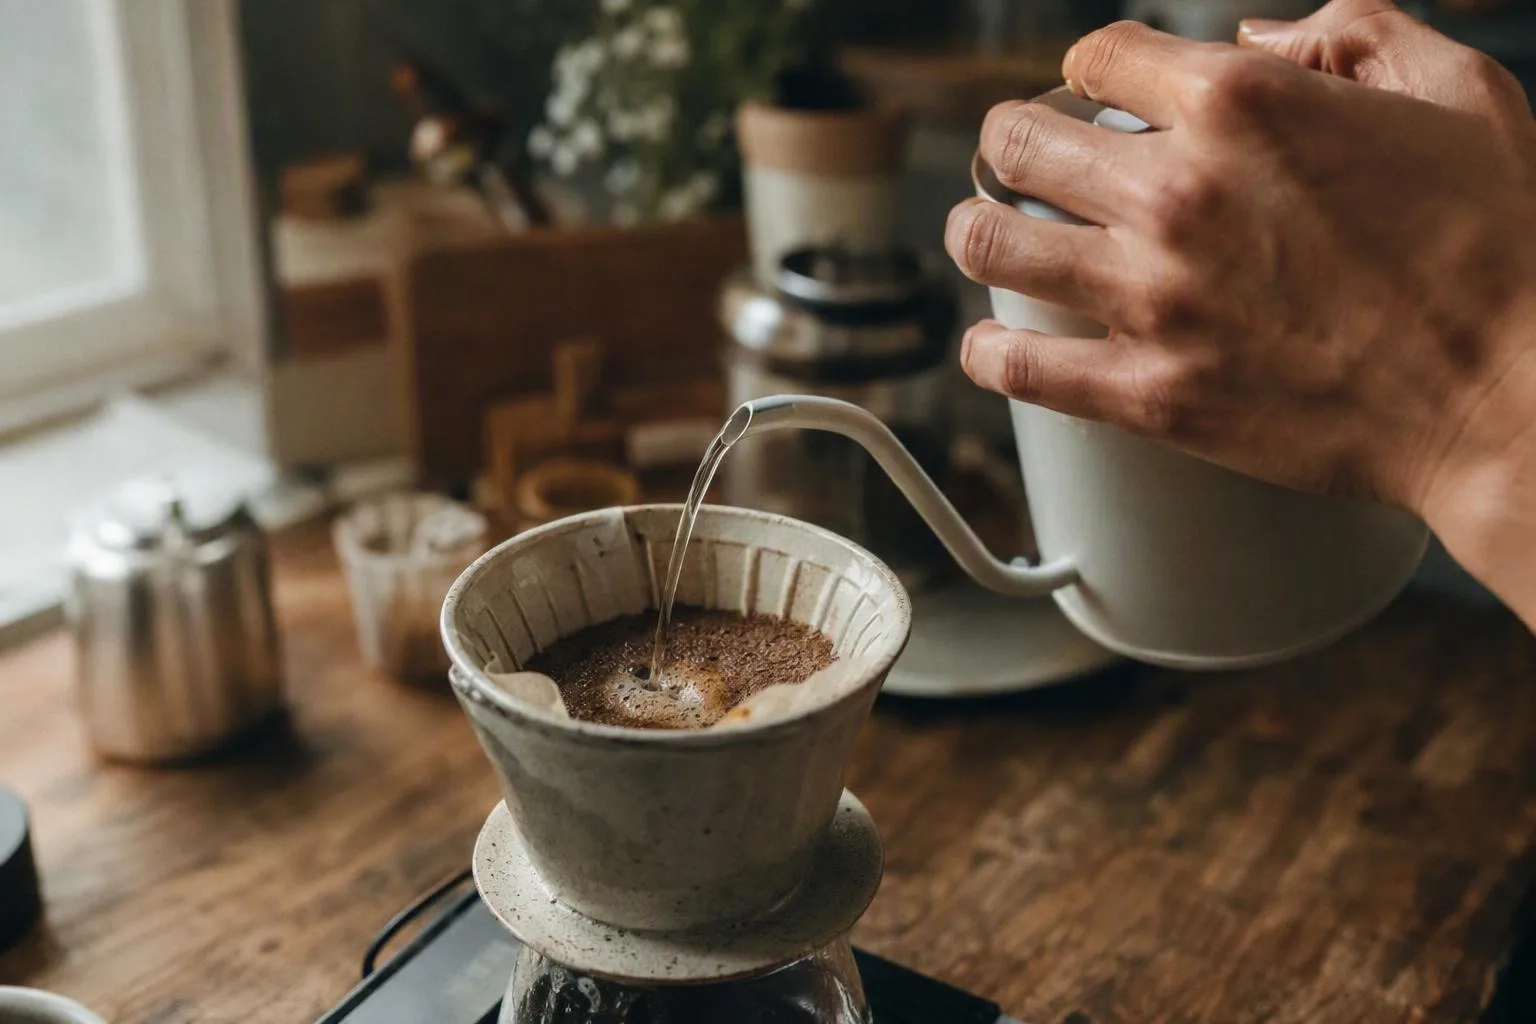
Use the cup and drawdown to decide whether the bloom helped
Start with the bloom only when the evidence points to wetting or gas. If the bed is evenly saturated, bubbling has eased, and the cup is still sour or bitter, the main variables are more likely to be grind, pouring, temperature, or total ratio.
| What you observe | Mechanism to consider | First change |
|---|---|---|
| Dry patches remain after the bloom | Water coverage was incomplete, or the gas barrier kept parts of the bed dry. | Pour more evenly, then add one gentle swirl. If the bed is deep, move toward a 1:3 bloom. |
| Sour cup and unusually fast drawdown | Under-extraction or channeling, where water finds easier paths through the bed. | Grind a little finer and keep the pour pattern controlled. |
| Bitter, dry cup and slow drawdown | Excessive extraction, fines migration, or too much agitation has increased contact and resistance. | Coarsen slightly or reduce agitation before changing bloom time. |
| Clean cup that tastes thin | The brew may be under-concentrated because the total coffee-to-water ratio is too weak. | Use less total water or more coffee; a longer bloom is not the direct fix. |
| Large bloom but unbalanced final cup | Gas release was visible, but later extraction was uneven or the ratio did not suit the coffee. | Keep the bloom stable and diagnose grind, pours, and total water. |
| Little bubbling but even wetting | There was not much retained gas left to escape, so the visual bloom was quiet. | Proceed with the brew and judge the cup rather than forcing a longer wait. |
The cleanest rule is this: extend the bloom when the coffee is still releasing substantial gas or showing uneven wetting. Change grind or pouring first when the taste points to flow or extraction. Treat the bloom as a wetting operation with a timer, not as a timer with a wetting operation.
Save this short sequence for the next brew:
- Use 2–3 g of bloom water for each gram of coffee.
- Pour that water evenly in about 8–12 seconds.
- Swirl gently if dry patches remain.
- Start the main pour around 30 seconds, earlier for a quiet bed and later for active bubbling.
- Change the grind before using bloom time to solve a sour, bitter, fast, or slow cup.
Thirty seconds matters because it often gives water and gas enough time to stop fighting for the same space. Once that job is done, the next dial is usually the one that controls the rest of the brew.