Coffee Grind Size Chart: Fix Sour, Bitter, Thin Cups
A coffee grind size chart can get you close, but it cannot tell you whether a setting will produce a fast, sour V60 or a stalled, bitter one. Start with time and taste: a 1:16 filter brew that finishes in 2:15 and tastes lemon-sharp is a candidate for a small move finer; one that drips past 4:00 and leaves a dry finish is a candidate for coarser grounds or a distribution fix.
The useful question is not “Is this medium?” It is “What happened to contact time, flow, and extraction on this grinder, with these beans?”
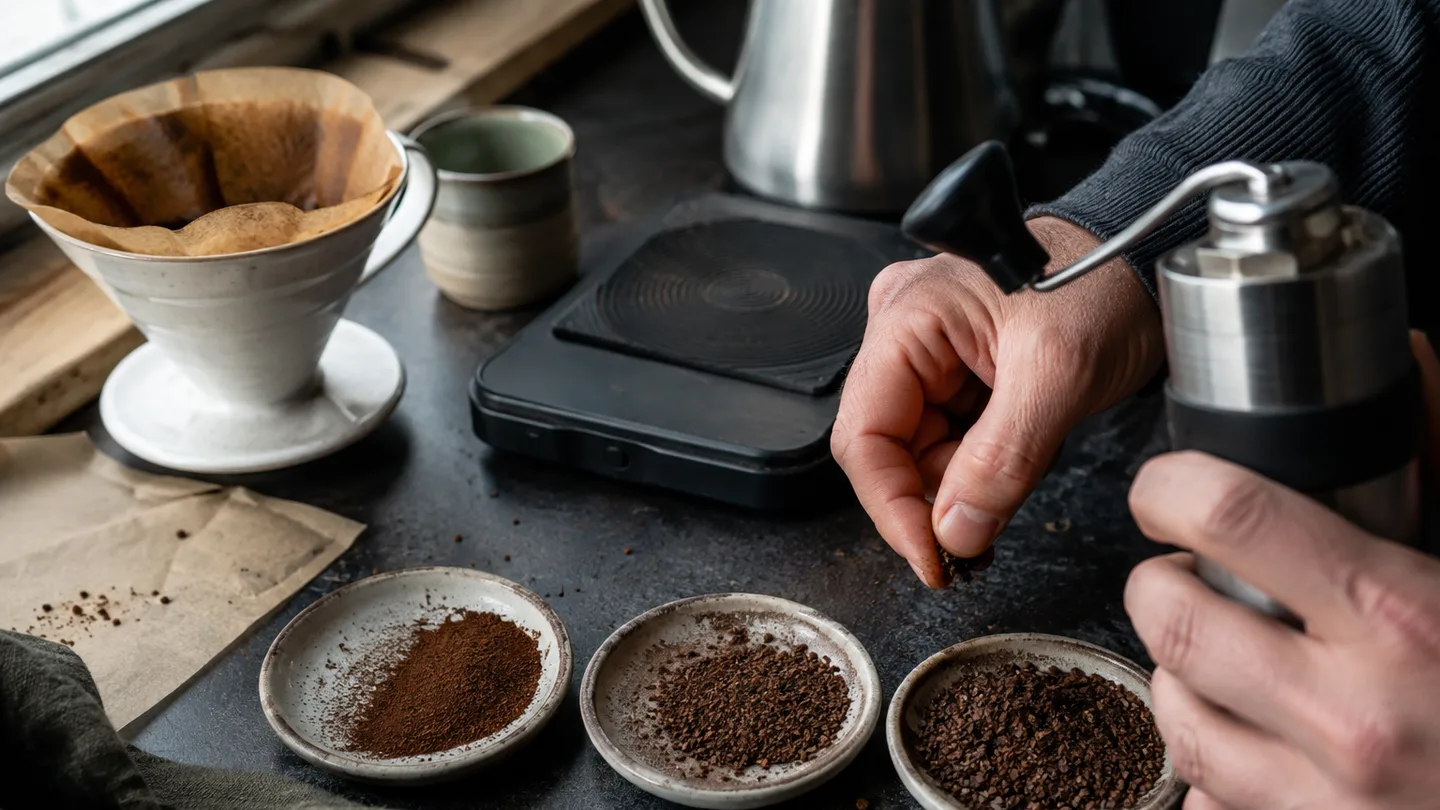
The chart: pair each grind range with a brew-time window
Use labels as starting bands, not universal settings. “Fine” and “coarse” describe a range of particle sizes, and the range shifts with burr shape, calibration, and how many small fines the grinder makes.
| Brewing method | Starting grind range | Useful time window | What the clock helps you judge |
|---|---|---|---|
| Espresso | Fine | About 20–35 seconds | Pressure, flow resistance, and shot balance |
| Pour-over | Medium-fine to medium | About 2:30–4:00 | Drawdown speed and extraction |
| AeroPress | Medium-fine to medium | About 1:30–3:00 | Recipe, agitation, and steeping time |
| Moka pot | Medium-fine to medium | About 3–5 minutes | Stovetop flow and pressure resistance |
| French press | Coarse | About 4–5 minutes | Steeping time and sediment control |
| Cold brew | Coarse | About 12–18 hours | Long contact time without pressure |
Read the chart from left to right: choose a starting grind, watch the brew time, then taste the result. A pour-over that finishes in three minutes can still be sour, while one that finishes in four minutes can still be balanced. The clock narrows the diagnosis; it does not replace your palate.
That is also why a coffee particle size number, when a grinder manufacturer provides one, is less useful than it looks on its own. Burr geometry, alignment, calibration, bean density, and fines production all change how that nominal size behaves in the brewer.
For broader terminology, Specialty Coffee Association brewing guidance is a useful reference point, but your own chart should stay tied to the brewer, grinder, water, and beans you actually use.
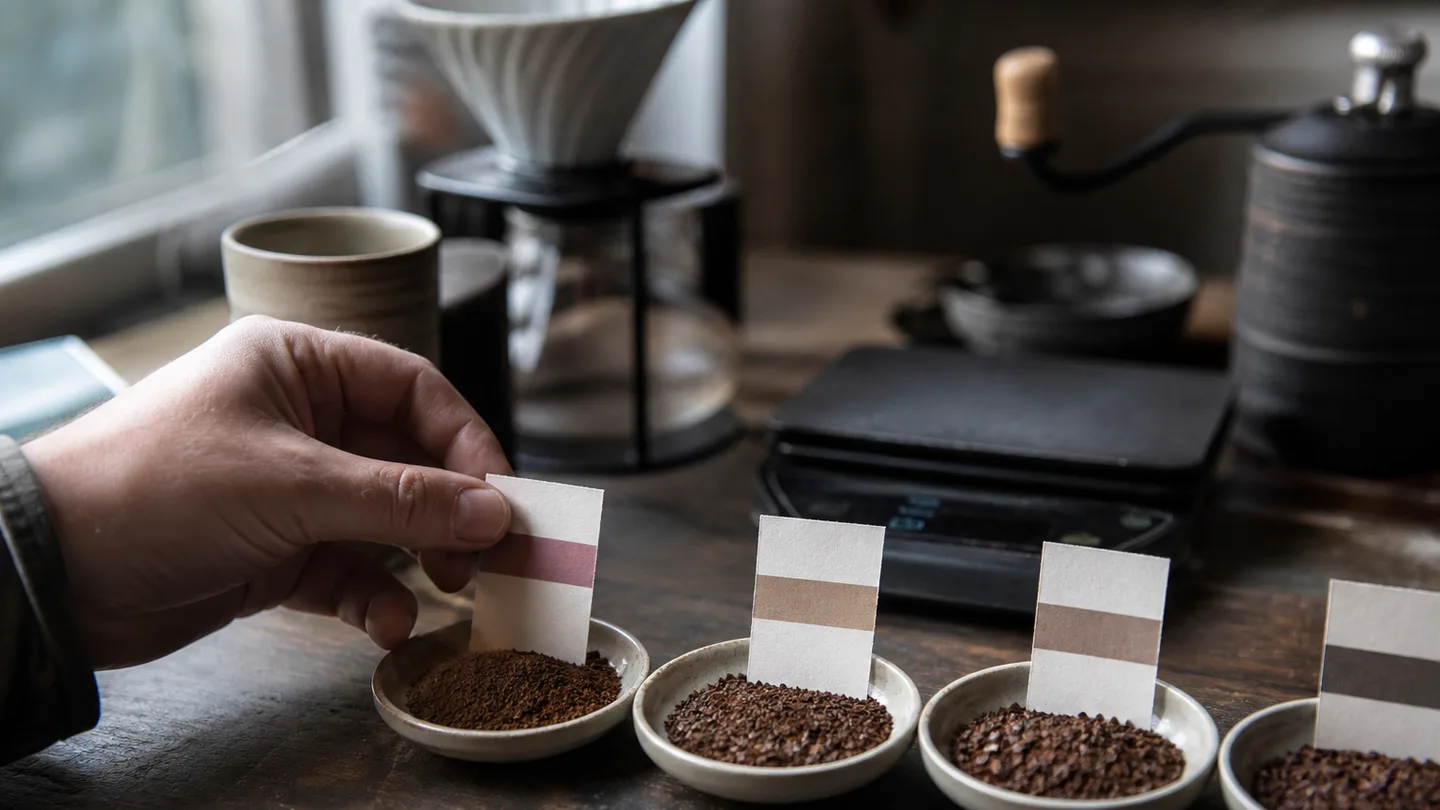
Why finer does not simply mean stronger
Finer grounds do two jobs at once: they expose more surface area to the water, and they create a tighter bed that resists flow in a percolation brewer. The first effect usually speeds extraction; the second can lengthen contact time. That combination is why a small grind change can move a cup from sharp and thin to heavy and dry.
Extraction and strength are related but different. Extraction describes how much coffee material the water removes from the grounds. Strength describes how concentrated the finished drink is. A brew can be strong and sour if it contains a high concentration of incompletely extracted material, or weak and harsh if too much water has passed through a small amount of coffee for too long.
Particle-size distribution complicates the picture. A broad distribution contains large pieces that give up soluble material slowly and tiny fines that extract quickly. Those fines can also migrate into the filter and restrict flow. The result may be a cup with under-extracted flavors from the larger particles and over-extracted, drying flavors from the fines.
At a fixed coffee-to-water ratio, one or two small grinder steps can change contact time without changing the recipe’s strength target. That makes grind size the cleanest first adjustment when the brew is clearly too fast, too slow, sour, or bitter.
Sour at the first sip? Test under-extraction before changing the recipe
Sourness is a flavor signal, not a complete diagnosis. Under-extraction means the water has not dissolved enough of the coffee’s soluble material, and the cup often comes across as sharp, lemon-like, green, or thin rather than rounded.
- Hold the ratio, water temperature, and pouring pattern steady. For a filter brew, a 1:15–1:17 ratio is a useful starting band.
- If the brew finishes within roughly 2:30–4:00 and tastes sour, move one or two small settings finer. The aim is to expose more surface area and slow the flow slightly, not to make a dramatic jump.
- Brew again and record the new time. If the cup becomes sweeter and fuller without turning dry, the grind was moving in the right direction.
There is an important exception. If the brew already runs longer than about four minutes, or the bed stalls and drains in patches, grinding finer may make the problem worse. Check distribution, agitation, and fines migration first; a clogged filter can produce a long brew that still contains sour flavors from fast channels.
The same checking order is laid out in the related guide why is my coffee sour, especially for filter brewers that swing between a fast drawdown and a stalled bed.
Bitter and dry: the coarsening rule, plus its exceptions
Bitter and drying flavors usually point toward excessive extraction or excessive contact time, but the combination matters. A pour-over that drips past four minutes and leaves a rough finish is a strong candidate for a slightly coarser grind. An immersion brew that tastes harsh after five minutes should also be tested with less contact time or a coarser setting.
- Slow, bitter, and dry: move one or two small settings coarser before changing the ratio.
- Fast, bitter, and hollow: inspect channeling before coarsening. Some grounds may be over-extracting while other parts of the bed are barely wet.
- Normal time but roast-heavy bitterness: correct the grind once, then consider whether the roast character itself is the main flavor source.
Smaller particles and fines release soluble compounds quickly. Late-stage extraction can also add astringency, the drying sensation that makes your mouth feel rough. Many brewers call that whole experience “bitterness,” but the fix is not always the same.
Roast bitterness may remain after the grind is corrected because it is part of the coffee’s developed flavor profile rather than a simple timing error. The practical test is to make one controlled grind adjustment, then judge whether the harshness changes with brew time. The guide why is my coffee bitter uses that distinction to separate over-extraction from roast character.
Thin can mean weak, under-extracted, or uneven—separate the three
TDS means total dissolved solids: the concentration of dissolved coffee material in the finished drink. You do not need a refractometer to use the idea. Taste, ratio, and brew time can usually tell you whether a thin cup lacks concentration, lacks extraction, or has extracted unevenly.
| Cup signal | Time clue | Likely problem | First test |
|---|---|---|---|
| Thin and sour | Fast or ordinary | Under-extraction | Move finer or use slightly hotter water |
| Thin but balanced | Ordinary | Weak strength | Move from about 1:17 toward 1:15 |
| Thin with sour and bitter notes | Erratic or stalled | Uneven extraction or channeling | Improve distribution before changing grind dramatically |
A ratio change and a grind change do different jobs. Moving from 1:17 toward 1:15 puts more coffee material into each sip if extraction is already balanced. Grinding finer changes the rate and pattern of extraction, so it is the better test for a sour cup but the wrong first move for a balanced cup that is simply weak.
If you want to scale the recipe cleanly, use a coffee to water ratio calculator. Keep the grind fixed while you test strength; otherwise, you will not know whether the improvement came from concentration or extraction.
Map the setting to the brewer’s physics: espresso through cold brew
The same grind label behaves differently because water moves through each brewer differently. Pressure, steeping, paper filtration, mesh filtration, agitation, and total contact time all change which particles contribute to the cup.
- Espresso: a fine, flow-restricting bed lets pressure build enough for a controlled shot. The useful starting window is roughly 20–35 seconds, but dose, basket depth, pressure, and distribution also matter.
- Pour-over: medium-fine to medium grounds balance exposed surface area with a bed that can still drain. Paper filtration makes fines migration and pouring technique important, so a setting that works in one dripper may stall another.
- AeroPress: medium-fine through medium can work because immersion and pressure are combined. Short recipes often need finer grounds or more agitation than long steep recipes.
- Moka pot: medium-fine to medium grounds give the water resistance without requiring an espresso-style powder bed. Excessively fine grounds can slow flow and intensify harshness.
- French press: coarse grounds suit a four- to five-minute steep and reduce the amount of fine sediment passing through the mesh. A very coarse grind is not automatically better if the brew remains weak and sour.
- Cold brew: coarse grounds are easier to filter after a long 12–18-hour contact period. Finer grounds can speed extraction but may increase sediment and make the concentrate harder to clarify.
For a forgiving starting point, immersion is the better choice. A steeping brewer tolerates a wider grind range because the grounds remain surrounded by water instead of having to maintain a stable flow through a narrow bed. Fast percolation rewards tighter control, but it also exposes distribution errors more quickly.
Ignore universal click counts: calibrate your own grinder
“18 clicks” is not a transferable grind setting. Click counts only describe the distance between burr positions on one grinder, while burr diameter, alignment, zero-point calibration, and fines production determine the particles that actually reach the coffee bed.
Zero point means the position where the burrs are just closed or nearly touching, according to the manufacturer’s safe guidance. It is a reference for your grinder, not a universal particle-size measurement. Do not force the adjustment past the safe limit.
- Find and record the grinder’s safe reference point.
- Choose a starting setting for the brewer and roast, then record dose, ratio, water temperature, total time, and taste.
- Make one or two small changes for normal dialing-in. Use a larger move only when the brew is far outside its useful time window.
Keep a simple log. “Medium” is easy to forget, while “20 g, 320 g water, 3:05, sour but clean, two steps finer next” gives you a repeatable starting point for the next brew.
A burr grinder with a relatively consistent distribution makes a grind-size chart more predictive. A blade grinder produces a wider mix of large pieces and fines, so the same label can contain two very different extraction speeds. In that case, sieving, shorter pulses, and better distribution may help more than chasing a precise setting.
Check the official grinder calibration documentation before treating a zero point or click count as a hard limit.
A three-brew dialing protocol using 20 g, 320 g, and one change at a time
Use this sequence when a filter recipe is close enough to drink but not yet consistent. The exact dose can scale to your brewer; the value is the controlled order of changes.
- Brew the baseline: use 20 g coffee and 320 g water, a 1:16 ratio, and water in the 92–96°C range. Keep your coffee bloom, pouring pattern, agitation, and filter preparation consistent. Record the total brew time and describe the cup in plain words.
- Change grind only: if the cup is sour and the brew is fast or ordinary, move one or two small settings finer. If it is bitter or dry and the brew is slow, move one or two settings coarser. Do not change the ratio at the same time.
- Adjust strength last: if the corrected cup tastes balanced but thin, keep the grind and move toward 1:15, such as 20 g coffee to 300 g water. If it is balanced but too concentrated, test 1:17, or 20 g to 340 g water.
This sequence prevents a common mistake: grinding finer because the cup tastes weak when the real problem is simply too much water. It also prevents the opposite mistake of adding coffee to a brew that is already sour because extraction has not been completed.
Run the same setting twice when the first result is surprising. A single brew can be distorted by an uneven pour, a paper filter that drains differently, or a bed that was disturbed during the bloom.
Roast level moves the starting point more than the label suggests
Light roasts are often less soluble than darker, more developed roasts, so they commonly need a finer grind, more agitation, or water near the upper end of a useful temperature range, such as 94–96°C. Darker roasts generally give up soluble material more readily and often respond better to a slightly coarser grind or water around 88–93°C.
These are starting bands, not laws. Development level, bean density, processing method, age, and decaffeination can all move the correct setting. A light roast can still stall if it produces many fines, and a dark roast can taste thin if the grind is too coarse or the ratio is too weak.
Reset your starting point whenever you change beans or switch to decaf. Carrying over the previous coffee’s click count assumes that two different particle structures will flow and extract in the same way.
When the chart lies: channeling, fines, and water can mimic grind errors
Grind size is not the only variable that controls the clock. If the bed is uneven, the chart can point you toward a setting change when the real issue is where the water is moving.
Channeling is water finding fast paths through an uneven coffee bed. Those paths can over-extract a small area while leaving other grounds under-extracted, producing the confusing combination of sourness, bitterness, and thin body in the same cup.
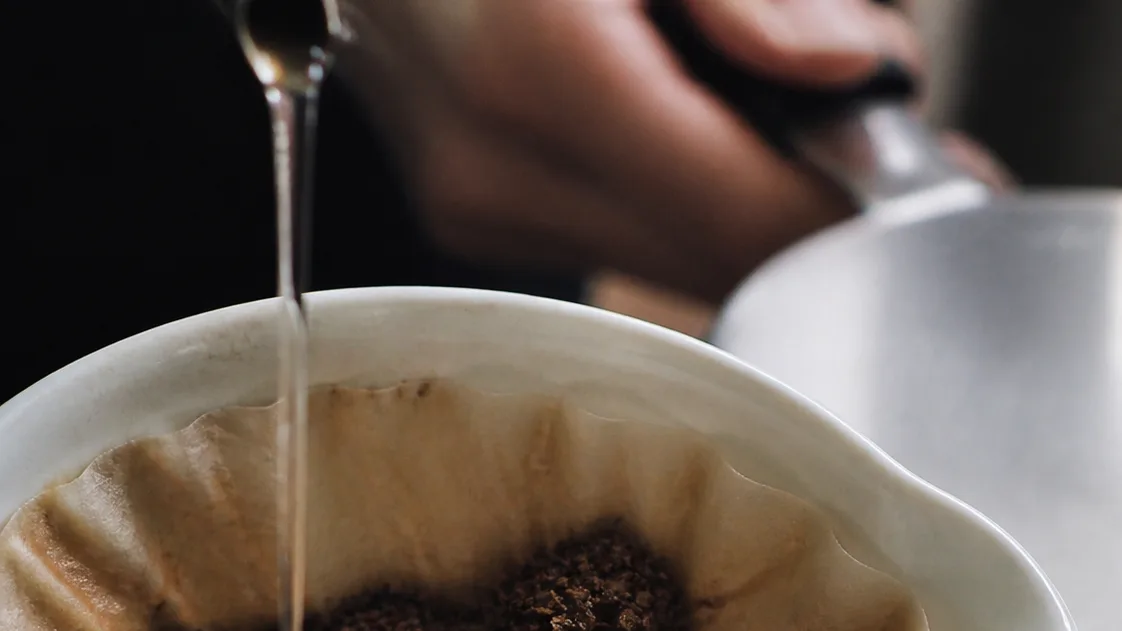
Fines migration is the movement of tiny particles downward through the bed. They can collect near the filter and restrict drainage late in the brew, making the drawdown slow even though some water previously moved too quickly through open channels.
Water chemistry can create a similar false diagnosis. In a given coffee, low alkalinity may leave acidity more exposed and sharp, while high alkalinity may soften or flatten perceived brightness. If the grind and time look reasonable but the flavor changes sharply when the water changes, stop treating the chart as the main suspect.
Keep the same water, ratio, temperature, and agitation for at least two or three comparison brews before blaming the chart. When brew time is erratic, correct distribution or agitation before making a dramatic grind change.
A grind label is a coordinate, not a diagnosis. The diagnosis comes from the setting, the brew time, the taste, and the way water moved through the coffee bed.