Why Is My Coffee Sour? Fix Under-Extraction in 3 Steps
Sharp and lemony is not automatically under-extracted
A 15 g pour-over that finishes in 2:20 and tastes like lemon peel, green tea, and an empty finish is giving you a useful clue: water left the coffee before enough soluble material came out. That is the short answer to “why is my coffee sour?”
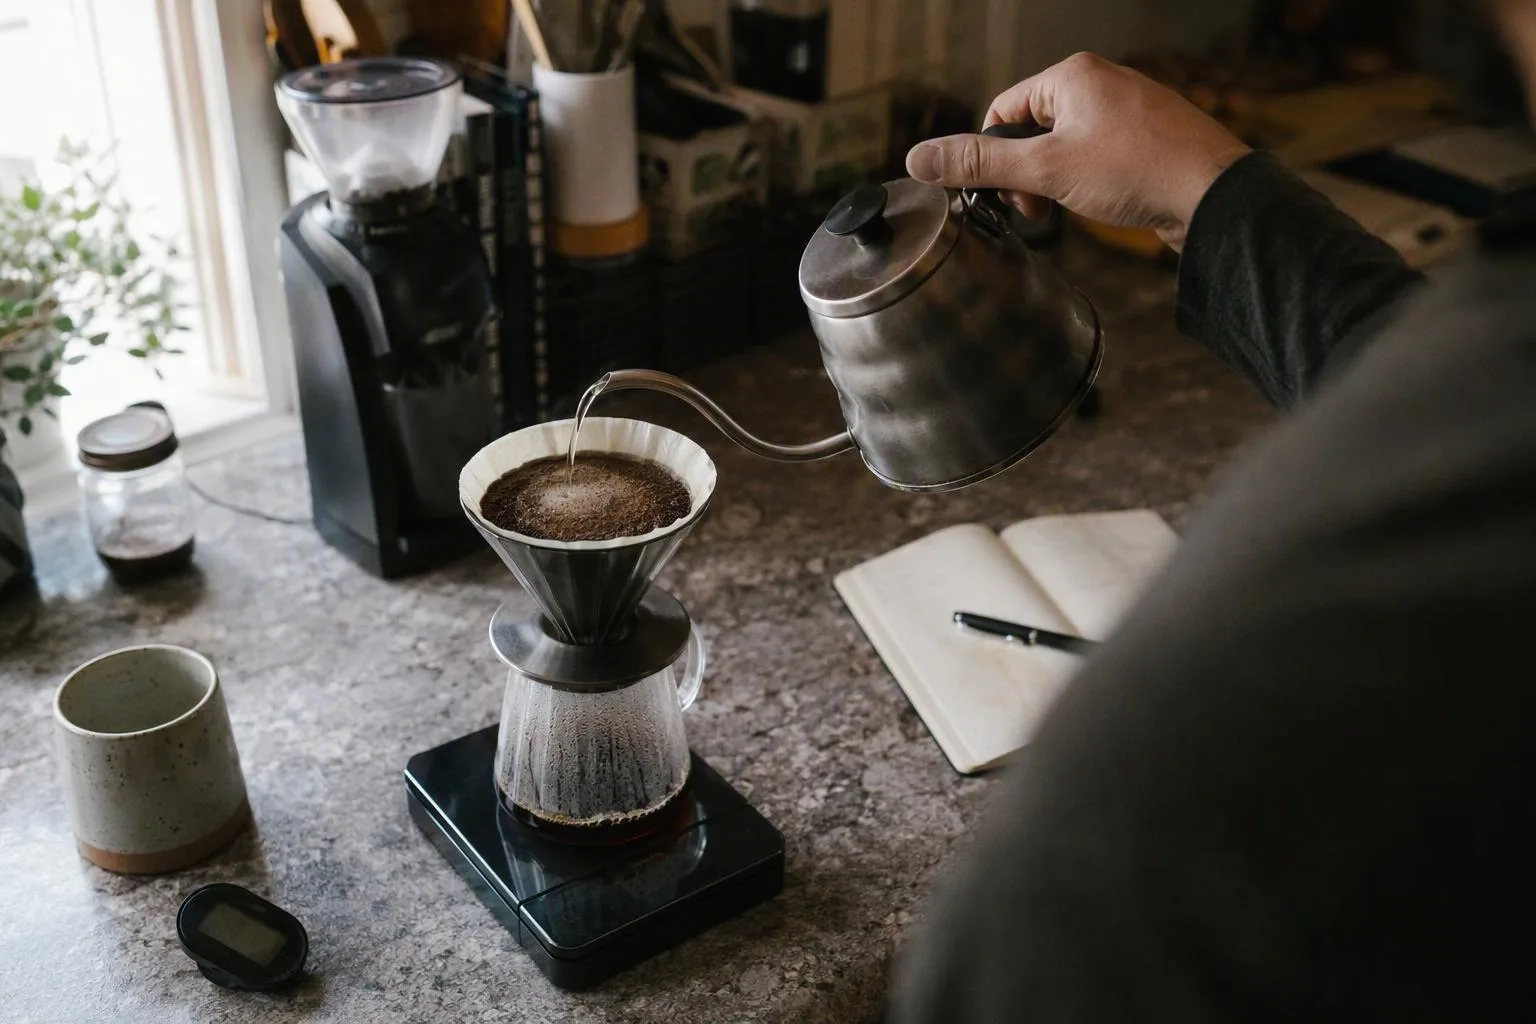
Set the brewer on the scale and write the recipe down before changing it: 15 g coffee, 245 g water, 93°C, and 2:20 total time. If the cup is sharp, thin, and disappears quickly from your mouth, under-extraction is the first diagnosis to test. Under-extraction means the brew dissolved too little from the coffee particles before the water ran out or you stopped the steep.
Acidity is not the enemy. A bright coffee can taste like citrus and still have sweetness, structure, and a finish that lasts. Sour coffee tends to feel pointed rather than juicy; it may remind you of an unripe fruit or lemon rind, with little sweetness underneath. The useful question is not whether you taste acid, but whether the acid is supported by sweetness and body.
Sourness mixed with bitterness changes the diagnosis. One part of the bed may be under-extracted while another part is over-extracted, usually because water found an easier route through the grounds. Do not respond to that cup by blindly grinding much finer. First establish whether the whole brew is too fast or whether extraction is uneven.
Step 1 — Hold a 1:15–1:17 ratio while you establish the baseline
A coffee brew ratio compares the dry coffee dose with the mass of brewing water. A 1:16 ratio means 1 g of coffee for every 16 g of water. For a filter or immersion brew, 15 g coffee with 240–255 g water gives you the 1:16–1:17 range in a recipe small enough to repeat without wasting much coffee.
Use 15 g coffee and 240 g water if you want the stronger end of that starting band, or 255 g if you prefer a slightly lighter cup. Keep the same ratio while diagnosing sourness. Changing from 1:15 to 1:18 can change both the drink’s strength and the amount extracted, so you may no longer know whether the improvement came from more extraction or simple dilution.
For espresso, the numbers describe dose against liquid output rather than the water entering the machine. An 18 g dose with 36 g espresso in the cup is a 1:2 starting ratio. Weigh the output; a volume reading is harder to repeat because crema occupies space and settles as the shot sits.
Make a baseline you can describe:
- Weigh the coffee dose to the nearest practical fraction of a gram and record the grinder setting as your grinder displays it.
- Weigh the water, and note the temperature at the brewer rather than relying only on a kettle’s target display.
- Start the timer at first contact between water and coffee. Record the final beverage mass and the time when dripping or pouring ends.
- Write down the pouring pattern, agitation, and whether the bed was fully wet. A recipe that looks identical on paper can flow differently if dry grounds remain in the filter.
If you do not want to calculate the numbers manually, the coffee to water ratio calculator can turn a dose into a repeatable water target. The point is not to find a magic ratio. It is to stop the ratio moving while you test grind size, heat, or contact time one at a time.
Keep your water source and coffee dose fixed for this first comparison. If you change beans, water, ratio, temperature, and grinder position in the same brew, you have made a new recipe, not run a diagnosis.
Step 2 — Grind one small setting finer and measure the new flow
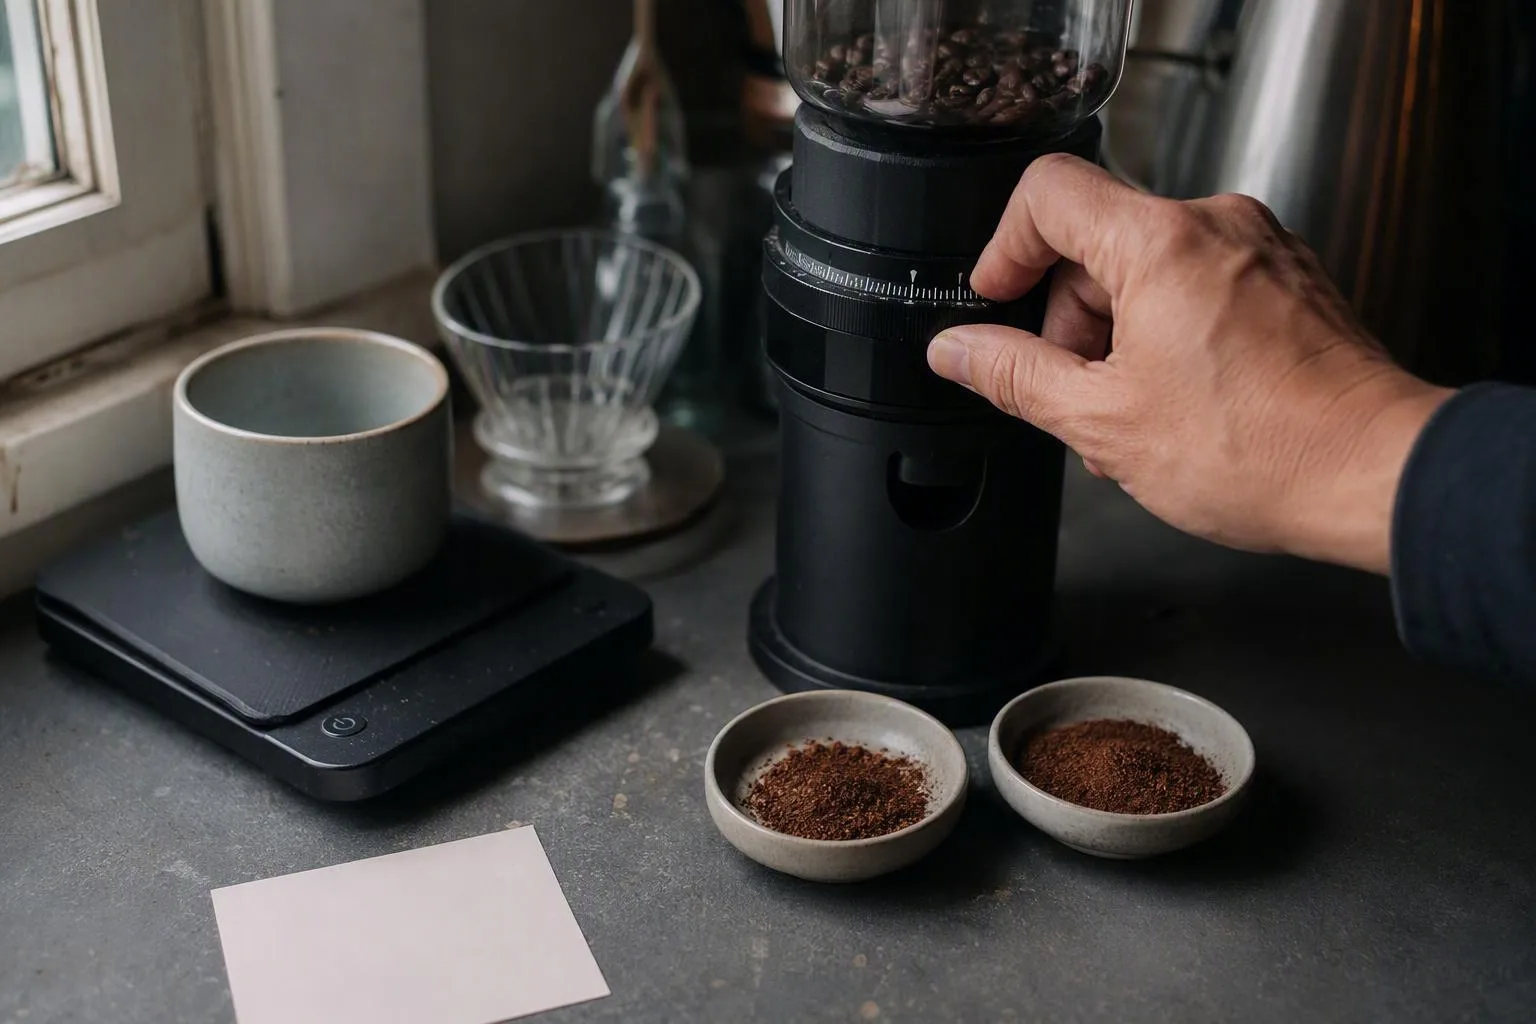
Grinding finer is the first correction for a genuinely sour, fast brew because smaller particles present more surface area to the water. More exposed surface gives water more opportunity to dissolve flavour material before the brew finishes. The intended result is not merely a slower drip; it is more sweetness, a rounder middle, and a finish that does not vanish immediately.
Move one click, notch, or small marked step finer. Grinder steps are not standardised, so “one step” means the smallest change you can identify and repeat on your grinder. Keep the 15 g dose, 245 g water, 93°C temperature, bloom, and pouring pattern unchanged. If the baseline took 2:20, do not slow the second brew with a different pour just to make the clock look better.
Use time as a warning signal rather than a pass-or-fail score. For many V60-style filter brews, roughly 2:30–4:00 is a useful troubleshooting window. A French press often gives you a clearer comparison around a 4:00–5:00 steep, while an espresso near a 1:2 ratio commonly needs about 25–35 seconds in many home setups. Coffee density, filter paper, grinder geometry, dose, and brewer shape can move those windows.
If the finer brew moves from 2:20 to 2:50 and tastes sweeter, stop there. You have learned that the original brew was probably giving the water too little contact with the particle surfaces. If it moves to 4:45, tastes hollow in places, and leaves a dry finish, the extra resistance may be coming from fines rather than useful extraction.
Fines are the smallest particles in a grind distribution. A large jump toward fine can make those particles migrate into the filter, clog the flow, and force water around parts of the bed. That creates a bad combination: over-extracted material from the slow, wet sections and under-extracted material from the bypassed sections. The cup can become both harsh and sour, even though the average brew time looks longer.
This is why finer is not a synonym for stronger or better. Make the smallest repeatable adjustment, then taste the result. If the flow nearly stops, return one step coarser and improve distribution before testing another grind change.
Step 3 — Add 2–4°C or 30–60 seconds, never both first
If the small finer step leaves the cup sharp, change the energy available to the brew. Raise filter or immersion water by about 2–4°C, staying within a practical range around 92–96°C for many home recipes, or extend contact time by roughly 30–60 seconds. Change one of those variables first, not both, so the next cup tells you which direction helped.
Temperature affects extraction partly by increasing molecular movement and, for many coffee compounds, making them more willing to dissolve. Solubility means how readily a material dissolves into the water. A hotter brew can therefore pull useful sweetness from a reluctant coffee more quickly, but it can also push a soluble coffee toward dryness if grind and contact are already aggressive.
For immersion brewing, adding 30–60 seconds is a clean test: keep the same grind and ratio, and let the coffee steep longer before separation. For a filter brew, extra time is useful only when the bed is draining evenly. Do not treat a five-minute drawdown caused by a clogged filter as intentional contact time; much of the water may be bypassing the grounds through cracks.
Espresso has a narrower control problem. If an 18 g shot reaches 36 g evenly in 30 seconds but still tastes sour, test a 1–2°C increase or extend the yield by about 2–4 g, not both. A move from 36 g to 38–40 g gives the water a little more opportunity to dissolve later-extracting material. If the shot spurts or has a very uneven flow, fix distribution first.
Roast development matters to this choice. A lighter, denser roast may respond to the upper end, while a darker, more soluble roast may become dry there. That is a rule of thumb, not a guarantee for every coffee: bean structure, freshness, processing, and grinder behaviour can change the response.
Readers who want the chemistry behind this sequence can consult peer-reviewed research on coffee extraction, then bring the mechanism back to a cup-sized test rather than treating a general brewing range as a verdict. Technical references on water hardness and alkalinity are also useful if the same coffee stays sharp across several recipes. Water chemistry can affect both how compounds dissolve and how strongly acidity is perceived, so test it as its own variable after the basic recipe is stable.
Sour plus bitter means uneven extraction, not one simple dial
A sip that starts lemony and ends bitter, dry, or woody is often a distribution problem. Channeling is the movement of water through low-resistance cracks or gaps instead of evenly through the coffee bed. The water extracts too much from the grounds beside the channel and too little from the grounds it avoids.
Fines migration can make that pattern worse. Tiny particles move downward with the water and collect where the filter offers resistance. A heavy pour, repeated stirring, or an aggressive bloom swirl can disturb the bed enough to create both a clogged zone and an open route around it.
Look at the bed, but do not read it as a perfect measurement. A dry pocket after the bloom means some grounds never received enough water at the beginning of the brew. Uneven pouring can leave those grounds sour while the fully soaked areas keep extracting and become bitter. A flat, gently settled bed is a useful aim; it is not a reason to stir hard until every particle is perfectly level.
| What you notice | Check first | Next controlled move |
|---|---|---|
| Sour at the front, bitter or dry at the finish | Uneven bed or channeling | Improve distribution and use a gentler pour before grinding finer |
| Sour, thin, and very fast | Coarse grind or dry bloom pockets | Wet all grounds, then make one small finer adjustment |
| Sour patches with a stalled drawdown | Fines collecting at the filter | Reduce agitation and return slightly coarser |
| Espresso spurts while the shot tastes sour and harsh | Uneven puck density | Distribute the grounds evenly and tamp level before changing yield |
Treat a filter drawdown beyond about five minutes as a warning that resistance may be dominating the extraction. For espresso, taking more than about 40 seconds to reach a 1:2 yield is another warning threshold. Neither number is a law: a large dose, very dense coffee, or a restrictive filter can move the timing. The useful question is whether the long brew also shows stalling, a pale edge, spurting, or dryness.
Before grinding finer again, correct the physical bed. For a pour-over, wet the whole dose during the bloom, use a controlled pour that does not excavate one crater, and limit swirling to what is needed to settle dry grounds. For espresso, break up visible clumps, distribute the mound, and tamp level. These changes reduce the difference between the most-extracted and least-extracted parts of the puck.
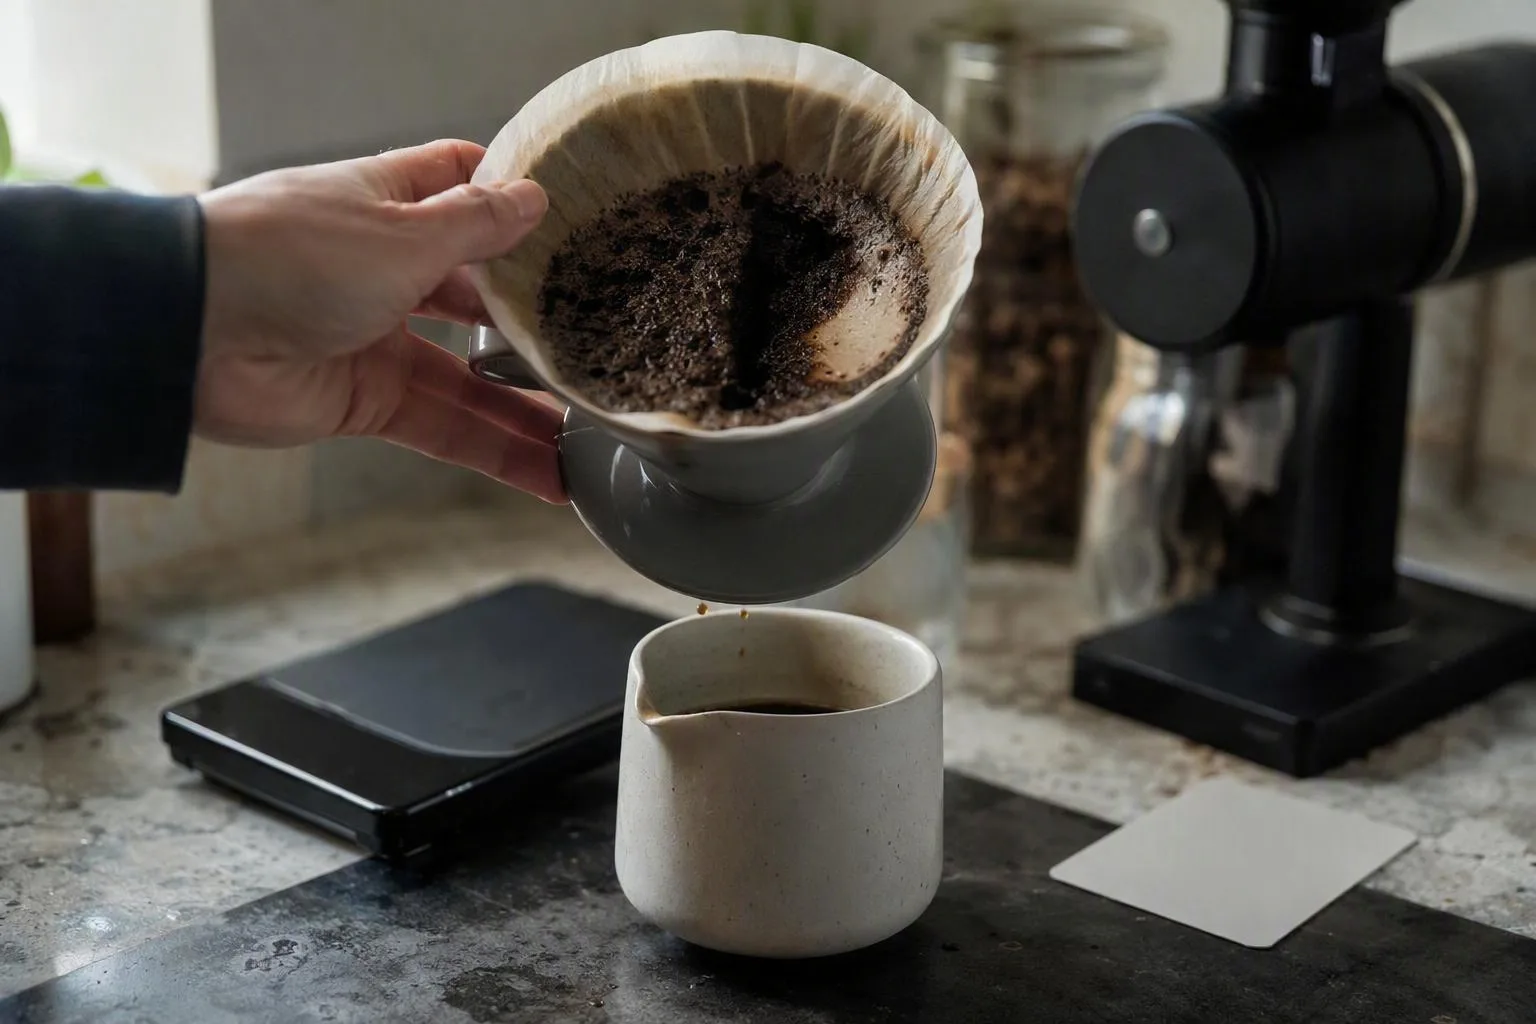
When the same cup is sour in one sip and bitter in another, do not ask which flavour is the “real” one. Both can be real. Uneven extraction lets different parts of the coffee tell different stories in the same drink.
The same diagnosis on a V60, French press, moka pot, or espresso machine
The three-step order stays useful across brewers, but the measurement that matters most changes with the flow path. A pour-over is sensitive to bed resistance and wetting. An immersion brewer is easier to diagnose through steep time and separation. A moka pot has a different pressure and heat pattern, while espresso makes puck preparation part of the extraction problem.
| Brewer | Practical starting point | Measure first when the cup is sour | Likely first correction |
|---|---|---|---|
| V60 or similar filter | 1:15–1:17, 92–96°C, 30–45 second bloom, about 2:30–4:00 total | Water mass, final beverage mass, and drawdown time | One small finer step if the bed drains evenly |
| French press | 1:15–1:17, 92–96°C, about 4:00–5:00 steep | Steep time and the time between stirring, pressing, and serving | Extend the steep 30–60 seconds or grind slightly finer |
| Moka pot | Full level basket, water just below the valve, moderate heat, roughly 1:8–1:10 dose to reservoir | Dry dose, reservoir mass, and final beverage mass | Use a consistent basket load and avoid high heat or a hard tamp |
| Espresso | Near 1:2 dose to yield, often about 25–35 seconds | Dose, yield, time, and the shape of the flow | Grind finer for a fast, even shot; fix puck distribution for spurting |
On a V60, the bloom deserves its own measurement. For 15 g coffee, start with roughly 30–45 g water and allow about 30–45 seconds before the main pour. The coffee bloom is not a flavour switch; it is a wetting stage that gives dry grounds time to absorb water and release trapped gas before the bed carries the main flow.
That makes a dry bloom a plausible cause of a thin, sour filter cup even if your final ratio looks correct. If you want the complete sequence of pours and pauses, compare this diagnosis with the pour over coffee instructions, but keep the same rule: change one variable while you test the result.
French press coffee behaves differently because the grounds remain surrounded by water during the steep. A four-minute brew can still be sour if the grind is too coarse, the water is too cool, or parts of the dose remain dry. Break the crust and mix gently enough to wet the coffee, then separate the grounds at a measured time; pressing harder does not substitute for extraction.
Moka pot ratios need careful wording. The reservoir contains water that may remain below the coffee bed or be lost to the brewing process, so reservoir water is not the same thing as final beverage volume. Use the full basket as the repeatable dose, weigh the water below the valve, and weigh the liquid that reaches the upper chamber if you want to compare one brew with another. A nominal 1:8–1:10 ratio is a starting description, not an espresso-style beverage ratio.
With espresso, the useful chain is dose, yield, time, and flow. A sour 18 g shot that produces 36 g in 20 seconds points toward insufficient contact, assuming the flow is even. A 36 g shot that takes 50 seconds and tastes both sour and dry points toward uneven puck resistance before it points toward an even finer grind.
Confirm the fix with a two-brew A/B test
The cleanest finish is not a new recipe that happens to taste better. It is a small A/B test. Keep the same coffee, water, dose, brewer, and serving cup; brew the baseline and the changed recipe under the same conditions. If you have enough beans, make two baseline brews and two changed brews. If not, make one pair, then repeat the comparison before making another adjustment.
- Write the baseline: dose, water, temperature, grinder setting, agitation, final beverage mass, and total time.
- Change one thing: one small step finer, 2–4°C hotter, or 30–60 seconds longer.
- Taste both cups side by side as they cool. Look for sweetness, integrated acidity, fuller body, and a cleaner finish.
- Record the failure as carefully as the success. Added dryness, a stalled drawdown, or espresso spurting means the change pushed resistance or unevenness in the wrong direction.
Taste at a similar temperature because cooling changes how strongly aromas and acidity present themselves. A cup that is merely less sour but more dry is not a complete fix. Return to the baseline and test the next single dial instead of stacking corrections.
Shared brewing vocabulary exists in the wider specialty coffee community, but your side-by-side cups still decide whether the change helped. The right correction is not the setting that makes sourness disappear fastest; it is the smallest change that adds sweetness without creating a new harsh edge.