Pour Over Coffee Instructions: 1:15 Ratio, 30-Second Bloom
A 20 g dose, 300 g water, and a 30-second bloom give you a reliable pour-over starting point. The 1:15 ratio is not magic; it sets beverage strength, while grind size, temperature, agitation, and contact time decide how evenly the coffee dissolves.
If your last cup tasted thin and sharp while the bed drained at 2:10, do not immediately add more coffee. A fast drawdown can leave too little contact time for the grounds, so start by checking flow and extraction before changing the ratio.
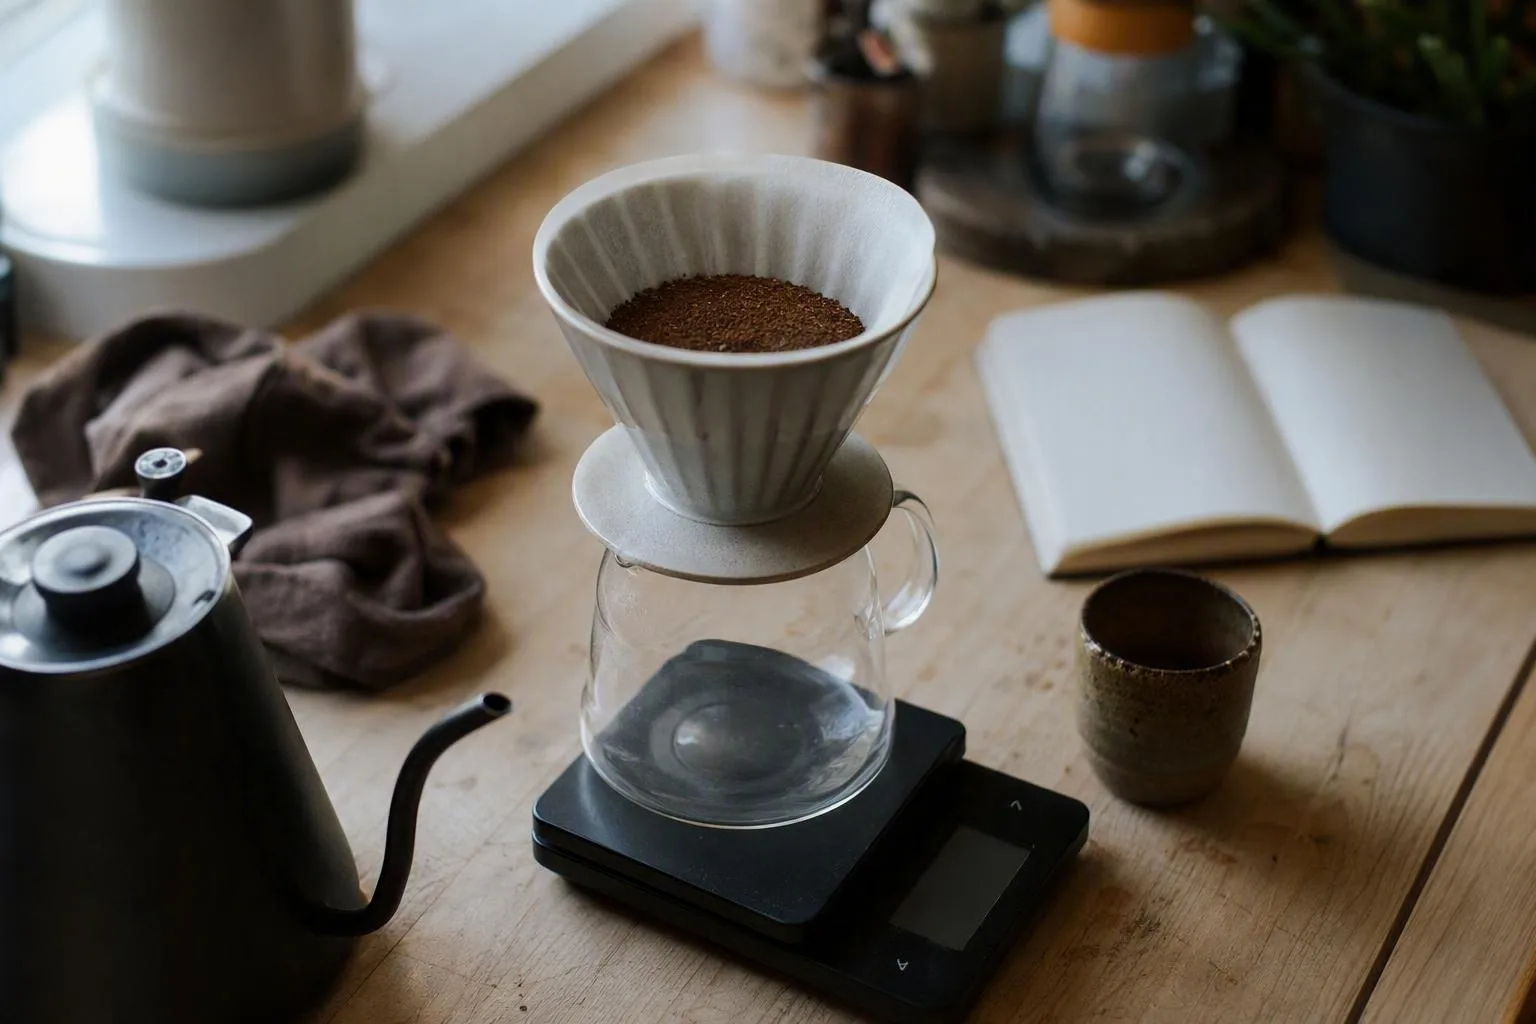
Pour-over coffee instructions: 20 g coffee, 300 g water at 1:15
A brew ratio compares the dry coffee dose with the water you pour. At 1:15, every 1 g of coffee gets 15 g of water, so 20 g of coffee needs 300 g of water. The water number is the total poured into the brewer, including the bloom, not the smaller amount that ends up in your cup after some water remains in the grounds.
| Dry coffee | Total water poured | Ratio | Useful starting size |
|---|---|---|---|
| 15 g | 225 g | 1:15 | Small single cup |
| 20 g | 300 g | 1:15 | Standard single cup |
| 25 g | 375 g | 1:15 | Larger mug |
Those numbers are just the same multiplication at three doses. Use the coffee to water ratio calculator when you want to scale a recipe without doing the arithmetic beside a hot kettle.
Ratio mostly changes strength, meaning how concentrated the finished drink feels. Grind size changes the available surface area and the speed of flow; water temperature changes the energy available for dissolving compounds; agitation changes how thoroughly fresh water contacts the bed. That is why a 1:15 brew can taste sour, bitter, thin, or heavy even when the arithmetic is correct.
Use 20 g and 300 g as your baseline because it gives you enough coffee to form a reasonably deep bed in a typical single-cup cone without requiring a large batch. It is a practical comparison point, not a universal serving size. If your brewer produces a very shallow bed at this dose, the same recipe may drain quickly and need a different grind.
Before you pour: lock in 92–96°C water and a medium-fine bed
For a light or medium roast, start with water around 92–96°C. A darker roast often starts more comfortably around 90–93°C, especially if the cup already tastes harsh or dry. Treat those as starting ranges: coffee density, roast development, filter paper, and your grinder can move the useful setting.
Grind 20 g to a medium-fine texture. It should feel finer than French press coffee but not powdery. The aim is enough surface area for the water to extract the bed before it drains, without producing so many small particles that they migrate into the paper and restrict flow.
Put the paper filter into the brewer and rinse it thoroughly with hot water. This wets the paper, warms the cone and serving vessel, and removes some of the loose paper taste that can otherwise distract from a mild coffee. Empty the rinse water, add the grounds, and shake the brewer gently so the bed is level before the first pour.
Keep the scale under the brewer and start the timer as soon as water touches the grounds. A gooseneck kettle makes a narrow stream easier to control, but the important variable is the stream’s force and location, not the kettle’s shape.
At 0:00–0:30, the bloom gets 40–60 g—not the whole first pour
The coffee bloom is a wetting step. For 20 g of dry coffee, pour 40–60 g of water, which is about two to three times the coffee dose. Aim the stream across the whole bed rather than creating a deep hole in the middle, then give the brewer one gentle swirl to combine dry pockets with water.
Stop pouring at 40–60 g and wait until 0:30. The bloom releases carbon dioxide trapped in the roasted grounds, and that gas can resist water in dry areas. Even wetting gives the later pours a more continuous path through the coffee. A bloom can improve wetting and evenness; it does not automatically extract more coffee just because the bed bubbles.
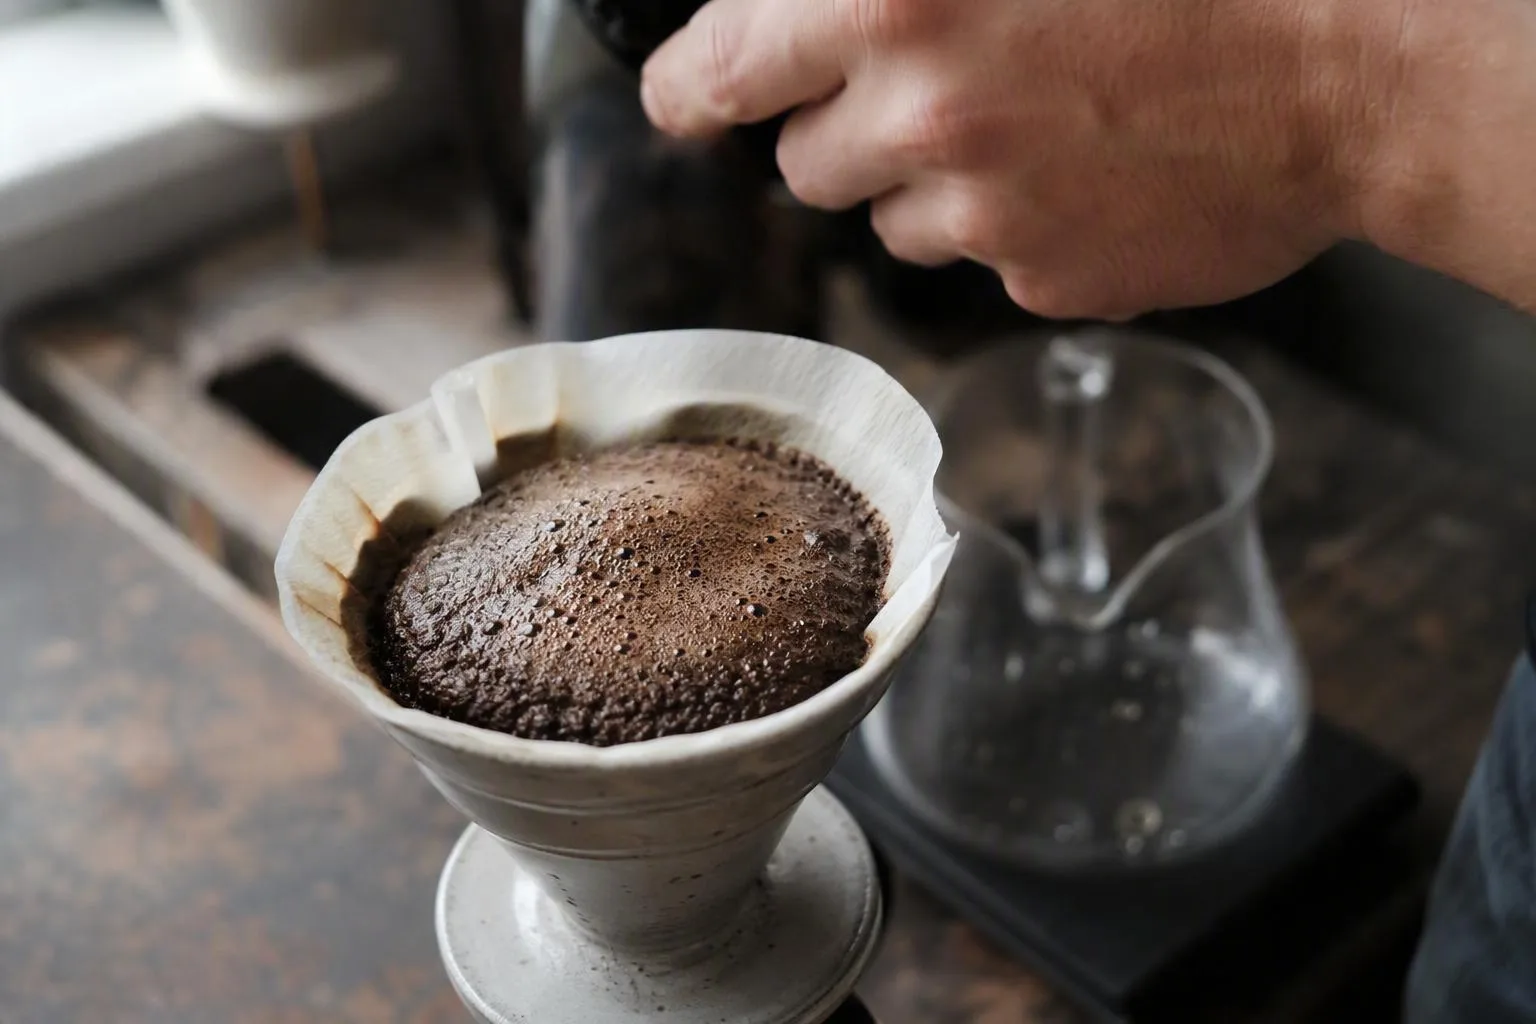
Very fresh coffee may still be releasing gas at 30 seconds. If the bed remains visibly swollen or water is struggling to enter parts of it, extend the bloom to roughly 45–60 seconds on the next brew. Do not extend it merely to make the bloom look dramatic; the useful test is whether the bed is evenly wet.
Remember the accounting: if you bloom with 50 g, you have 250 g left to pour, not 300 g. That mistake produces a 350 g brew and changes the ratio even though the scale reading may seem close during the later pulses.
One gentle swirl is enough for this baseline. More swirling can be useful when the coffee refuses to wet, but repeated agitation adds movement to the smallest particles and can slow the drawdown later.
A two-pulse finish: reach 200 g, then 300 g, with drawdown around 2:30–3:30
After a 50 g bloom, use two controlled pours:
- From 0:30 to about 0:55, pour steadily until the scale reads 200 g total.
- Let the water level fall without exposing a dry, cracked bed. Around 1:10, begin the second pour and finish at 300 g between about 1:10 and 1:35.
Pour in small circles over the coffee, keeping the stream low and narrow. Stay inside the coffee bed instead of striking the paper wall. A high or forceful stream can dig a crater, lift grounds, and send water around the outside of the bed rather than through its full depth.
Agitation means the physical movement that disturbs the grounds. A controlled pour supplies enough movement to refresh the water around the particles, but aggressive turbulence can carry fines, the smallest ground particles, toward the filter. When those particles settle in the paper, they can reduce flow and extend contact time.
A compacted patch gives water an easier route around it: water follows the lower-resistance channel, extracts that path more heavily, and leaves nearby grounds less used. That is channeling, and it can produce a cup that is both sharp and unpleasantly dry because some coffee is under-extracted while another part is overworked.
If the stream has been hitting one side of the cone, finer coffee can create more fines in that area; those particles can migrate toward the filter and reduce flow. The correction is not automatically a coarser grind. First keep the stream centered, reduce its force, and see whether the bed drains more evenly.
For 20 g of coffee and 300 g of water, use 2:30–3:30 as a starting drawdown window. That means the visible water has mostly passed through the bed by somewhere in that range, not that every coffee should finish at one exact second. Cone geometry, paper, coffee density, particle distribution, and pour technique all affect the endpoint.
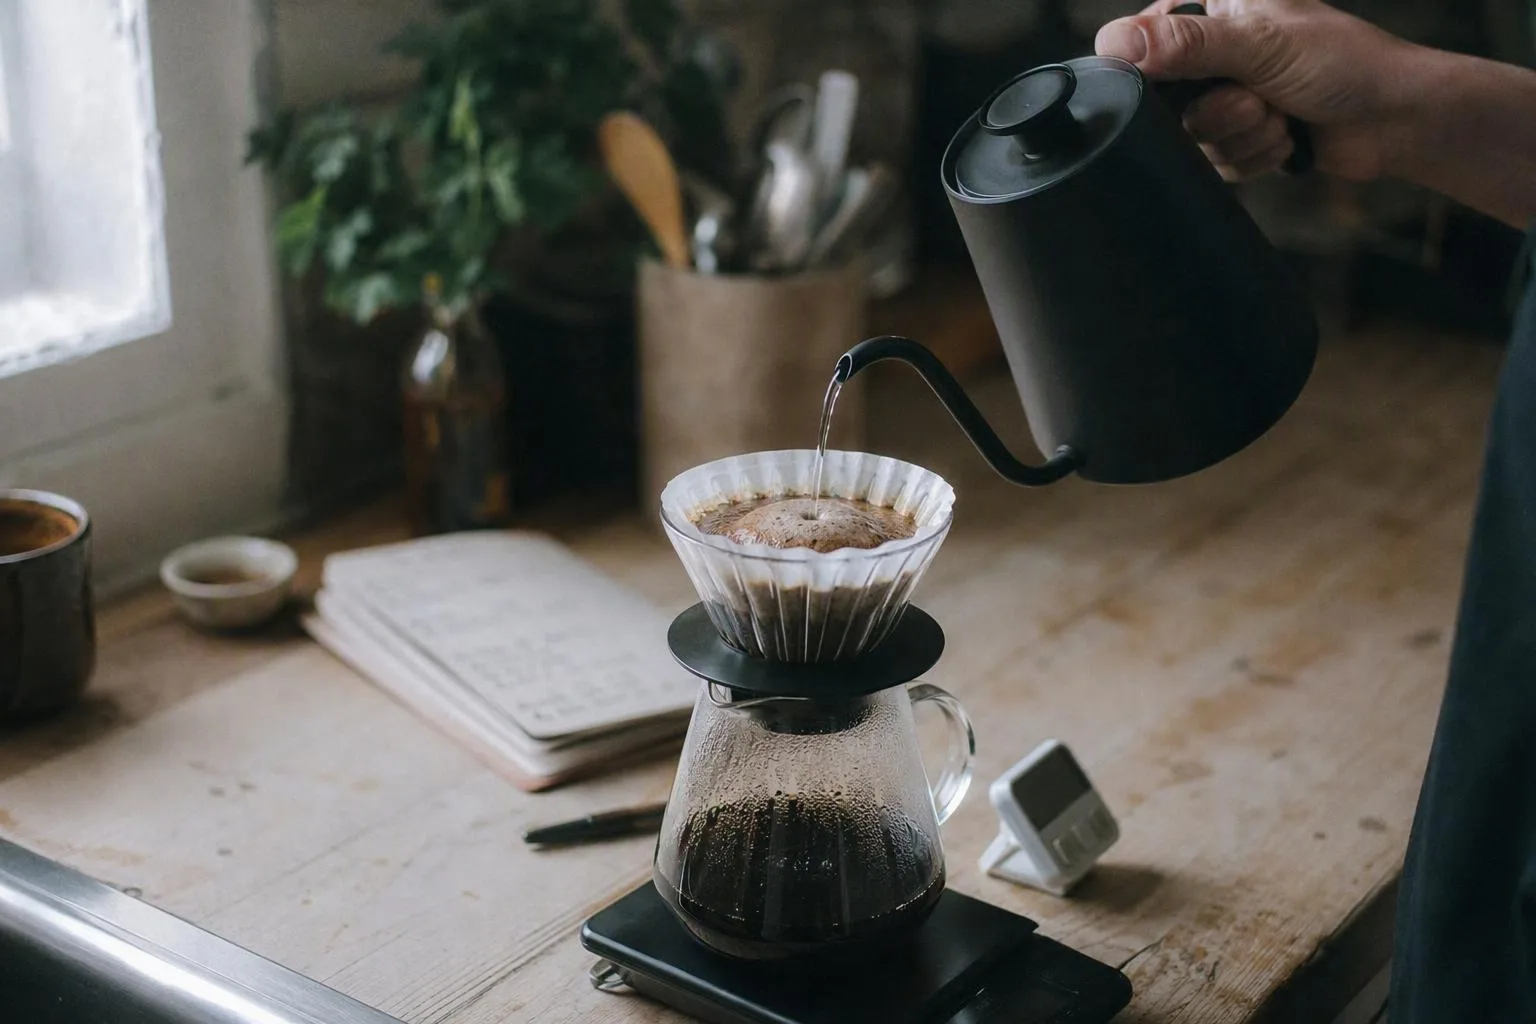
Here is a useful worked example. Suppose a 20 g brew receives a 50 g bloom, reaches 200 g at 0:55, reaches 300 g at 1:30, and finishes draining at 2:48. That is a sensible baseline. If the same dose finishes at 3:45 after repeated edge pours and tastes dry, the first experiment should be a gentler, more central pour or a small coarsening, not a simultaneous change to water temperature and ratio.
The opposite case matters too. If the brew reaches 300 g at 1:25 and drains by 2:12, while the cup is sharp and hollow, the bed may not have had enough effective contact time. A slightly finer grind is a cleaner first test than adding another pulse, because another pulse changes agitation as well as total time.
Read the cup and the filter bed before changing anything
Use taste, drawdown, and the bed together. Drawdown is a clue, not a verdict: a slow brew is not automatically over-extracted, and a quick brew is not automatically under-extracted. Uneven flow can give you both extremes in one cup.
| Cup and drawdown | What to inspect | First single change | Why that change fits |
|---|---|---|---|
| Sour, sharp, or hollow; under about 2:30 | Fast flow or visibly dry areas | Grind one small step finer | More surface area and resistance can increase useful contact |
| Sour but slow; uneven or cratered bed | Water marks on one side or dry islands | Use a gentler, centered pour | Fixes distribution before adding more extraction |
| Bitter, dry, or astringent; beyond about 3:30 | Very slow flow or muddy fines at the filter | Grind slightly coarser | Reduces resistance and limits excessive contact |
| Bitter or harsh; normal flow | Repeated swirls or forceful pours | Remove one swirl | Reduces agitation without changing the ratio |
| Clean but weak; normal flow | Even bed and pleasant finish | Move from 1:15 to 1:14 | More coffee per water makes the drink stronger |
| Muddy or heavy; slow flow | Fine sediment and a clogged-looking paper | Pour more gently, then test a small coarsening | Limits fines migration and filter restriction |
Under-extraction means the water has not dissolved enough of the coffee that was available to it. It often tastes sharp, thin, or salty. Over-extraction means the brew has dissolved a larger share of less pleasant compounds or has allowed too much contact in parts of the bed; dryness and a rough finish are common warning signs, but roast and water chemistry can change the way those flaws present.
A clean but weak cup is a ratio problem, not necessarily an extraction problem. If the brew is sweet and clear but lacks intensity, keep the grind and pours steady, then try 20 g coffee to 280 g water, which is 1:14. If the cup tastes sour, reducing water can make it more concentrated without making the under-extracted grounds taste better.
A long brew can still taste sour if water has taken a shortcut through one section of the bed. That is the counterintuitive part of pour-over troubleshooting: total brew time measures the brewer’s overall clock, while taste reflects what happened in individual regions of the coffee bed.
Change one variable, then repeat the recipe. If you grind finer, keep the water temperature, bloom, pour pattern, and ratio the same. If you change the bloom and the grind together, you may get a better cup but lose the information needed to reproduce it.
When to leave 1:15: roast, strength, and the next single adjustment
Use 1:15 as a comparison point, not a rule you must defend. For a stronger but otherwise balanced drink, use 20 g coffee and 280 g water at 1:14. For a lighter drink, use 20 g and 320 g at 1:16. Keep the grind and temperature unchanged for that first ratio test so the strength change is easy to taste.
The ratio is a volume control for strength. It cannot repair a fast, uneven extraction. If a 1:15 cup is balanced but too intense, add water; if it is sour and fast, fix grind or wetting first. Diluting an under-extracted brew usually gives you a weaker version of the same problem.
Roast level changes the useful starting point because darker coffee generally gives up soluble material more readily, while lighter coffee often needs more heat or contact to reach a balanced extraction. One common roast-dependent pattern is that a light coffee tasting sour with a fast drawdown benefits from a finer grind or water nearer 94–96°C, whereas a dark coffee tasting dry or harsh usually needs less extraction, such as a slightly coarser grind or water nearer 90–93°C.
That roast guidance is conditional, not a substitute for taste. A dense light coffee can still drain slowly if its particle distribution contains many fines, and a dark coffee can taste thin if it is ground too coarse or poured unevenly. The brewing-ratio and extraction-control references from the Specialty Coffee Association are useful for the formal vocabulary, while the Specialty Coffee Association water-quality standards for brewed coffee give broader context for the water itself.
Water composition deserves a quiet check when the same recipe changes dramatically between kitchens. Dissolved minerals affect how readily water interacts with coffee compounds, so a stable grind and recipe cannot guarantee a stable cup if the water source changes. If the brew is consistently dull or harsh despite controlled timing, test the water variable instead of endlessly moving the grinder.
Can you make pour-over coffee without a scale?
Yes, but repeatability drops. A level tablespoon of ground coffee can land roughly in the 5–7 g range depending on bean density, roast, and grind, while a marked vessel only estimates water volume. If you have no scale, estimate the 20 g dose and 300 g water, use the same spoon and vessel every time, and treat the method as a fixed routine rather than a precise diagnostic experiment.
Can you use pre-ground coffee for a 1:15 pour-over?
Yes. Choose a fresh medium-fine pre-ground coffee, brew it soon after opening, and let taste and drawdown guide small corrections. You have less control over particle size than you do with a grinder, so avoid compensating for a flat cup by adding more agitation immediately; extra movement can make a mixed particle bed drain even less predictably.
Can you scale this recipe up?
Scale the dose and water proportionally. Thirty grams of coffee with 450 g of water remains 1:15, and a two- to three-times bloom becomes roughly 60–90 g. A deeper bed can change resistance and drawdown, so use the larger brew’s taste and flow as the guide rather than forcing the 20 g recipe to finish at exactly the same time.
Is 300 g of brewing water the same as 300 ml?
For water near room temperature, 300 g is approximately 300 ml because the density is close to 1 g per ml. Weighing remains more repeatable, especially once the water is hot and your measuring vessel has an awkward shape. In this recipe, 300 g means water poured into the brewer, not final drink weight.
Saveable baseline: use 20 g medium-fine coffee, 300 g water, and 92–96°C water for a light or medium roast. Bloom with 50 g for 30 seconds, pour to 200 g by 0:55, then to 300 g by about 1:35, and look for drawdown around 2:30–3:30. If the cup is sharp and fast, try finer; if it is dry and slow, try coarser or less agitation; if it is clean but weak, try 1:14.
The useful habit is simple: treat 1:15 as the stable reference, then turn one dial at a time. A good bloom does not rescue a badly distributed bed, and a precise ratio does not excuse a channel. The repeatable cup comes from making those two facts visible in your routine.
Frequently Asked Questions
Can you make pour-over coffee without a scale?
Yes, but repeatability drops: a level tablespoon of ground coffee can vary roughly from 5–7 g by bean and grind, and water volume is only an approximation. Use a scale when diagnosing a cup; if necessary, estimate the 20 g/300 g recipe and keep the same spoon and measuring vessel each time.
Can I use pre-ground coffee for a 1:15 pour-over?
Yes. Use a fresh medium-fine pre-ground coffee, brew it soon after opening, and let drawdown and taste guide a small grind or agitation correction; the 1:15 ratio still works, but stale coffee and uneven particle size can make the cup flatter or less consistent.
Can I scale this recipe up for a larger pour-over?
Scale proportionally—for example, 30 g coffee to 450 g water remains 1:15—and keep the bloom at about 2–3 times the coffee dose. A deeper coffee bed can change flow and drawdown, so judge the larger brew by taste rather than forcing the 20 g recipe's exact timing.
Is 300 g of brewing water the same as 300 ml?
For water near room temperature, 300 g is approximately 300 ml, but weighing is more repeatable. The 300 g in this recipe means water poured into the brewer, not the smaller final beverage weight after water remains in the grounds.