Cold Brew Coffee Grounds: How Coarse Should You Grind?
For immersion cold brew, start with grounds that look like coarse sea salt: separate, chunky particles with little powder and almost no whole-looking pieces. Where a grinder or sifter gives a particle measurement, roughly 800–1,200 micrometres is a useful starting band; in a kitchen, the spread of the grounds matters more than a dial that merely says “coarse.” The exception is slow-drip cold brew, which needs its own starting point.
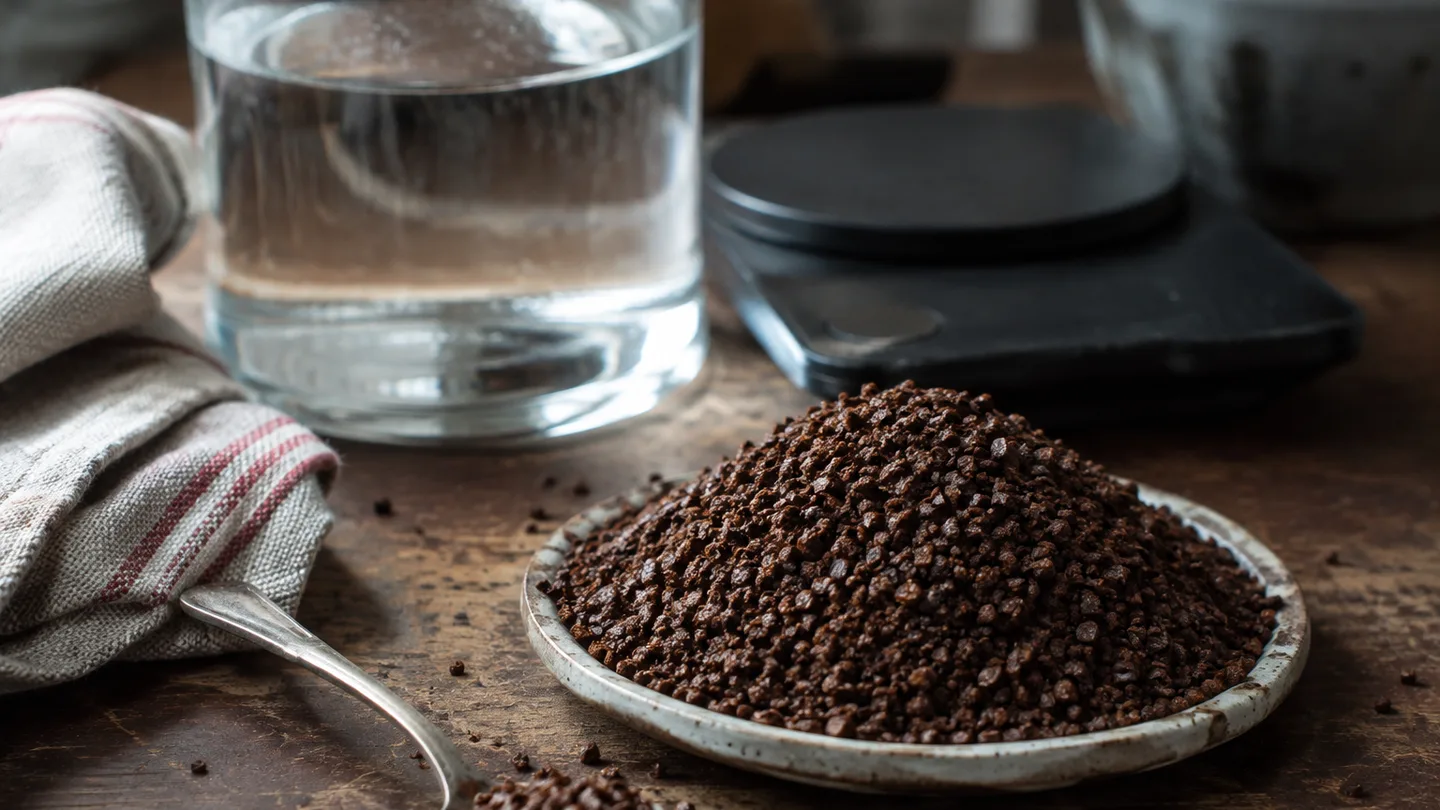
Cold brew coffee grounds should look like coarse sea salt—not whole chunks
For a jar or steeping brewer where all grounds sit in water, choose coarse to medium-coarse coffee. You want pieces large enough to filter without packing into sludge, but not so large that water struggles to reach the interior during a long steep.
Do not read 800–1,200 micrometres as a universal grinder calibration. Grinder labels vary, and two settings both called coarse can produce different particle spreads. Use the number only if your equipment actually reports it; otherwise, pinch a dry sample and look for a pile dominated by visible granules.
A coffee grind size chart can orient your first dial move, but it cannot show whether your grinder created a cloud of fines. “Coarse” is the starting hypothesis. The grounds and the cup decide what happens next.
Why a 12–24-hour steep changes the grind-size decision
Cold brew extraction is slow for two reasons working together: cold water removes soluble coffee material less quickly than hot water, while immersion keeps the grounds in contact for a long time. Here, extraction means the movement of soluble coffee material from the grounds into the water. Smaller particles expose more surface area, so they tend to give water faster access to that material.
Use one canonical timing window for immersion: 12–16 hours at room temperature or 18–24 hours in the refrigerator. A refrigerator batch usually needs the longer window because it is colder. Compare like with like before blaming the grinder.
| Grounds | What happens during the window | Likely risk |
|---|---|---|
| Coarse | Slower, steadier extraction from larger pieces | Thin if the steep is stopped early |
| Medium-coarse | Faster access with a broader extraction pace | More sediment if the grind contains fines |
| Fine | Very fast access from small particles | Harshness, drying, and filter clogging |
At the fine end, extraction can race ahead in the smallest particles while the filter fills with sediment. The result may become harsh or drying before the larger pieces have contributed a balanced cup. That is why coarse is the safer first choice for a 12–24-hour immersion.
Concentrate or ready-to-drink? Change the ratio before changing the grind
Grind size and strength answer different questions. A coffee-to-water ratio is the mass of coffee divided by the mass of water, so 60 g of coffee with 720 g of water is 1:12. A stronger cold brew concentrate ratio might sit around 1:4–1:8 before dilution; a ready-to-drink cold brew ratio commonly starts around 1:8–1:12, with 1:8 near the border between the two approaches.
In this article, TDS, or total dissolved solids, means a concentration reading for dissolved material in the finished drink. It describes strength, not whether the cup tastes good. For formal vocabulary, brewing ratios and TDS terminology help separate dose, water, concentration, and extraction instead of treating them as one dial.
| Use | Starting ratio | Coffee for 500 g water | Coffee for 1,000 g water | Grind |
|---|---|---|---|---|
| Concentrate | 1:4–1:8 | 62–125 g | 125–250 g | Coarse |
| Ready to drink | 1:10–1:12 | 42–50 g | 83–100 g | Coarse |
| Small test batch | 1:12 | 42 g | 83 g | Coarse |
Using finer grounds to make concentrate is therefore a poor first move. It can increase extraction speed and bitterness along with strength; changing the ratio changes how much coffee is present per gram of water. If you are scaling a batch, a coffee to water ratio calculator keeps the arithmetic out of the taste test.
The hidden problem is particle spread: boulders plus fines in one ‘coarse’ grind
Average grind size hides the problem that makes many cold brew batches muddy: particle-size distribution. Two doses can look equally coarse on average, yet one may contain mostly similar pieces while the other mixes large boulders with powder. The boulders extract slowly; the fines, meaning the smallest fragments, extract quickly and can migrate through mesh or clog paper.
The phrase coffee particle-size distribution simply names how much of the dose is made up of large pieces, middle-sized pieces, and fines. A burr grinder generally produces a narrower spread because it crushes between surfaces; a blade grinder chops in a less controlled pattern. That is a consistency difference, not a requirement for good cold brew.
Inspect 30 g before brewing:
- Spread the sample on white paper and look for a visible ring of dust around the main pile.
- Rub a pinch between dry fingers. Powder that coats the skin signals a large fine fraction.
- Look for unbroken-looking chunks alongside the powder. That combination is the uneven grind you need to manage.
Do not chase a dial number if the sample is visibly uneven. Reducing the dust while keeping the main pile consistent is the useful target.
A controlled 60 g test batch isolates whether the grind is wrong
A 60 g test batch is large enough to taste but small enough to repeat without wasting a full jar. Use 720 g of water for a 1:12 starting ratio, coarse grounds, and the same filtered water each time.
- Weigh 60 g of coffee and 720 g of water. Record the bean, grinder setting, and water temperature if you can measure it.
- Combine the coffee and water in a clean jar or brewer. Stir gently once so no dry pocket remains, then cover it.
- Use the same canonical windows: 12–16 hours at room temperature or 18–24 hours in the refrigerator. For a single fixed test, choose 16 hours at room temperature or 20 hours in the refrigerator; these are convenient points inside the same windows, not alternate rules.
- Filter without pressing the grounds. Taste a small pour before adding ice or dilution, because ice and extra water can hide a weak or over-extracted brew.
- Write down the result in plain language: sharp, thin, dry, bitter, muddy, clean, or balanced. Change one variable in the next batch.
This cold brew recipe by weight gives you a clean comparison. If the 1:12 cold brew ratio tastes sharp at the end of the window, change the grind or the time next, not both. If you are making concentrate, assess the brewed liquid before dilution.
Read the cup before touching the grinder: sour, thin, bitter, or muddy
Judge the cup after it has reached the planned end of the window and after filtration. Then use the first adjustment in the table rather than making a new recipe from scratch.
| What you taste or feel | Likely mechanism | First adjustment |
|---|---|---|
| Sharp, sour, and thin | Under-extraction from coarse grounds, a short steep, or a weak ratio | Hold the ratio and go one small step finer |
| Thin but clean | Low concentration rather than necessarily low extraction | Use more coffee next time |
| Harsh, bitter, or drying | Over-extraction, excess fines, or rough roast character | Go coarser before changing the ratio |
| Muddy or cloudy | Fines passing through the filter or too much agitation | Let the batch settle and improve filtration |
Sourness is often a sign of incomplete extraction, but sourness and thinness can also arrive together when the drink is simply too weak. If the first row feels familiar across several brewers, the guide why is my coffee sour gives the same check order in broader form. For a drying finish, why is my coffee bitter is useful when a shorter steep does not solve it, because roast development and fines can be involved too.
Adjust one grinder step—or 2–4 hours—not every variable at once
For the second batch, change one variable after the first full-window sample. If the coffee is sour or thin, move one or two small grinder settings finer. If the grinder’s step is too large or the result is not repeatable, extend the steep by roughly 2–4 hours instead. If the cup is harsh or drying, move one or two settings coarser first; if the particle spread stays the same, shorten the steep by the same general interval.
- Dose: coffee mass
- Water: water mass and source
- Ratio: coffee divided by water
- Grind: dial setting and particle appearance
- Temperature: room temperature or refrigerator
- Time: start and finish
- Taste: the dominant flaw and the first adjustment
Click counts are not universal; direction and repeatability matter more than a particular dial number. That simple log turns cold brew grind troubleshooting into a comparison instead of a string of guesses.
Paper, cloth, and mesh set the ceiling for how fine you can go
Filter choice changes the practical grind target. Paper gives the cleanest cup, cloth lets more oils through while catching much of the sediment, and mesh preserves the most body but allows more fine particles into the drink. The filter is part of the extraction system, not a neutral final step.
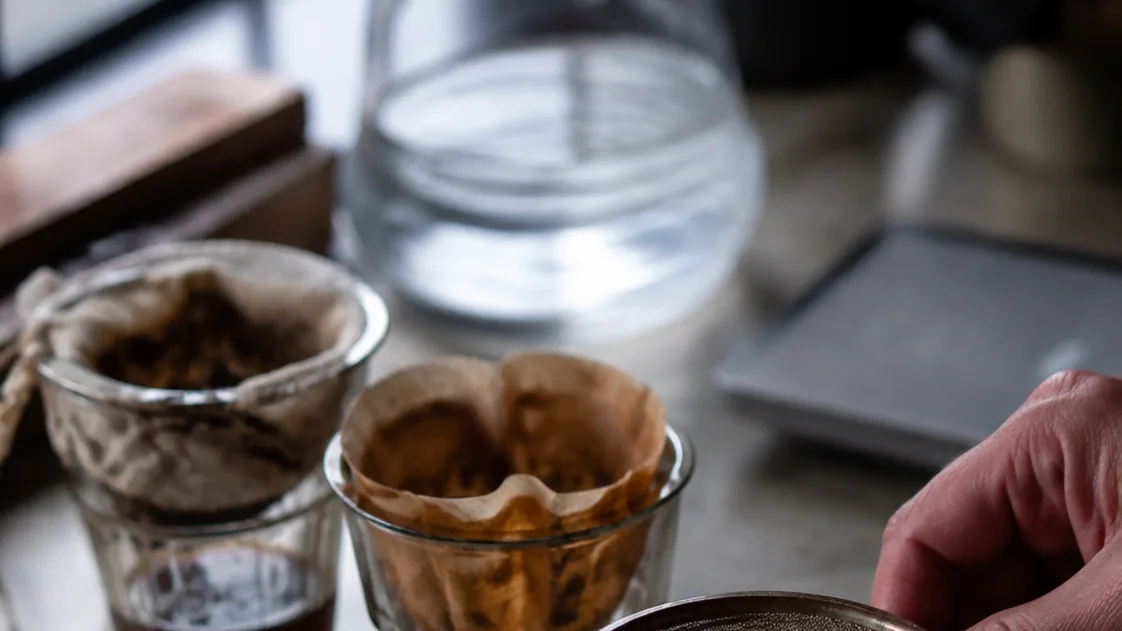
Fine particles can form a cake and stall a paper filter. If the liquid backs up, do not press or stir the bed; that pushes fines through and can make the finished cold brew both slow to filter and muddy. A coarse grind is the safest common starting point because it gives each filter more room to work.
- Try a 10-minute settling period before you pour the batch into the filter.
- Decant slowly and leave the last cloudy layer behind rather than forcing it through.
- If visible dust remains, use staged filtration: mesh first, then paper or cloth.
A filter can remove sediment; it cannot reverse extraction. If the liquid tastes bitter before filtering, finer grounds are not the fix.
The exception: slow-drip cold brew can start medium-coarse
Slow-drip cold brew is not the same process as immersion. In immersion, grounds sit in a pool of water for 12–24 hours. In slow drip, water passes continuously through a coffee bed, and a practical starting expectation is roughly 3–8 hours, depending on drip rate, bed depth, and the brewer’s design.
That moving flow makes medium-coarse a sensible starting point. Too fine can restrict the bed, slow the drip, and encourage channeling, where water finds a few easy paths instead of contacting the whole bed. Too coarse can let water move through quickly while leaving the cup thin. Start coarse for immersion and medium-coarse for slow drip, then adjust from taste and flow rather than the label.
FAQ: practical cold brew grind questions
Can I use pre-ground coffee for cold brew?
Yes. Choose the coarsest pre-ground option available, but expect more fines than you might get from a consistent burr grind. Let the batch settle and use paper or staged filtration if the finished coffee tastes dusty or muddy.
Do I need a burr grinder to make good cold brew?
A burr grinder is helpful but not required. A blade grinder can still work if you avoid prolonged chopping, inspect the grounds, and accept that filtration and timing may need more attention.
Can I use medium-ground coffee for cold brew?
Yes, as a fallback. Start at the short end of the canonical window, around 12 hours at room temperature or 18 hours in the refrigerator, then taste before extending it. Smaller particles tend to extract faster and produce more sediment, so medium grind gives you less margin than coarse.
Frequently Asked Questions
Can I use pre-ground coffee for cold brew?
Yes. Choose the coarsest pre-ground option available, expect more fines than with a consistent burr grind, and use paper or staged filtration if the finished coffee is dusty or muddy.
Do I need a burr grinder to make good cold brew?
No, but a burr grinder usually produces a narrower particle distribution. A blade grinder can still work if you inspect the grounds, avoid prolonged chopping, and compensate with careful filtration and a controlled steep.
Can I use medium-ground coffee for cold brew?
Yes as a fallback, but shorten the initial steep or monitor the cup earlier because the smaller particles extract faster and are more likely to create bitterness, astringency, and sediment.