Cold Brew Coffee How to Make: A Simple 12-Hour Recipe
The simplest answer to cold brew coffee how to make is 100 g of coarse-ground coffee, 800 g of filtered water, and a 12-hour steep. The part that usually causes trouble is not the jar; it is choosing a ratio and temperature that match the drink you want. This baseline makes a strong batch at roughly 18–22°C, ready for ice, water, or milk.
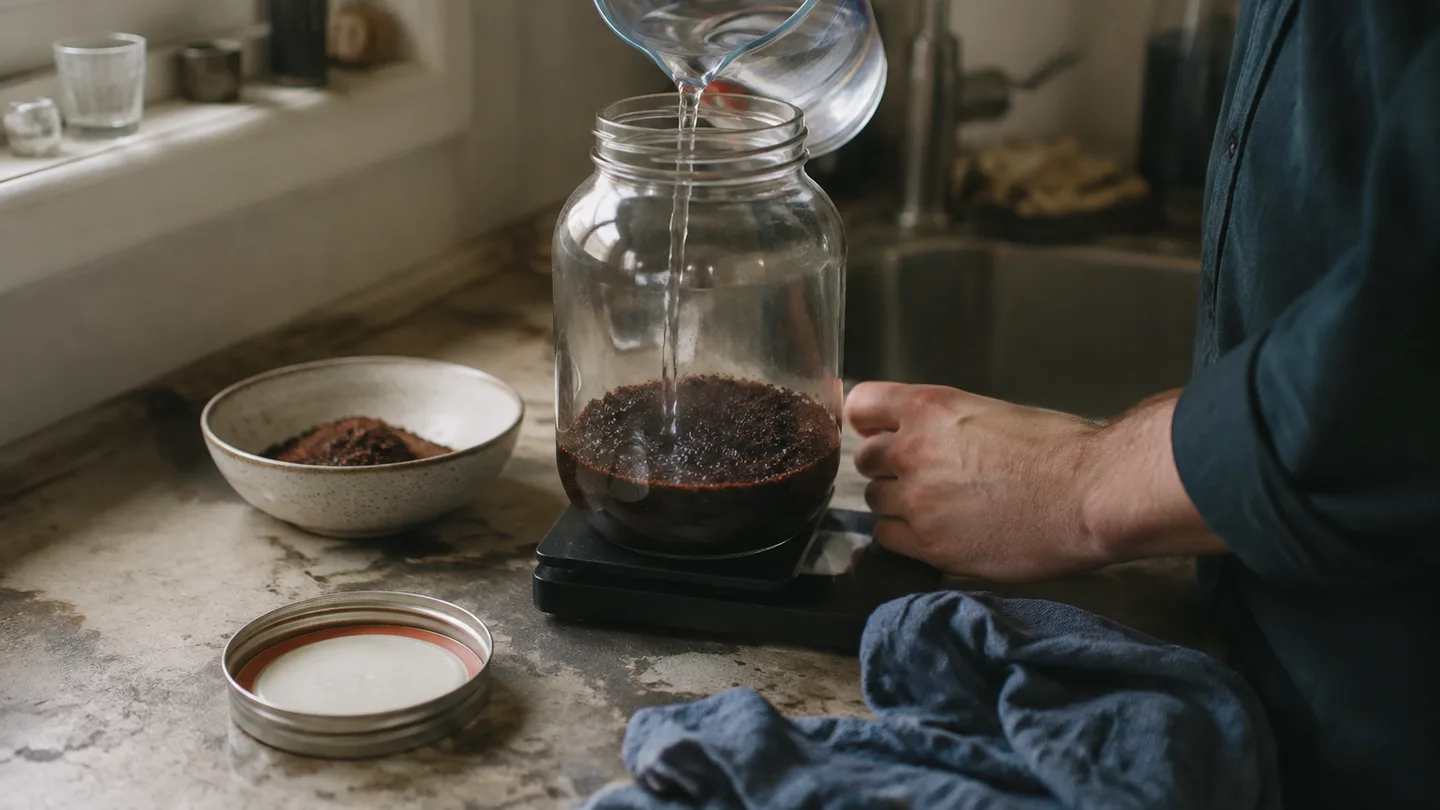
The 12-hour batch: 100 g coffee plus 800 g water
Use a 1-litre jar, a scale, a grinder, and filtered water. Weigh 100 g of coffee and 800 g of water. That is a 1:8 brew ratio, meaning the weight of coffee compared with the weight of water.
This is a strong, concentrate-style batch rather than a finished glass poured straight from the jar. It gives you room to add water or let ice melt without turning the drink thin. Start the steep at roughly 18–22°C, covered and away from direct heat or sunlight.
Weigh the grounds instead of filling a measuring cup. Ground coffee holds air, different beans have different densities, and a coarse grind settles differently from a finer one. A scoop can therefore give you a noticeably different dose even when the volume looks unchanged.
In this recipe, extraction means the movement of soluble coffee compounds from the grounds into the water. Time, temperature, grind size, agitation, and the amount of water all change how much of that transfer can happen.
Choose the strength before you fill the jar: 1:8 versus 1:12
The same cold brew method can make two very different drinks. At 1:8, 100 g of coffee with 800 g of water produces a strong base that works well over ice or diluted with water. At 1:12, the same 800 g of water takes about 67 g of coffee, giving you a lighter batch that is closer to ready to drink.
The ratio describes the brew before serving, not necessarily the strength in the glass. A 1:8 batch mixed with an equal mass of water moves toward a 1:16 final drink. A full glass of ice adds more dilution as it melts, so the same concentrate can taste stronger in a short pour and lighter after ten minutes over ice.
If you use a different jar, scale the recipe rather than guessing. The site’s coffee to water ratio calculator is useful here: choose the water weight you can fit, then divide it by eight for a concentrate-style batch or by twelve for a lighter one.
Coarse is a direction, not a particle-size target
Set the grinder coarse enough that the finished drink does not turn silty, but not so coarse that the coffee tastes hollow after 12 hours. There is no universal particle-size number because grinders produce different distributions, even when their settings carry the same label.
Very fine particles can escape from larger grounds and travel through the liquid. This is fines migration, and it can increase bitterness, dryness, and cloudiness while making the paper filter drain slowly. An extremely coarse grind has the opposite problem: less surface area is available for water to contact, so the cup can stay sharp and tea-like.
If the first batch is sharp, thin, or tea-like, move one or two grinder steps finer for the next batch. If it is dry and muddy, move one or two steps coarser and improve the filtration before changing anything else. Make one adjustment at a time so you know which dial actually changed the cup.
Jar method in five measurable steps
A jar works because the process stays visible. You can see whether the grounds are submerged, stir gently without aggressive agitation, and judge the liquid before deciding how much water or milk to add.
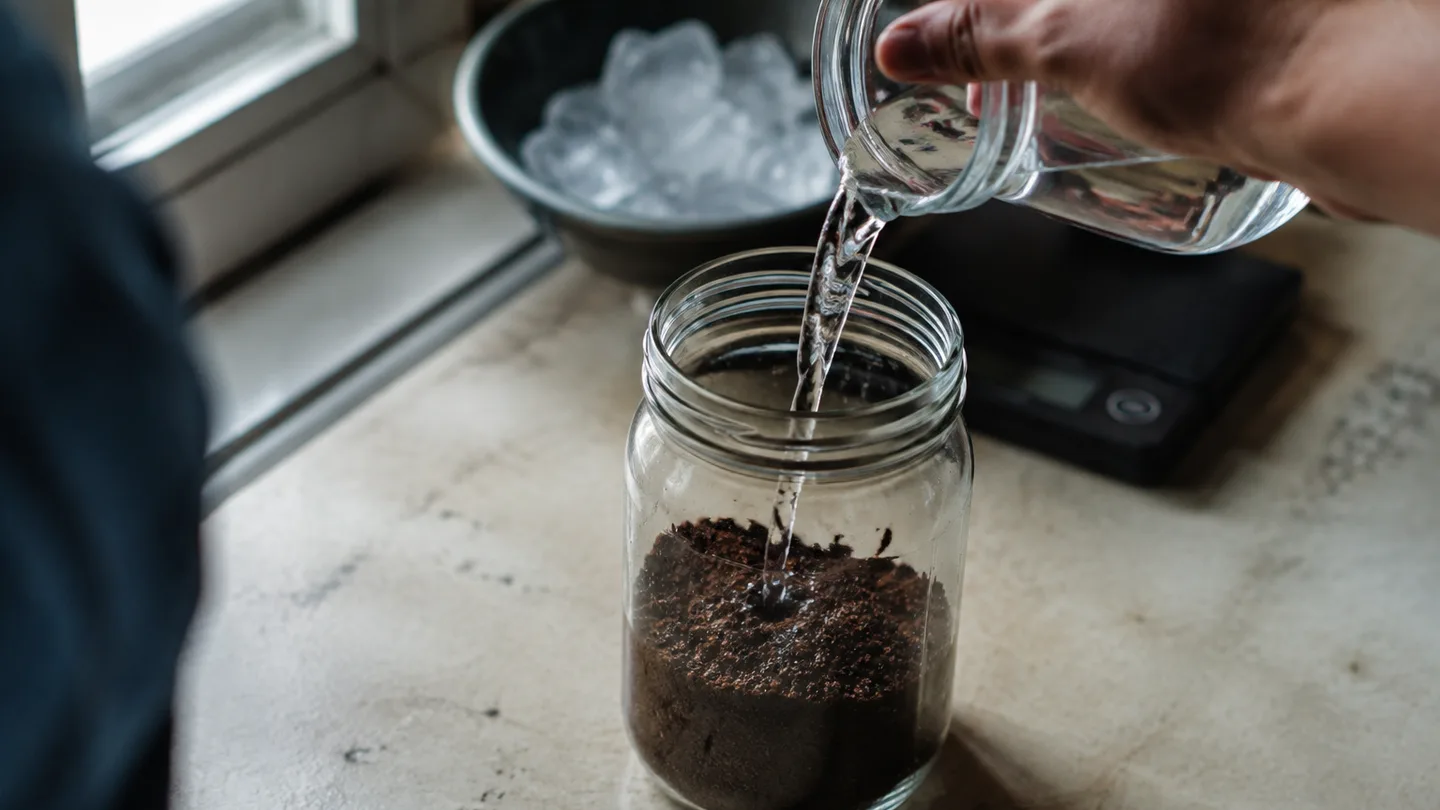
- Grind 100 g of coffee. Aim for a coarse texture, but use the appearance of the grounds and the clarity of the cup as your real feedback. Avoid grinding so fine that the bed resembles sand.
- Add the water. Put the coffee in the jar, add 800 g of filtered water, and pour steadily so dry pockets do not remain at the bottom or along the glass.
- Wet every particle. Stir gently for about 10–15 seconds. The goal is to break up dry clumps and bring all the grounds into contact with water, not to whip air into the brew or keep agitation going throughout the steep.
- Cover and steep for 12 hours. Keep the grounds fully submerged and hold the jar at a fairly stable 18–22°C for this baseline. A large temperature swing makes the clock harder to interpret because extraction speed is changing as well.
- Strain, then filter. Pass the mixture through a sieve first, then run it through paper if you want a cleaner texture. The next section explains why that two-stage filter is worth the extra few minutes.
Do not keep stirring during the 12 hours. Early wetting helps remove dry pockets; repeated agitation keeps more fine particles suspended and makes the final drink harder to clarify.
At hour 12, filter before you dilute
Start with a sieve to catch the larger grounds, then use a paper filter for the smaller particles. Depending on the paper, the amount of fines, and how quickly the liquid drains, gravity filtration can take roughly 5–15 minutes.
If the paper slows to a trickle, let it work. Do not squeeze the grounds or stir the filter bed. Pressure can push fine particles through the paper, while stirring redistributes the sediment you were trying to remove.
Only dilute after filtration. A cloudy, concentrated sample can taste heavier than the same coffee once it is clarified, and judging the undiluted liquid first lets you separate extraction problems from serving-strength problems.
Room temperature and refrigerator steeping are not interchangeable
A 12-hour steep at 18–22°C is the main recipe because warmer water generally moves soluble compounds out of the grounds faster than refrigerator-cold water. At roughly 4–6°C, the same jar usually needs about 18–24 hours to approach a similar extraction level.
That is a working range, not a conversion table. Bean density, roast development, grind distribution, the amount of agitation, and the temperature of the refrigerator can all move the result. A dense light roast and a fragile, fines-heavy grind will not behave exactly like a darker roast ground on a different machine.
Change time and temperature together. If you move the jar from the counter to the refrigerator, do not keep using the 12-hour alarm as if nothing else changed. Once you have chosen a temperature, hold the other variables steady and adjust only the steep time or grind on the next batch.
Use the flavor symptom to choose one adjustment
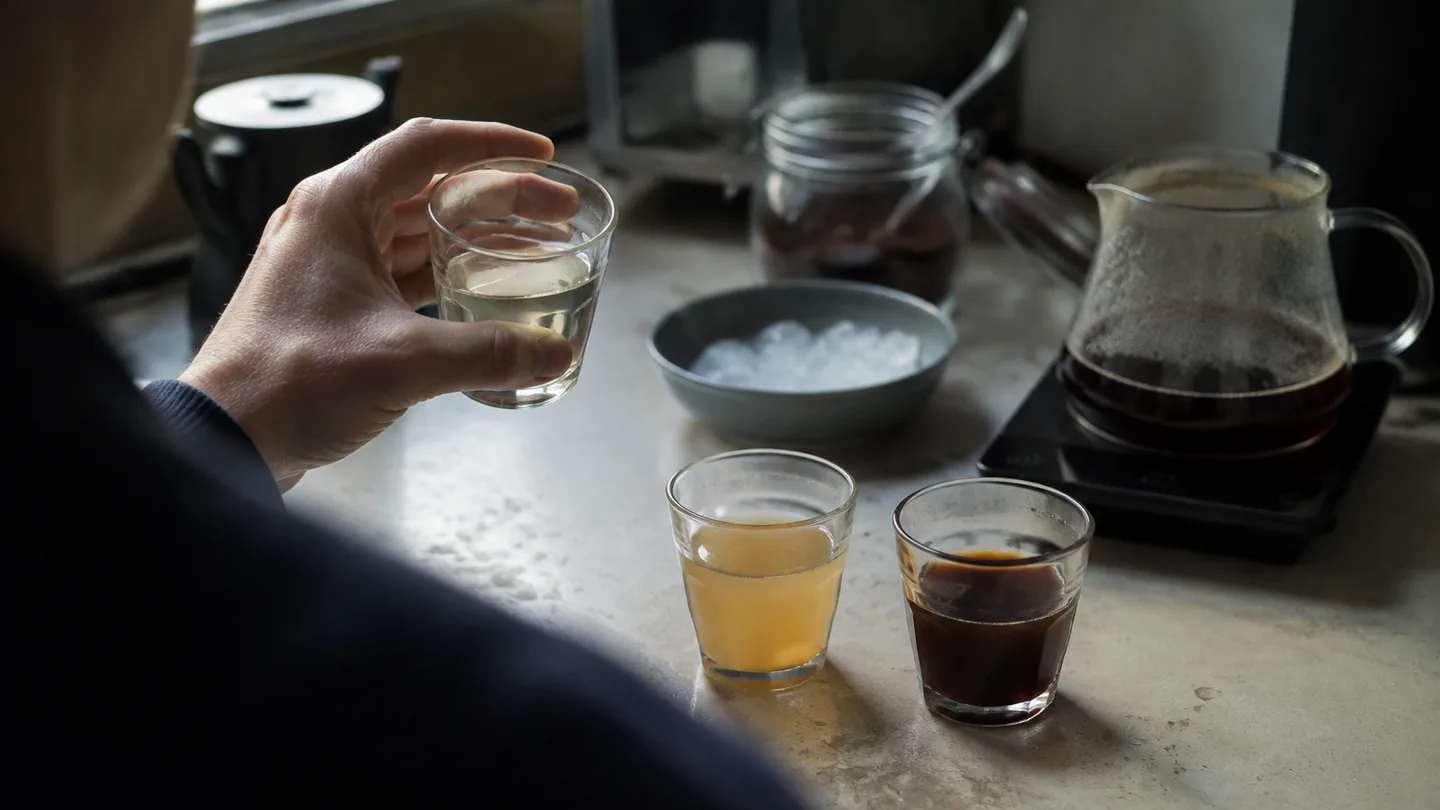
Taste the finished brew before changing anything. Dilute a small sample to a drinkable strength, because a concentrate can exaggerate both bitterness and acidity. Then use the first-change rule below rather than changing the ratio, grind, temperature, and time at once.
| What you taste or see | Likely mechanism | First change |
|---|---|---|
| Sharp, sour, or tea-like | Under-extraction: too little soluble material reached the water for the strength you served. | Steep 1–2 hours longer, or move one small grinder step finer. Choose one. |
| Bitter, drying, or woody | Possible over-extraction or too many fines in the drink. | Try an 8–10 hour batch or grind slightly coarser. Improve paper filtration before adding more variables. |
| Weak but clean | The brew may be fine; the serving ratio is too diluted, or the batch began at 1:12 when you wanted concentrate. | Add less water and ice, or use 1:8 for the next batch. |
| Cloudy, gritty, or muddy | Fines migration and suspended sediment are dominating the texture. | Let the jar settle, sieve first, then use paper. A slightly coarser grind can help. |
| Smoky or charred even after a shorter steep | The roast character may be contributing more bitterness than extraction time is. | Test a less darkly roasted coffee before repeatedly shortening the steep. |
Sharpness is not proof that the coffee is bad, and bitterness is not proof that the steep simply ran too long. The useful question is whether the flavor changes when you alter extraction. If it does not, look at the roast or the serving dilution next.
For the same diagnosis in pour over and immersion coffee, the guides why is my coffee sour and why is my coffee bitter use the same basic logic: identify the flavor, name the mechanism, and move one controllable variable.
Storage changes flavor after the filter, not during it
Transfer the filtered cold brew to a clean, sealed container and refrigerate it. For fresher flavor, aim to drink a batch within about 5–10 days; treat that as a quality target, not a universal safety guarantee for every kitchen or container.
Leaving grounds in the liquid allows extraction to continue, which can push the drink toward heavier bitterness and sediment. Oxygen also gradually makes coffee taste flatter or stale, so a closed bottle with little empty headspace is a better choice than an uncovered jug.
Keep ice and milk out of the storage bottle. Store the coffee base on its own so you can adjust dilution for each glass instead of committing the entire batch to one strength.
The serving math: dilute a 1:8 batch by weight
For the first glass, weigh 150 g of 1:8 cold brew and add 150 g of water. That approximately doubles the water available to the coffee, moving the final drink toward a 1:16 ratio. The result will not be exact because the grounds retain some brewing water, but it is a reliable starting point.
Over a full glass of ice, start with less added water because melting ice is part of the dilution. For a milk drink, try 100–150 g of cold brew with 60–120 g of milk, then adjust the milk until the coffee still has enough acidity and roast character to remain present.
The right endpoint is not a fixed café volume. It is a cup that balances strength, acidity, sweetness, and roast bitterness after the ice or milk has done its work. Save the baseline as a note: 100 g coffee, 800 g water, 12 hours, 18–22°C. Change one dial from there.
Can I make cold brew with hot water instead?
You can make coffee with hot water and chill it, but that is a different method, usually described as iced coffee or flash brew when the hot coffee is brewed directly onto ice. Hot water extracts faster and commonly gives a brighter, more aromatic cup than a long cool-water steep.
Do I need a special cold-brew maker?
No. A 1-litre jar, scale, sieve, and paper filter are enough. A dedicated brewer can make steeping or filtration cleaner, but it does not remove the need to choose a ratio, grind, temperature, and time.
Can I reuse cold-brew coffee grounds?
You can steep them again, but expect a weaker and quieter batch. The first steep has already removed a substantial share of the readily soluble flavor material, so the second extraction is better treated as an experiment than as a repeat of the original recipe.
Frequently Asked Questions
Can I make cold brew with hot water instead?
Hot water followed by chilling is iced coffee or flash brew, not cold brew; it extracts faster and usually produces a brighter, more aromatic cup than a long cool-water steep.
Do I need a special cold-brew maker?
No. A 1-litre jar, scale, sieve, and paper filter are enough; a dedicated brewer mainly makes the steeping and filtering cleaner or easier.
Can I reuse cold-brew coffee grounds?
You can steep them again, but the second batch is usually weak and muted because many readily soluble flavor compounds were removed in the first extraction.