Cold Brew Coffee Ratio Explained: 1:4 vs 1:8 vs 1:10
A 1:4 cold brew ratio does not make the same drink as 1:10. With 100 g of coffee, the first uses 400 g of brew water and the second uses 1,000 g, so one is normally built as a concentrate while the other is closer to ready-to-drink coffee. The useful distinction is not strong versus weak alone: ratio changes concentration, while grind, time, temperature, and agitation decide how much coffee actually dissolves.
If you are choosing a batch to brew tonight, 1:8 is the most forgiving starting point. It gives you enough concentration to serve over ice or dilute with milk, without committing you to the heavy post-brew dilution that a 1:4 batch usually needs.
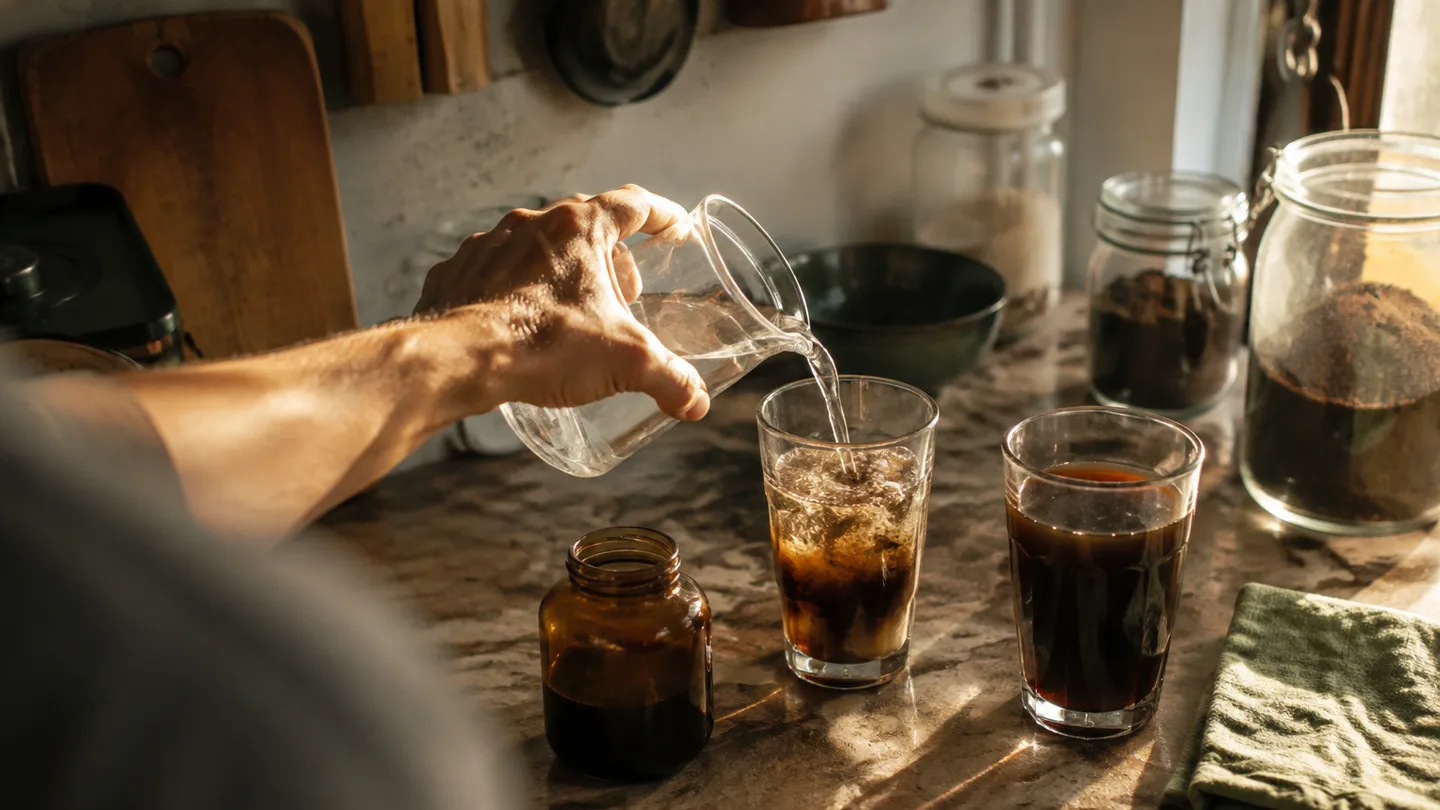
1:4, 1:8, and 1:10 are not three strengths of the same drink
A cold brew coffee ratio is written as coffee mass to brew-water mass. The first number represents one part of coffee; the second tells you how many parts of water enter the brew. Those parts are measured by weight, so 1:8 means 1 g of coffee for every 8 g of water, not one scoop for eight cups.
At 1:4, 100 g of coffee meets 400 g of water. That small amount of water usually produces a dense brew intended to be diluted with water, ice, or milk. The word concentrate describes that serving intention; it is not a fixed concentration threshold that every coffee must meet.
At 1:8, the same 100 g dose meets 800 g of water. This sits in the useful middle: the brew can be poured over ice, served black, or lengthened with water without becoming immediately thin. The central idea behind cold brew coffee is that the recipe ratio is set before brewing, while your serving ratio can change afterward.
At 1:10, 100 g of coffee meets 1,000 g of water. That is the practical choice when you want a lighter batch served black with little or no dilution. A delicate light roast may still taste bright at 1:10, while a more developed roast can taste rounded and fuller under the same ratio.
Put the ratios on a scale: 100 g of coffee needs 400, 800, or 1,000 g of water
Put those numbers on a scale, not in a cup. Volume measures become unreliable once you change from whole beans to grounds, switch grinders, or use a different coffee density. Weight lets you repeat the recipe even when the coffee changes.
- 50 g of coffee: use 200 g of water at 1:4, 400 g at 1:8, or 500 g at 1:10.
- 100 g of coffee: use 400 g of water at 1:4, 800 g at 1:8, or 1,000 g at 1:10.
- 125 g of coffee: use 500 g of water at 1:4, 1,000 g at 1:8, or 1,250 g at 1:10.
A scoop cannot give you that same control because ground coffee packs differently. A light, airy grind and a dense, fine grind can occupy different volumes even if they weigh the same. Cups also encourage you to measure the wrong water: the brew water that enters the jar is not necessarily the amount of strained coffee that reaches your bottle.
Grounds retain part of the water during steeping, and the filter or mesh can hold back more. So an 800 g water input does not promise 800 g of finished beverage. Record the water you add first, then weigh the strained output if you need to repeat a serving size precisely. The coffee to water ratio calculator is useful when you want to scale from a dose you already have rather than start with a round jar volume.
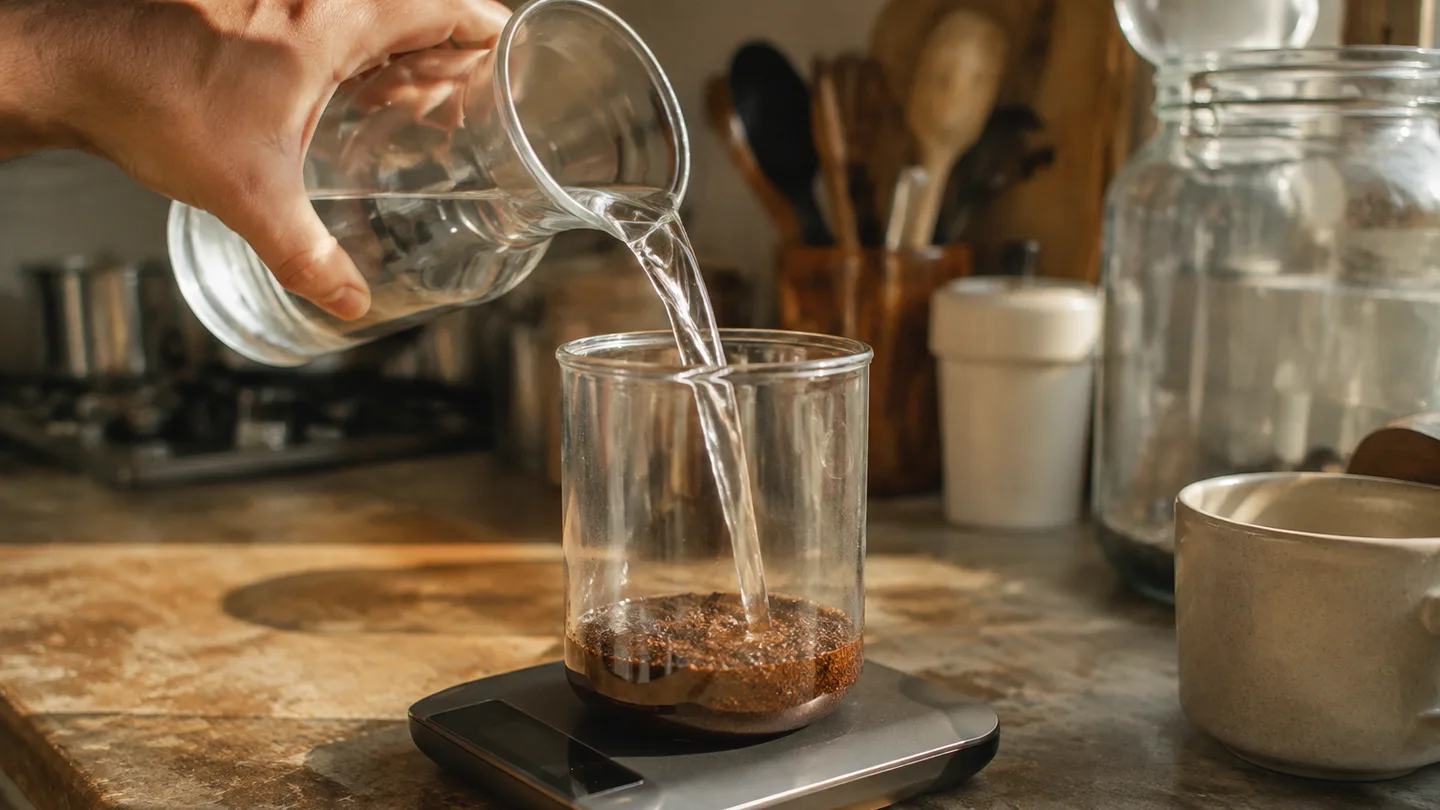
A stronger recipe is not automatically a more extracted recipe
Extraction and concentration describe different things. Extraction is the amount of soluble coffee material that leaves the grounds; concentration is how much of that dissolved material is present in each sip. Brewers sometimes describe concentration with TDS, short for total dissolved solids, but you can understand the distinction by tasting two batches without measuring either one.
Hold grind size, water temperature, agitation, and steep time constant. A 1:4 batch will usually taste denser because the dissolved coffee is distributed through less liquid. A 1:10 batch will usually taste lighter because the same dose has more water around it. That difference does not prove that the 1:4 batch extracted more completely. A poorly saturated 1:4 jar can extract less than a well-prepared 1:10 jar if dry pockets, an overly coarse grind, or too little contact time limit dissolution.
Cold water slows the movement of molecules and generally dissolves coffee compounds less readily than hot water. That is why cold brew relies on a long contact period rather than a short pour. Extending the steep from 12 to 16 hours gives the water more time to move into the particles and carry soluble material out; extending it again toward 24 hours can add body, but it can also make an already-fine or heavily agitated batch taste rough.
With a medium-coarse grind, a 12-hour batch commonly presents as lighter and sharper, a 16-hour batch as more developed and rounded, and a 24-hour batch as heavier with a greater chance of woody or drying notes. Those are directional expectations, not promises. Bean density, roast development, water temperature, particle-size spread, and filtration can move the result in either direction.
Grind size is the dial that changes surface area. A finer grind exposes more coffee to water and creates more small particles, including fines that can migrate into the filter and make the drink cloudy. The coffee grind size chart can help you translate a grinder adjustment from another brew method, but use the chart as a starting language rather than a guarantee that two grinders produce identical particles.
Agitation has a similar two-sided effect. One gentle stir can wet dry islands and make the batch more even; repeated stirring keeps particles moving, increases contact, and sends more fines toward the filter. A practical caution follows: pressure on the coffee bed can push cloudy liquid through a filter that was giving you a cleaner result. The drink may look stronger, but the change is filtration quality rather than proof of better extraction.
For formal terminology, Specialty Coffee Association resources on brew ratio, extraction yield, and TDS are a useful reference point. Peer-reviewed coffee science research on cold-water extraction and sensory characteristics is also worth checking when you want technical detail beyond a recipe card.
Choose by serving style: 1:4 for concentrate, 1:8 for flexibility, 1:10 for black coffee
Use 1:4 when the batch is meant to carry dilution. It wins for a concentrate that will be poured over a large amount of ice, mixed with milk, or adjusted glass by glass. The smaller brew volume makes the finished liquid more intense, so you can add water later without needing to brew a large jar.
For example, 100 g of coffee brewed with 400 g of water at 1:4 can be moved toward an approximate 1:8 recipe ratio by adding about 400 g of water after straining. That calculation counts the original 400 g plus the added 400 g. Because the grounds retained some water, the actual beverage will not behave like a laboratory-perfect 1:8 batch, so add the second water in stages if the concentrate is already tasting soft.
The practical starting point here is 1:8 for a batch intended to be poured over ice or served with a little milk. It gives you room to correct in the glass: add water if it is intense, add ice if it is dense, or serve it black if the coffee has enough sweetness. This is the best all-purpose starting ratio for most home batches because it keeps both dilution and direct service available.
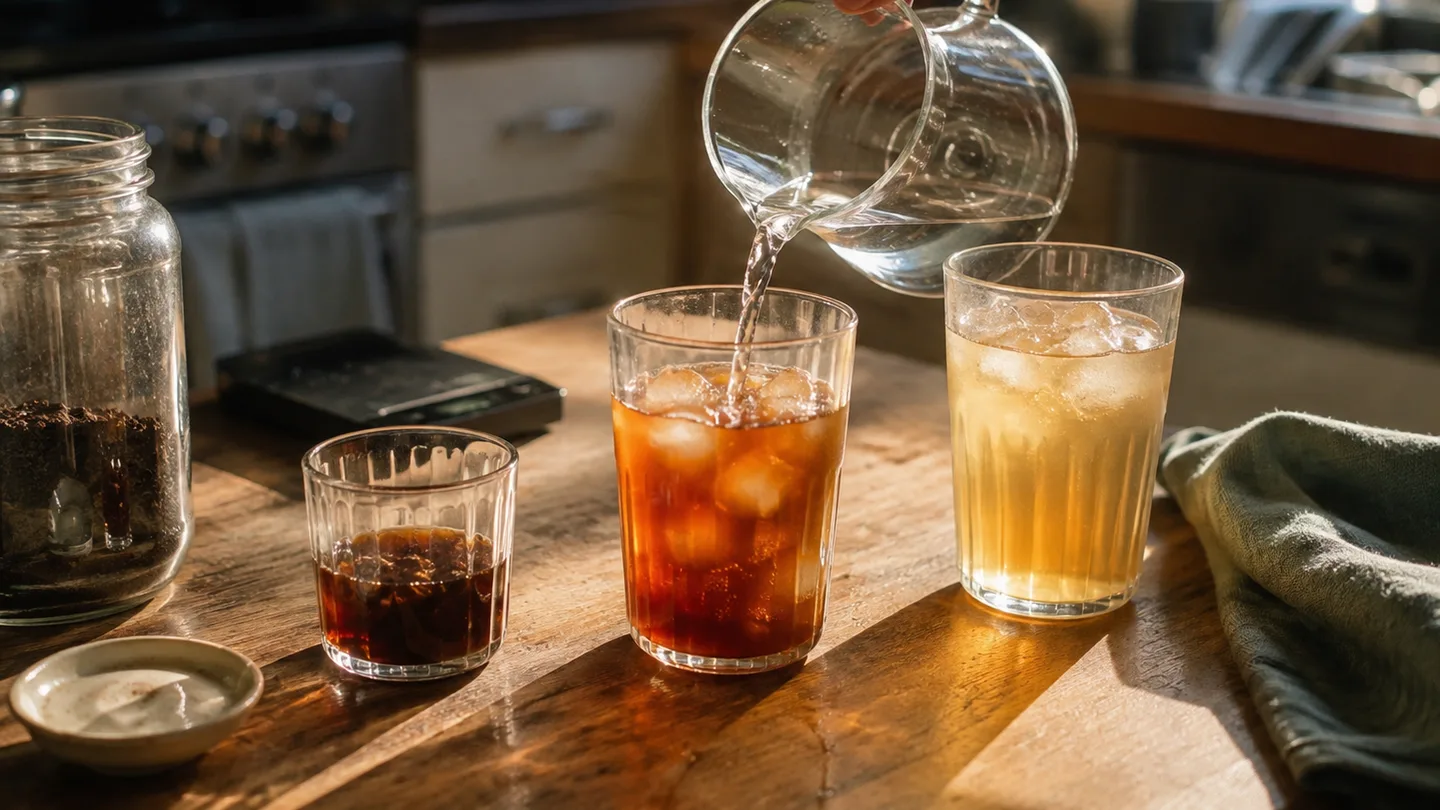
Choose 1:10 when the batch is designed to be served black with little or no dilution. It is the easiest ratio to pour straight from the bottle, but it leaves less room to rescue a thin result after brewing. If the coffee is already delicate, ice melt may take it past refreshing and into watery.
Those flavours can point in opposite directions depending on the roast and the dilution: a concentrated dark roast may make roast bitterness louder, while adding water can reveal sweetness; a light roast may keep its citrus-like sharpness even after dilution. Ratio is therefore a serving decision, not a universal smoothness setting. If the coffee tastes intense but clean, dilute it; if it tastes dry or harsh, adjust extraction before adding more water.
The 1:8 baseline to brew tonight: 100 g coffee, 800 g water, 16 hours
For a repeatable first test, use 100 g of medium-coarse coffee and 800 g of water. The practical rule is to stir enough to eliminate dry islands, then leave the bed alone. The goal is full saturation without turning the steep into a constantly disturbed slurry.
- Grind 100 g of coffee at a medium-coarse setting. Aim for a particle size that is clearly coarser than a typical pour-over grind, while avoiding very large chunks that remain dry inside.
- Add the grounds to a jar or immersion brewer, then pour in 800 g of water. Pour in stages if your vessel is narrow so the water reaches the lower layers rather than floating around the top.
- Stir gently once. Scrape the sides or surface only enough to wet visible dry patches. Do not keep stirring during the steep.
- Cover the vessel and steep for 14 to 18 hours at room temperature, using 16 hours as the first test point. If you brew in the refrigerator, the colder water changes the extraction rate, so do not treat the same clock time as an equivalent experiment.
- Filter slowly. Let the liquid drain under its own weight instead of pressing the bed, then chill the strained coffee before serving.
For the broader process, cold brew coffee how to make covers vessel choices and the full sequence. For diagnosis, the same one-variable discipline used in why is my coffee bitter applies here: name the flaw, change one dial, and repeat before changing another.
| What you taste or see | First change | Mechanism to check |
|---|---|---|
| Weak or thin | Move from 1:10 to 1:8 | More coffee material per sip raises concentration without immediately changing grind. |
| Bitter or roasty | Shorten the steep by 2 to 4 hours | Less contact time limits later extraction; dark-roast bitterness may need dilution instead. |
| Drying or astringent | Coarsen the grind one step | Fewer fines and less exposed surface can reduce over-extraction. |
| Muddy or cloudy | Improve filtration and avoid pressing | Suspended fines are passing into the drink or being forced through the filter. |
| Clean but overly intense | Add water after straining | This is a concentration problem, not necessarily an extraction problem. |
Make one change per batch. Changing the ratio, grind, and steep time together may produce a better cup, but it will not tell you which dial solved the problem.
Convert any jar without guessing: formulas for 500 g, 1 L, and 2 L batches
Ratio math becomes simple once you decide whether coffee or water is fixed. If the coffee dose is fixed, use: brew water = coffee dose × ratio number. If the water amount is fixed, use: coffee dose = desired brew water ÷ ratio number.
| Brew water | Coffee at 1:4 | Coffee at 1:8 | Coffee at 1:10 |
|---|---|---|---|
| 500 g | 125 g | 62.5 g | 50 g |
| 1,000 g | 250 g | 125 g | 100 g |
| 2,000 g | 500 g | 250 g | 200 g |
These figures describe brew water, not guaranteed bottle volume. If your target is 1 L of finished coffee, the grounds and filter will take away part of the input, so strain first and then top up with water. That is more reliable than assuming a 1 L jar produces exactly 1 L of drink.
For dilution, the reusable formula is additional water = coffee dose × target ratio minus coffee dose × brew ratio. In simpler form, a 100 g dose brewed at 1:4 needs about 400 g of additional water to move toward 1:8. If the concentrate is already diluted by retained brew water or melting ice, add less and taste as you go.
Use the coffee to water ratio calculator when you want to reverse the calculation for a particular jar. The quotable rule is simple: the ratio sets the drink's starting concentration; grind, time, temperature, agitation, and filtration decide whether that concentration tastes sweet, hollow, harsh, or muddy.
For most first attempts, make the 100 g coffee, 800 g water, 16-hour batch. If it tastes clean but too strong, dilute. If it tastes weak, move toward 1:8 from 1:10 or use a larger dose. If it tastes rough, change the extraction conditions before reaching for more coffee.