Why Is My Coffee Bitter? 5 Fixes That Actually Work
Why is my coffee bitter? Put a 20g dose on a scale, brew at 1:15, and you can still get a cup with a dry, almost dusty finish that outlasts the aroma. That finish is a more useful clue than the word bitter by itself: it points you toward extraction, while bitterness paired with sourness points toward uneven flow.
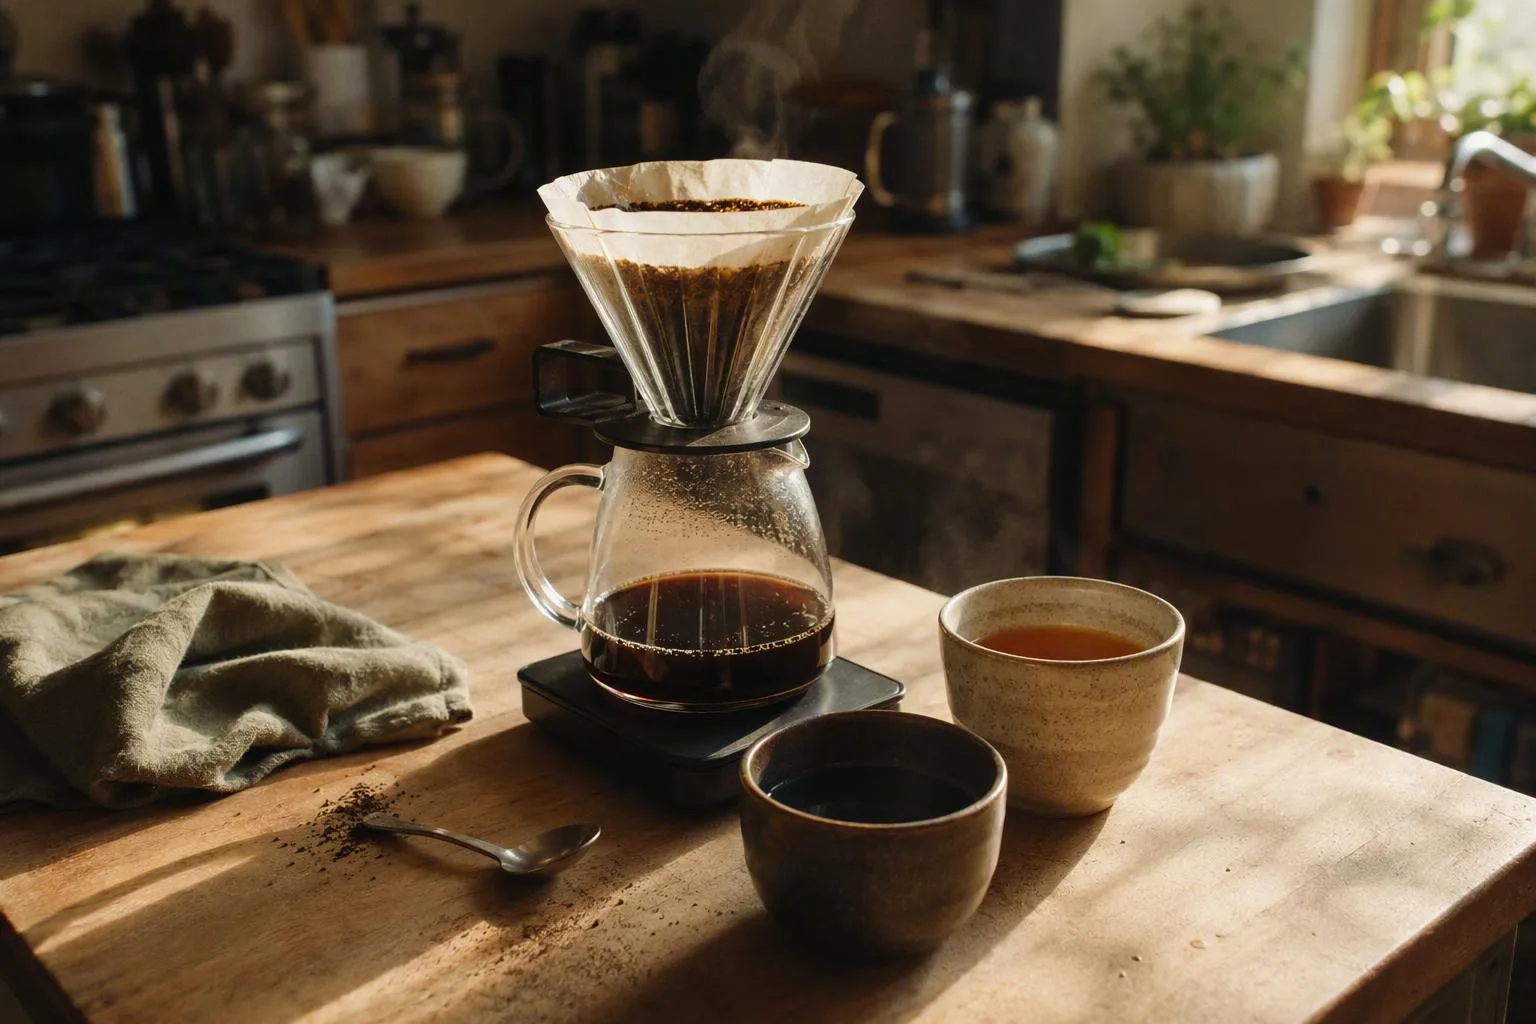
The bitterness test: over-extraction, dark roast, or uneven brewing?
Extraction is the amount of soluble coffee material water removes from the grounds. An over-extracted coffee has given up more material than the cup can balance pleasantly; a strong coffee may simply contain a high concentration of otherwise clean coffee material. Those are different problems, so they need different fixes.
For a filter starting point, use a 1:15–1:17 coffee-to-water ratio, water around 90–96°C, and the contact time that naturally suits your brewer. A 1:15 recipe means one part coffee to 15 parts water by mass. These ranges are starting rails, not laws: roast development, grinder geometry, filter paper, bed depth, and water all move the result.
- Dry, puckering, or mouth-drying bitterness: start by reducing extraction with a coarser grind or shorter contact time.
- Bitter and sour together: inspect wetting, agitation, and flow. Channeling, where water finds a few easy paths through the coffee bed, can over-extract one area while leaving another under-extracted.
- Ashy, smoky bitterness that survives sensible recipe changes: look at roast level, stale coffee oils in the brewer, and water chemistry before making a larger grind adjustment.
- Clean but overpowering bitterness: treat it as a concentration problem first. A weaker ratio may help, but it will not erase harsh extraction.
That is the decision tree in kitchen form: first decide whether the cup is dry, uneven, or simply too intense. Then change one variable. The fastest way to lose the diagnosis is to make the grind finer, add more agitation, lower the temperature, and change the ratio in the same brew.
For a formal vocabulary, the Specialty Coffee Association brewing standards are a useful reference point for extraction terminology. You do not need to memorise a chart to fix tonight’s cup; you need a controlled comparison.
Fix 1: One grind step coarser, with the same 1:16 recipe
If the cup is harsh, drying, and bitter at the finish, make grind size your first controlled change. Keep the dose, water mass, temperature, pouring pattern, and agitation unchanged. With a filter brewer, a simple test is 20g of coffee to 320g of water, or 1:16, brewed exactly as before.
- Record the current grinder setting and brew time.
- Move one small setting coarser.
- Brew the same recipe again and taste the finish, not just the first sip.
Larger particles present less total surface area to the water for the same dose, and the bed usually offers less resistance to flow. That combination generally lowers extraction and lets a percolation brew finish sooner. Record whether the drawdown ends roughly 20–40 seconds earlier, but do not chase that number as a target; the cup decides whether the change helped.
If the first coarser setting is still dry, try one more small step. If the brew suddenly runs much faster and tastes sharp or sour, stop grinding finer by reflex. That combination points toward channeling or poor wetting: water may be bypassing parts of the bed, so a finer grind could slow the visible flow while making the uneven extraction worse.
For espresso, keep the dose and output near a 1:2 coffee-to-espresso ratio while making the grind change. Holding the ratio steady lets you judge the effect of flow instead of confusing a grind adjustment with a yield adjustment. Grinder settings are not standardised across machines, so one grinder’s small step may be another grinder’s large jump.
Fix 2: Shorter contact time, not an arbitrary three-minute rule
Contact time matters most directly in immersion brewing, where the grounds sit in the same body of water. A longer steep gives the water more opportunity to dissolve coffee material, and a cup that crosses from sweet and full into bitter and drying may need less time rather than a different recipe.
Use a concrete French press coffee test: if the current brew steeps for 4:00, keep the dose, water mass, temperature, and stirring pattern fixed, then try 3:30–3:40. Press and decant in the same way. The aim is not to prove that 3:35 is the correct time; it is to see whether removing 20–30 seconds of contact makes the finish cleaner without turning the cup thin.
Espresso gives you a smaller, faster version of the same experiment. If the shot is slow and bitter, preserve the dose and approximately 1:2 output, then aim for a shot 3–5 seconds faster. If the current shot is already fast and sour, shortening it again is the wrong direction.
Pour-over time is less independent than immersion time. Total brew time is the result of grind size, coffee-bed depth, pouring rate, filter resistance, and agitation. Taking the dripper off the server at an arbitrary 3:00 can change the amount of water that reaches the cup while leaving the bed uneven. In that case, adjust the grind or flow variable that makes the brew finish 20–40 seconds sooner instead.
Grind and contact time overlap, but they are not the same test. A coarser grind changes particle surface area and bed resistance; a shorter immersion steep changes how long the same grounds remain surrounded by water. Separating those tests tells you which mechanism was actually making the cup bitter.
Fix 3: Lower water temperature 3–6°C when the roast extracts fast
Temperature is a rate control, not a repair for every bitter cup. Hotter water generally speeds the movement of soluble material from coffee into water, so lowering the recipe can soften harshness when the coffee is already extracting readily.
Start by reducing the brew water 3–6°C while keeping grind, dose, ratio, and agitation unchanged. As a practical test range, a dark roast may respond well around 88–92°C, while a light roast often needs something closer to 92–96°C to avoid a sharp, thin cup. Those ranges overlap deliberately: roast colour is a clue, not a thermometer for solubility.
Dark coffee is commonly more soluble and can give up flavour quickly, particularly when it is ground fine or brewed with a lot of agitation. A modest temperature reduction can take the edge off without forcing you to make a large grind change. The useful comparison is the same coffee brewed at the original temperature and again 3–6°C lower.
There is a clear boundary. If the cooler brew tastes hollow, sharp, or noticeably sour, return toward the original temperature and investigate grind, flow, or agitation. Do not compensate for colder water by leaving the coffee in contact longer; that changes two extraction variables and makes the result harder to read.
Your kettle setting is also not a perfect description of the temperature at the coffee bed. Water loses heat during pouring, and the brewer and filter can absorb heat before the slurry settles into its working temperature. That is another reason to treat 3–6°C as a controlled comparison rather than a magic number.
Fix 4: Stretch 1:15 to 1:16–1:17 when the cup is clean but too strong
Strength and extraction are related, but they are not synonyms. Strength describes how concentrated the finished drink is; extraction describes how much soluble material left the grounds. A clean cup can be too intense even when its extraction is reasonable.
Here is the scale calculation:
- 20g coffee with 300g water is 1:15.
- 20g coffee with 320g water is 1:16.
- 20g coffee with 340g water is 1:17.
At the same dose, moving from 1:15 toward 1:16 or 1:17 gives the dissolved coffee more water to occupy, so the drink becomes less concentrated. That can make a clean but overpowering brew taste less bitter. The ratio may also nudge extraction because the water budget changes, but it cannot remove harsh flavours created by an excessively fine grind, stalled flow, or too much contact time.
Think of ratio as the volume knob, not the brake pedal. Use the coffee to water ratio calculator to scale a recipe without losing the ratio you are testing, then leave grind and temperature alone for that brew. If 1:17 tastes weak and the bitterness remains, return to 1:16 and fix extraction instead of adding still more water.
This fix is especially useful when the cup tastes clear, sweet, and recognisable but dominates the palate. It is a poor first move for a cup that tastes dusty, astringent, or burnt, because dilution spreads the same unpleasant extraction across a larger drink.
Fix 5: Reduce agitation before fines clog the filter
Agitation is not only a flavour variable. In a paper-filter pour-over, it is also a flow-control variable: stirring and swirling change how the coffee bed packs, where small particles settle, and how quickly water can pass through.
For a 20g dose, try a deliberately calm recipe: wet the grounds with 40–60g of water, wait 30–45 seconds, give the brewer one gentle swirl, then finish with two or three controlled pours. Use the coffee bloom as a wetting stage, not an excuse to keep stirring the bed after every pour.
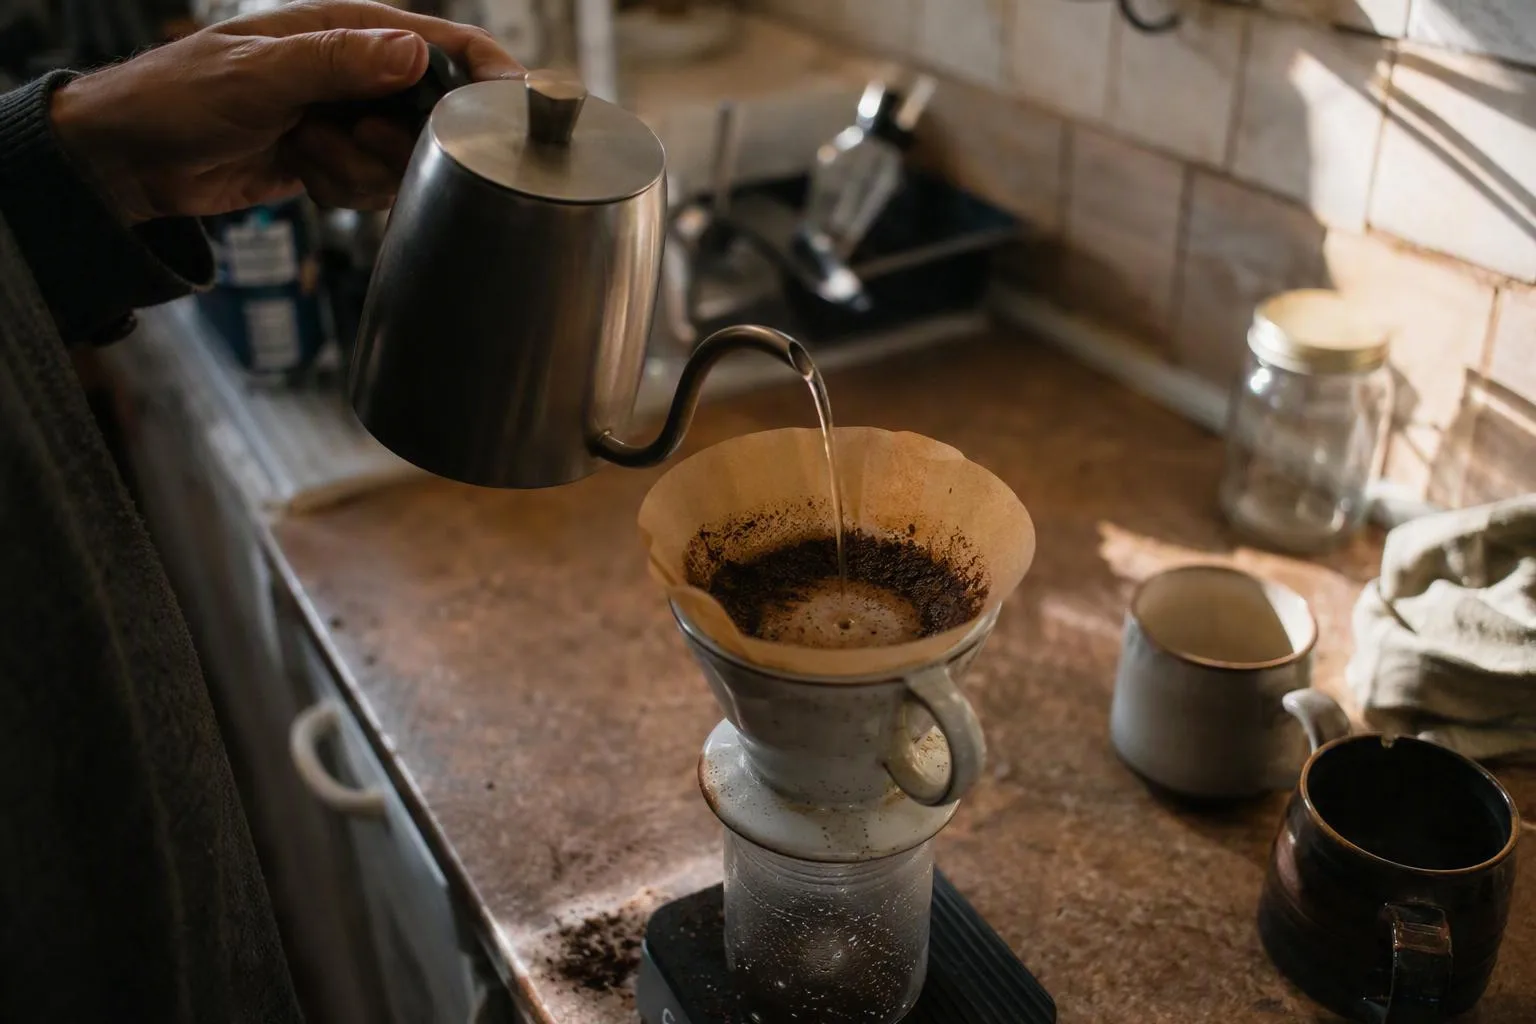
This is fines migration: small coffee particles move toward the paper filter, where they can clog pores, slow drawdown, and keep some of the coffee in contact with water for longer. Aggressive swirling can therefore create a slow, bitter finish even when the grind looked reasonable at the start.
Bitter and sour flavours can appear together because channeling divides the bed’s workload unevenly. A few open paths receive a disproportionate amount of water and extract too far, while compact or poorly wetted areas contribute sharp, under-extracted liquid. The result is not a neat middle point; it is a cup carrying opposing extraction errors at once.
With immersion brewing, stir only enough at the beginning to wet the grounds and break up dry pockets. Repeatedly disturbing the crust can move fines into the drink and increase the amount of sediment. If the cup is bitter and muddy rather than dry and clear, agitation and sediment deserve attention before another temperature change.
For water questions, compare your brewing water with the Specialty Coffee Association water-quality guidance rather than assuming every clear tap water behaves the same. You do not need to change water first, but it belongs on the list when the same recipe tastes persistently dull, drying, or ashy across different brewers.
The three-brew test: choose the fix from the cup, not the clock
A clock can tell you that something changed; it cannot tell you whether the change made the cup better. Use three brews to separate a real improvement from a noisy result:
- Brew the baseline. Write down dose, water mass, ratio, temperature, grinder setting, agitation, and total time. Taste the coffee after it has cooled slightly and describe the finish in plain words: dry, sharp, hollow, clean, smoky, or heavy.
- Change one variable. Pick the test that matches the symptom: one small step coarser, a shorter steep, 3–6°C less heat, a weaker ratio, or gentler agitation.
- Repeat the promising change. If the second cup is clearly cleaner, brew it once more before declaring victory. Keep the change if the same sensory direction returns; abandon it if the cup swings back to sour, hollow, or muddy.
| What you taste | First test | Mechanism to check |
|---|---|---|
| Dry, harsh, lingering finish | Go one small step coarser or shorten contact | Extraction is too high for the current recipe |
| Clean but overwhelmingly intense | Move from 1:15 to 1:16 or 1:17 | Concentration is too high even if extraction is acceptable |
| Bitter and sour in the same cup | Reduce agitation and steady the flow | Channeling is creating over- and under-extracted zones |
| Fast drawdown with sharp acidity | Inspect wetting and bed preparation before grinding finer | Water may be bypassing part of the bed |
| Ashy bitterness after recipe changes | Clean the brewer, check water, then try another coffee | Roast character or old oils may be supplying the flavour |
Espresso has a useful boundary check. If a shot is already near a 1:2 dose-to-output ratio in roughly 25–35 seconds and still tastes bitter, test a 3–6°C temperature reduction or a different coffee rather than endlessly grinding coarser. If the cooler shot becomes sharp and thin, restore the temperature and investigate the coffee, water, or accumulated residue.
Clean the basket, shower screen, brewer, carafe, and any reusable filter before the final retest. Old coffee oils can leave a bitter film that survives a perfect ratio, and that film can make you misdiagnose a clean extraction as a bad recipe.
Bitterness is a symptom word, not a diagnosis. Dry bitterness asks for less extraction; clean intensity asks for less concentration; bitter and sour together ask for more even flow. Once you make that distinction, the next brew becomes a test instead of another guess.