Pour Over Coffee Ratio: Start at 1:15, Then Adjust
At 1:15, 20 g of coffee meets 300 g of water. That ratio is a reliable place to begin, but it cannot tell you whether the cup is sour, bitter, or simply too weak; grind size and contact time do that work. Once the cup tastes balanced, ratio becomes the cleanest way to make it stronger or lighter.
The useful approach is to treat 1:15 as a control setting, not a rule carved into the dripper. Hold the ratio steady while you fix extraction, then change the ratio only when the extraction tastes sound and the concentration is wrong.

Start with 20 g coffee and 300 g water—not a magic number
A brew ratio compares the mass of dry coffee with the mass of brewing water you add. The first number is the coffee dose and the second is the water, so 1:15 means one gram of coffee for every 15 grams of water.
That water figure belongs to the water poured into the brewer, not the liquid that reaches your mug. Wet grounds and the paper filter hold part of the brew water, which means the final beverage weighs less than the water you started with. Using final beverage weight would make recipes harder to compare because retention changes with the dose, grind, filter, and brewer.
| Dry coffee | Added water | Ratio |
|---|---|---|
| 12 g | 180 g | 1:15 |
| 15 g | 225 g | 1:15 |
| 20 g | 300 g | 1:15 |
| 25 g | 375 g | 1:15 |
These are the same recipe at different scales. If you change both dose and water by the same proportion, you preserve the ratio, even though the larger brew may flow differently through the bed.
A coffee to water ratio calculator is useful when you have an odd dose or want to work backward from a server size. Enter dry coffee and added water. Do not enter the final amount in the carafe unless you are deliberately using a different recipe convention.
Ratio sets strength; grind and time set extraction
Strength and extraction describe different things. Strength is the concentration of dissolved coffee material in the drink. You may see this described as TDS, or total dissolved solids: the portion of the beverage made up of material extracted from the coffee.
Extraction is the amount of soluble material removed from the grounds during brewing. A cup can be strongly extracted but weak if a small dose is diluted with plenty of water. It can also be concentrated yet unpleasant if the grind, heat, or contact time pulls too much from the bed.
That distinction explains why two 1:15 brews can taste nothing alike. A coarse grind can let water pass quickly, leaving a sharp, hollow cup. A fine grind, heavy agitation, or a stalled filter can extend contact and produce bitterness or drying astringency without changing the nominal ratio.
Moving from 1:15 to 1:16 with a fixed 20 g dose means adding 320 g instead of 300 g. If extraction stays similar, the drink becomes less concentrated. Moving to 1:17, or 340 g, makes that dilution more obvious. The reverse is true at 1:14 and 280 g: the cup becomes more concentrated, but the change does not automatically solve under-extraction.
So use ratio to answer a strength question: is the balanced coffee too intense or too dilute? Use grind size, water temperature, contact time, and agitation to answer an extraction question: did the water remove the right material from the grounds?
For a technical reading trail, published coffee extraction research is more useful than a list of supposedly perfect recipes because it keeps grind, temperature, contact time, and beverage strength as separate variables. The log beside your scale still matters more than copying a number from a different brewer.
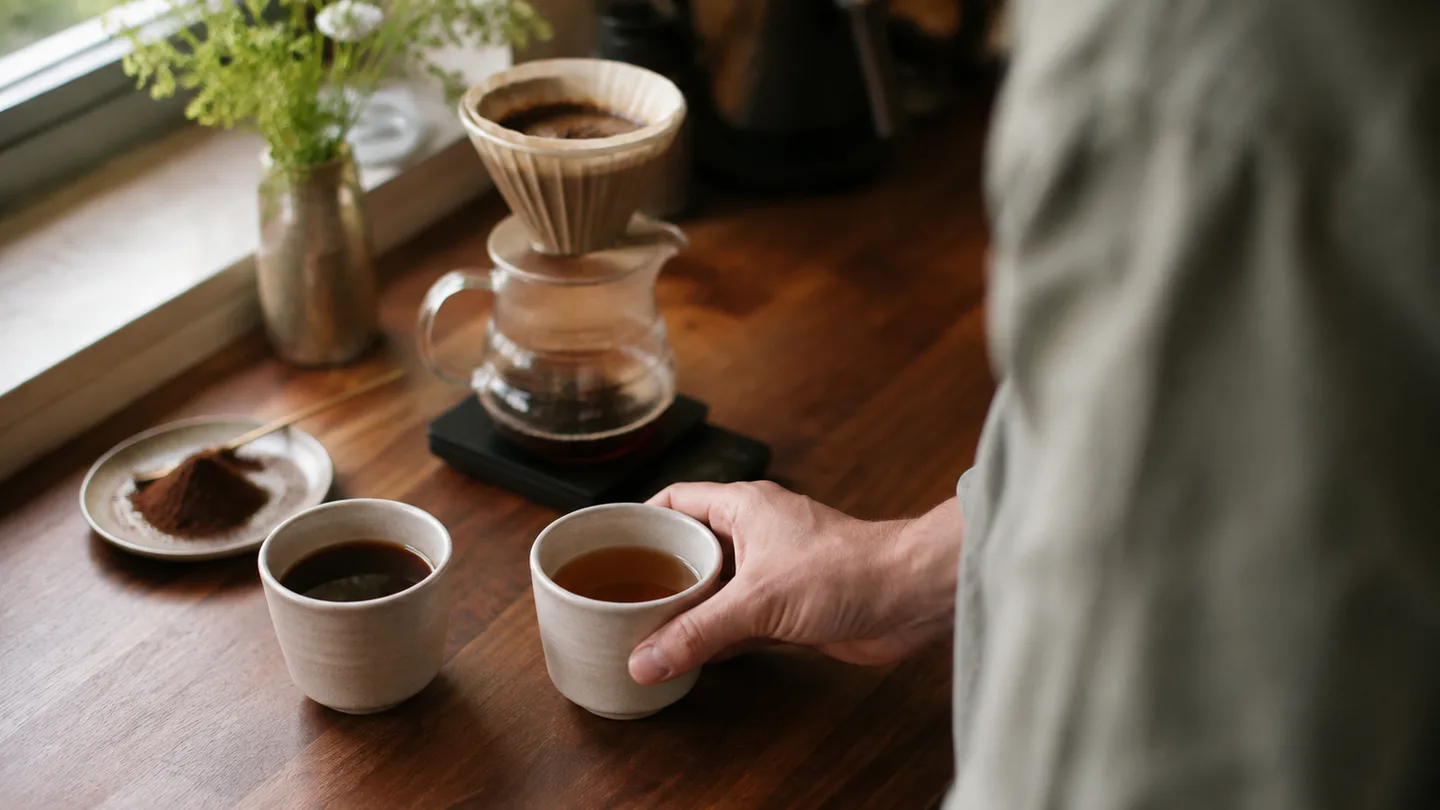
The baseline recipe: 1:15, 93°C, and a 30–45-second bloom
Use this recipe tonight with a cone or flat-bottom manual brewer: 20 g coffee, 300 g water, water between 92°C and 96°C, a medium-fine grind, and a total brew time around 2:45 to 3:45. Those are starting ranges, not promises; roast level, filter paper, brewer geometry, and grinder particle distribution can move the result.
- Prepare the brewer. Place the paper filter, then rinse it with hot water. Rinsing reduces paper odour and preheats the brewer, so the first pour is less likely to lose heat to a dry filter and cool dripper. Empty the rinse water before adding coffee.
- Weigh and grind 20 g. Aim for a medium-fine grind as a first setting. The grounds should be fine enough to provide useful contact, but not so fine that the filter stalls before the final drips.
- Bloom with 40–60 g. Start the timer, pour enough water to wet the whole bed, and wait 30–45 seconds. A bloom is the initial wetting phase; it hydrates the grounds and allows trapped gas to escape before the main pours.
- Pour to 300 g in controlled stages. A simple schedule is 50 g at 0:00, then pour to 200 g by about 0:45–1:00, and finish at 300 g by about 1:30–2:00. Keep the stream steady and avoid blasting a hole through the centre of the bed.
- Let the bed drain. Start with the first pour and stop the timer when the main drawdown finishes. Aim for roughly 2:45–3:45, then use taste and flow behaviour to decide what to change.
A gooseneck kettle aids flow control because its narrow spout makes small, steady pours easier. The kettle shape itself is not the extraction variable; the variables are the water temperature, pour rate, pour location, and agitation that the kettle helps you produce.
A sour, bitter, or thin cup tells you which dial moved
Drawdown time is a clue, not a verdict. For many 15–20 g cone brews, a finish under about 2:30 or over about 4:00 deserves investigation, but dripper design, filter paper, dose, roast, and grinder fines can shift those boundaries.
| Cup symptom | Useful time clue | Likely mechanism | First single adjustment |
|---|---|---|---|
| Sharp, sour, hollow | Often under 2:30 | Under-extraction: water has not removed enough soluble material | If the brew is fast, grind one small step finer |
| Bitter, drying, or harsh | Often over 4:00 | Over-extraction or prolonged contact with fines | If the brew is slow, grind one small step coarser |
| Thin but clean | Time may look normal | Low concentration rather than poor extraction | Keep the grind and use 1:14 |
| Muddy, silty, or uneven | Often slow or inconsistent | Fines migration or channeling | Reduce agitation and pour more gently |
Within this baseline, a sharp and hollow sourness paired with a quick drawdown points first toward under-extraction. Finer particles increase the available surface area and usually slow the water path, giving water more opportunity to dissolve material. If the time is already ordinary, raising the water temperature by 2–3°C is a reasonable second test instead of grinding much finer.
Bitter and drying flavours need the opposite check. A very fine grind, repeated swirling, or a filter clogged by fines can keep water in contact with the bed too long. If the brew is already slow, go coarser before changing the ratio. The useful question behind why is my coffee bitter is whether the cup is over-extracted, over-concentrated, or both.
Thin but clean is different. If the cup is pleasant but lacks weight, the extraction may be fine and the drink simply too dilute. More agitation or a finer grind would change the flavour balance when the actual problem is concentration.
Muddy coffee often has a physical flow problem. Fines migration moves very small particles toward the lower part of the bed, where they can clog the filter; channeling creates easier routes through cracks or poorly wetted areas, so some grounds receive too much water while others receive too little.
A coffee grind size chart can translate settings between grinders, but it cannot replace a drawdown and taste check. Grinder numbering is not standardised, and two settings with the same label can produce different amounts of fines.
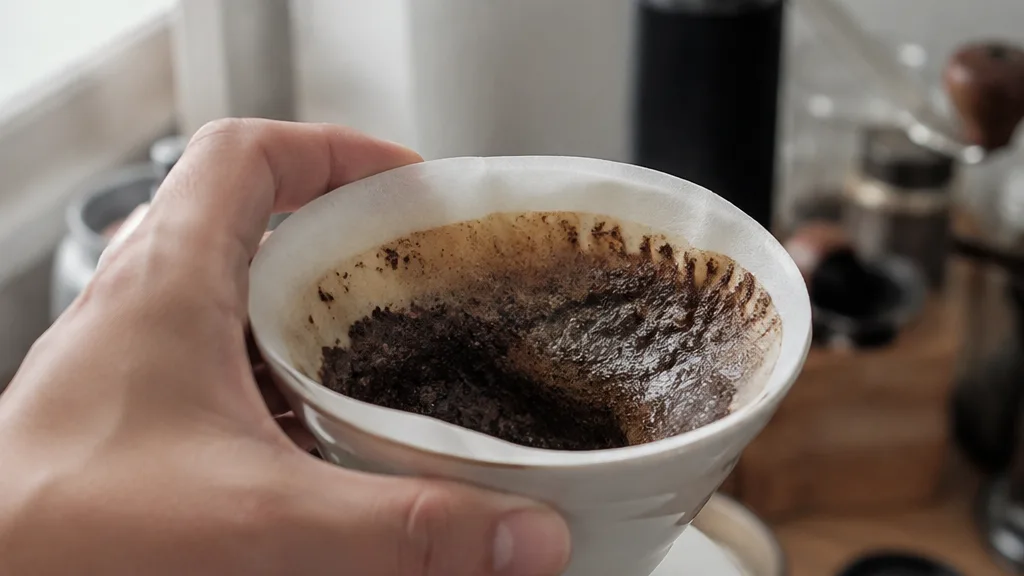
Use 1:14 or 1:16 only after the brew is balanced
Once a 1:15 brew tastes evenly extracted, adjust concentration with the ratio. With a fixed 20 g dose, the useful comparison is simple: 280 g of water gives 1:14, 300 g gives 1:15, and 320 g gives 1:16.
Choose 1:14 when the balanced cup is too weak or watery. Choose 1:16 when the balanced cup is too intense, heavy, or tiring to drink. That is the decision in plain language: less water for more concentration, more water for less concentration.
The difference between whole ratio points can feel large in a small mug. Changing the water by 5–10 g gives a gentler test: 290 g is slightly stronger than 1:15, while 310 g is slightly weaker. This is especially useful when a bean tastes close to right and you do not want to disturb the extraction you have already solved.
Do not use 1:14 as a rescue for a sour brew. Less water can make sourness more concentrated without adding the extraction the cup needs. Likewise, 1:16 can make a bitter brew thinner while leaving the over-extracted flavour behind.
The editorial judgment here is that 1:15 is the best debugging baseline for a new coffee, not because it is universally ideal, but because it gives enough water to reveal flow problems while leaving room to move in either direction.
Scaling the recipe from one mug to a full server
Ratio math scales cleanly. At 1:15, 12 g takes 180 g of water, 15 g takes 225 g, 20 g takes 300 g, and 25 g takes 375 g. The arithmetic is dependable; the brewing bed is not identical at every dose.
Scaling preserves the ratio but not necessarily the drawdown time because bed depth changes. A larger dose can create a deeper bed, a longer path for water, and a different distribution of resistance. The same grind and pulse schedule may therefore finish later at 25 g than at 15 g.
If the larger brew stalls, make one small adjustment rather than redesigning the recipe. A slightly coarser grind or gentler agitation can restore flow while keeping the ratio intact. If the smaller brew runs too quickly, the reverse may help, but check whether the dose is sitting too shallow for the brewer before changing everything.
A two-cup target refers to what you want to serve, not automatically to the final weight in the server. Because the grounds retain water, the amount in the carafe will be below the added-water number. Keep the dose within the brewer's workable bed size; a nominally correct 25 g recipe is not useful if the coffee is piled too deeply for even wetting.
Roast level moves the useful ratio window
Roast development changes solubility, meaning how readily compounds from the roasted coffee dissolve into water. In typical filter brewing, lighter roasts often need more thermal energy or contact to taste fully developed, while darker roasts can release soluble material readily and become harsh if the brew is pushed too hard.
For a light roast, keep 1:15 as the first ratio but try the hotter end of the baseline, around 95–96°C, and use a finer grind or slightly longer contact if the cup is sharp and fast. The aim is to improve extraction before diluting or concentrating the drink.
For a darker roast, a range around 88–93°C, a slightly coarser grind, or less agitation can reduce the chance of an overworked, drying cup. These are starting directions for a typical filter brew, not a roast-colour law. A dense light roast and a very developed dark roast may respond differently.
Processing method, bean density, freshness, and roast development all affect the useful window. That is why a 1:15 recipe can taste lively with one coffee and flat or bitter with another. Keep the ratio fixed while you find the extraction setting, then make the strength adjustment.
Keep the ratio fixed while you change the bloom and pour
Bloom water counts toward the final ratio. With 20 g of coffee and 300 g total water, a 50 g bloom leaves 250 g for the main pours; it is not an extra 50 g added on top of the recipe.
A practical sequence is 50 g at 0:00, a gentle swirl or bed-leveling motion, then a pause until 0:30–0:45. Continue to 200 g by about 0:45–1:00, and finish at 300 g by about 1:30–2:00. The exact seconds matter less than fully wetting the bed without stirring it into a paste.
The purpose of the coffee bloom is to wet dry particles and release trapped gas. If dry pockets remain, later water can find a low-resistance path around them, which creates uneven extraction even though the scale reaches the correct final weight.
Agitation is useful in moderation. A controlled pour can bring fresh water into contact with the grounds, but an aggressive swirl or high stream can move fines downward, clog the filter, and lengthen drawdown. That is the counter-intuitive part of ratio work: the same 1:15 numbers can produce a cleaner or muddier cup depending on how the water moves through the bed.
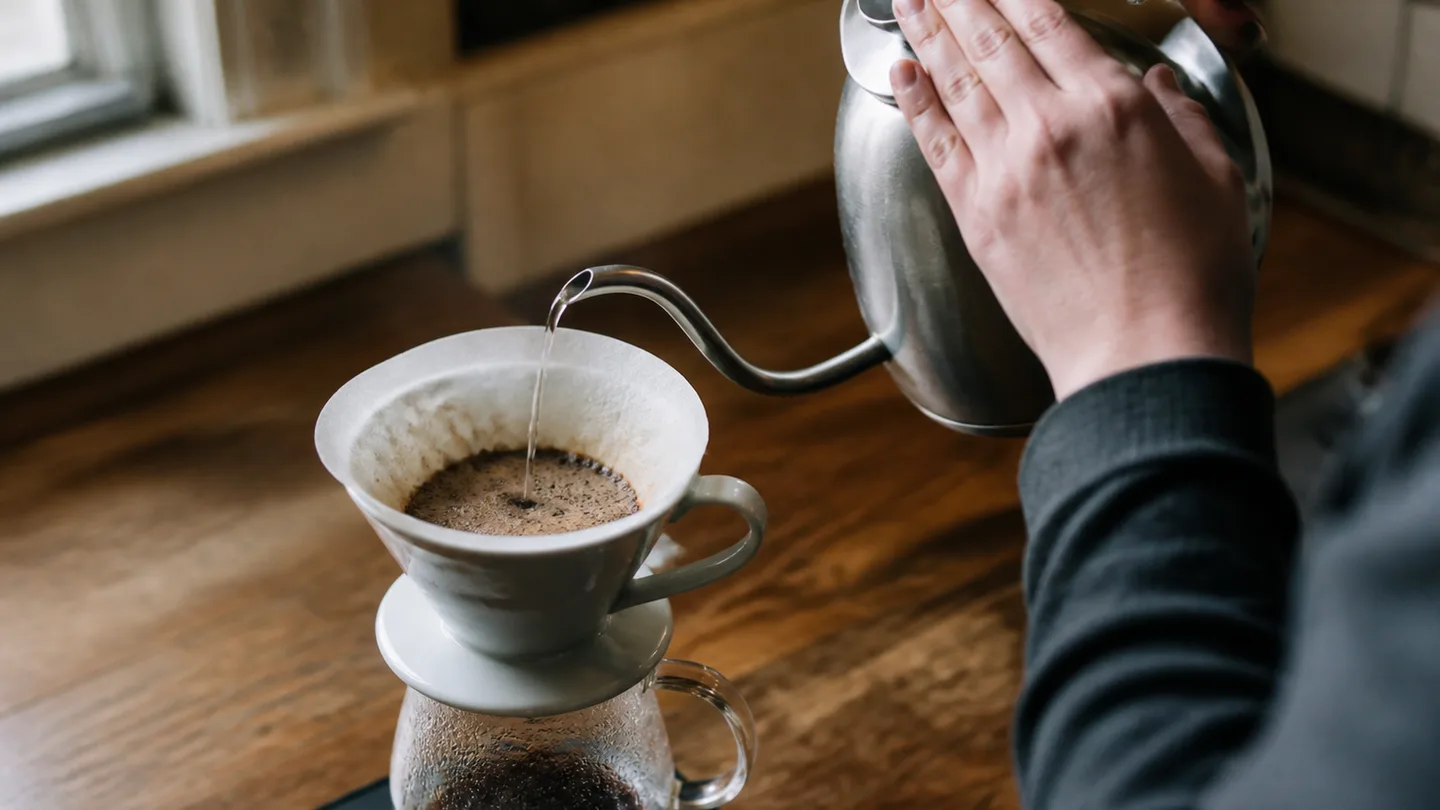
A three-brew test turns 1:15 into your recipe
Do not change four variables after one disappointing cup. Use three brews to separate extraction from strength.
- Brew the baseline. Use 20 g coffee, 300 g water, 92–96°C water, a medium-fine grind, a 40–60 g bloom for 30–45 seconds, and the controlled pour schedule above. Record total brew time and describe the cup with one clear phrase such as sharp and hollow, drying and heavy, or clean but thin.
- Change one extraction variable. If brew one was sour and fast, make the grind one small step finer. If it was bitter and slow, make it one small step coarser. You can instead change temperature by 2–3°C, but do not change temperature, grind, and pouring pattern together.
- Change the ratio only if the flavour is balanced. Use 280 g for a balanced but weak 20 g brew, or 320 g for a balanced but intense one. Keep the grind and pour pattern as close as possible to brew two.
Record dose, water, temperature, grind setting, bloom amount, total time, and one taste description. Formal brewing-ratio guidance can give you useful terminology for comparing recipes, but a short log made on the same brewer is the better decision tool for the coffee in front of you.
If brew two improves the sourness without making the cup thin, you solved an extraction problem and should keep the ratio. If brew two tastes balanced but the drink still lacks concentration, brew three can answer the ratio question cleanly.
Ratio is a concentration dial, not a quality score. Start at 1:15, make the water behave, and only then decide whether the cup needs 1:14, 1:16, or no ratio change at all.