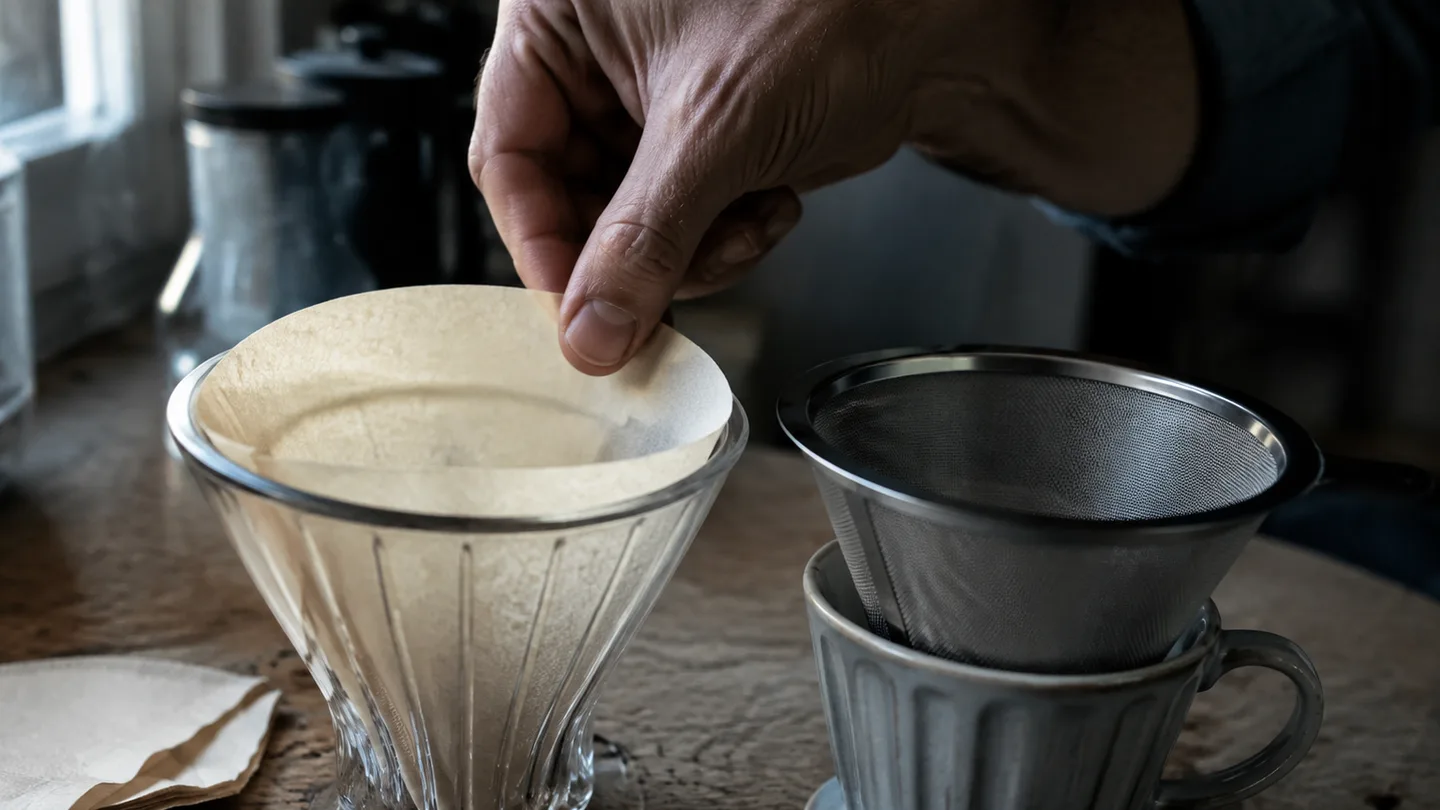
Pour Over Coffee Filter: Paper vs. Metal, Explained
Use 15 g of the same coffee, 240 g of water at 93°C, and the same pour pattern, and paper and metal can still produce cups that feel like different brew methods. Paper usually gives you a cleaner, more repeatable cup; metal gives you more body, oil, and sediment.
A revealing counter detail is the empty-filter test: pour 300 g of hot water through each filter, record how quickly the last water clears, and you can see whether the hardware starts restrictive before coffee fines enter the picture. That test does not choose the winner, but it stops a slow metal mesh or a fast paper from being mistaken for a grind problem.
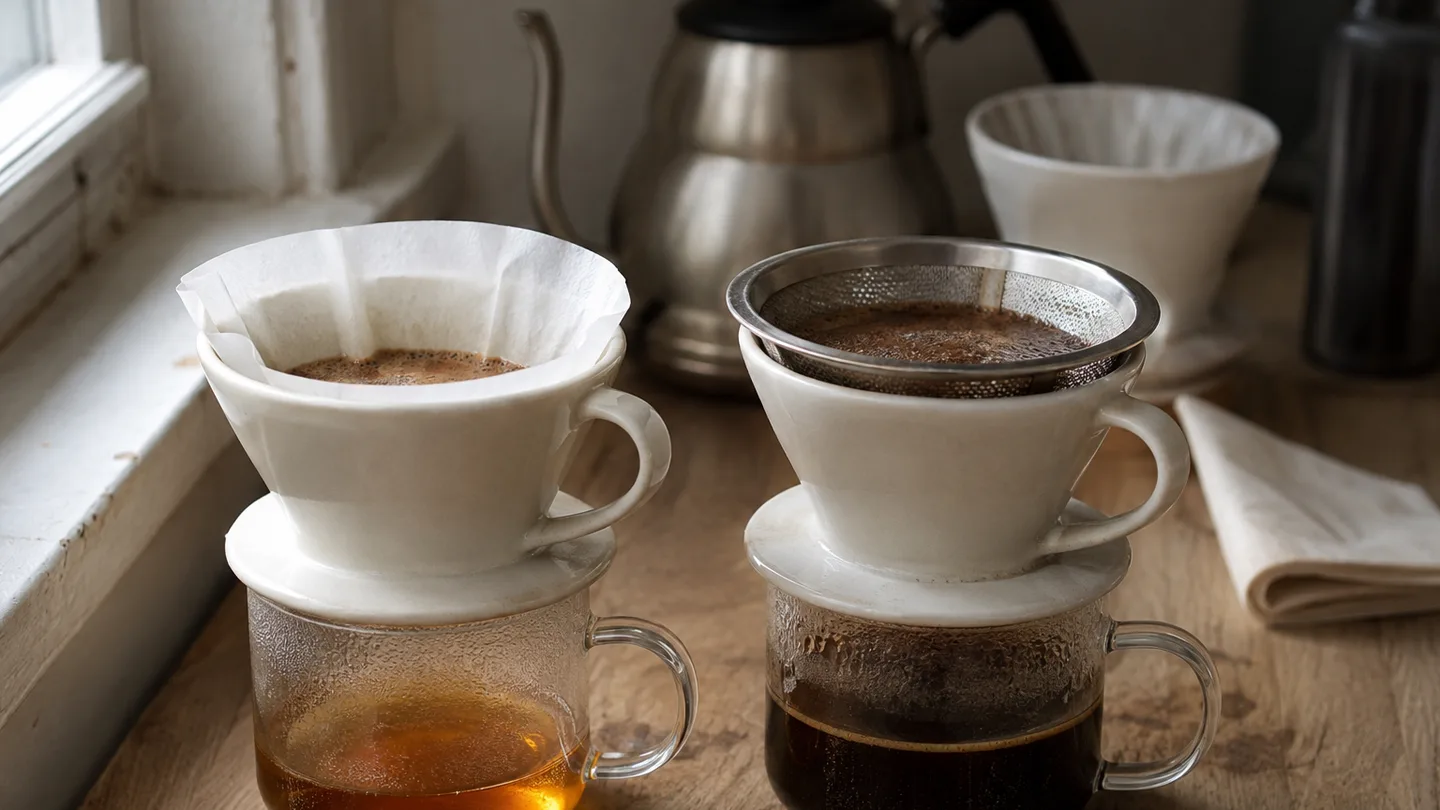
The cup-level verdict: choose paper for clarity, metal for body
At a fixed 1:16 ratio, the filter changes what remains in the cup after water has passed through the coffee bed. Paper catches more of the fine particles and oil-bearing material, so the result usually tastes brighter, cleaner, and lighter on the tongue. Metal lets more of that material through, which can make the coffee feel rounder and heavier.
Paper is the better default for light roasts and diagnostic brewing. If you are trying to understand whether a coffee is sour because the grind is too coarse, paper removes some of the texture that can distract from the extraction problem. Metal wins when body, oils, reuse, and a fuller mouthfeel matter more than a spotless cup.
The editorial judgment is simple: coffee oils are not bad; removing some of them simply shifts the cup toward clarity and away from weight. That is a change in style, not a correction from wrong to right.
The hidden work of the filter: pore scale, fines, oils, and flow resistance
The filter’s hidden work is particle separation. Paper is a fibrous depth filter, meaning water travels through a tangled mat rather than through one clean row of holes. Its effective openings are commonly discussed in the tens-of-microns range, though paper construction and swelling change the real flow path.
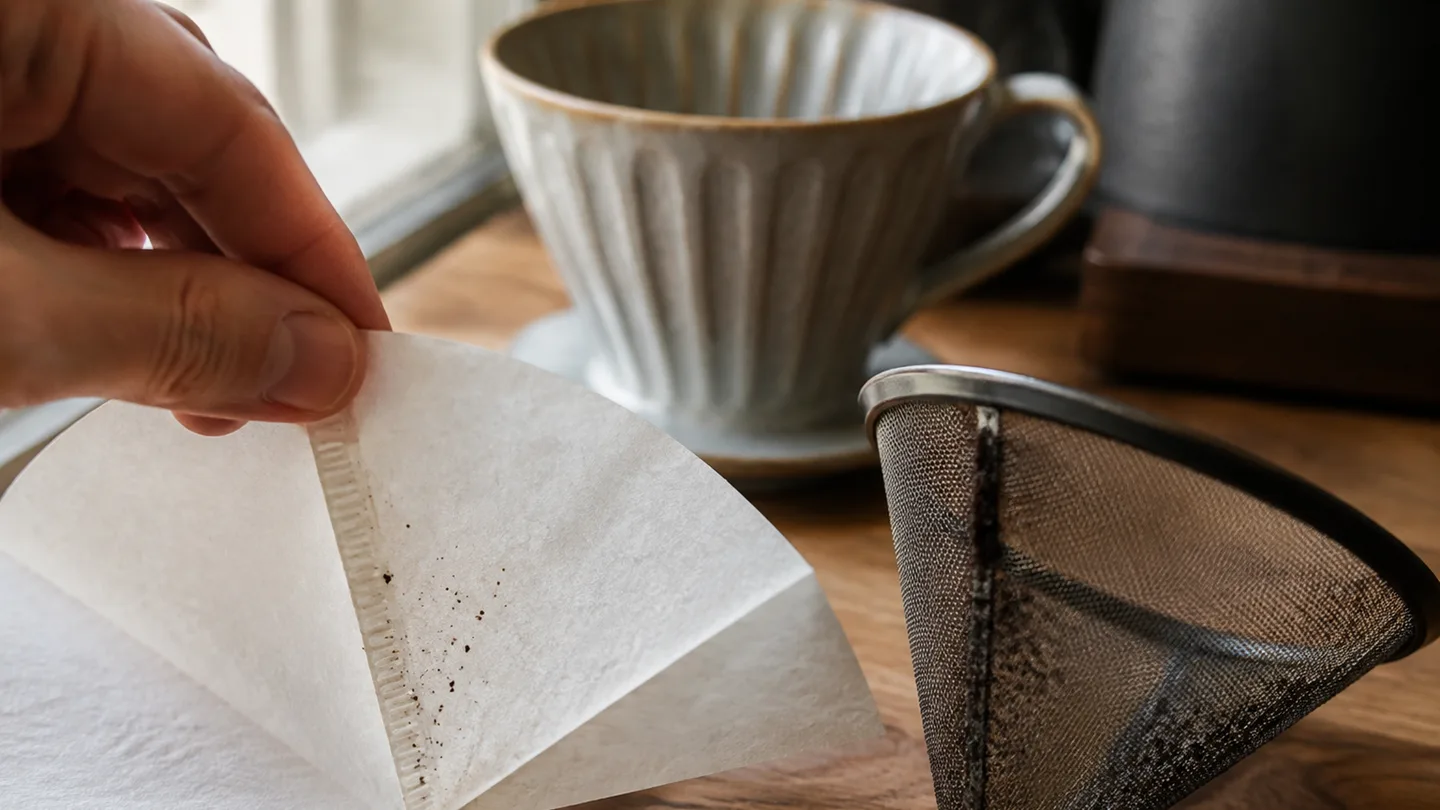
Fine metal meshes commonly have openings in a larger tens-to-hundreds-of-microns range, depending on the mesh gauge and design. A perforated metal disk is a different object again: its holes may be larger, and the support pattern can create a different path for water. Treating every metal filter as equivalent is a quick way to get the comparison wrong.
Paper therefore retains more fines, the very small coffee particles created during grinding, along with some suspended oils. Metal allows more of those particles and oils to pass. This is why a metal brew can look darker or feel thicker even when the dissolved coffee is not substantially more concentrated.
Flow can also change during the brew. Fines migration is the movement of small particles toward the filter surface; when those particles pack into the media or mesh, resistance rises and the final drawdown slows. Water can also find a bypass route around the filter if the paper is badly seated or the metal insert does not match the brewer’s support ribs.
For a practical comparison, place each empty filter in the same brewer, rinse or flush it with hot water, then pour 300 g through it in the same two or three pulses. Start the timer at the first pour and stop when the last visible water clears. Repeat the test once. The result measures baseline flow resistance, not the full coffee brew, but it tells you whether a filter is likely to need a different grind or gentler agitation.
What changes in the cup—and what the filter cannot fix
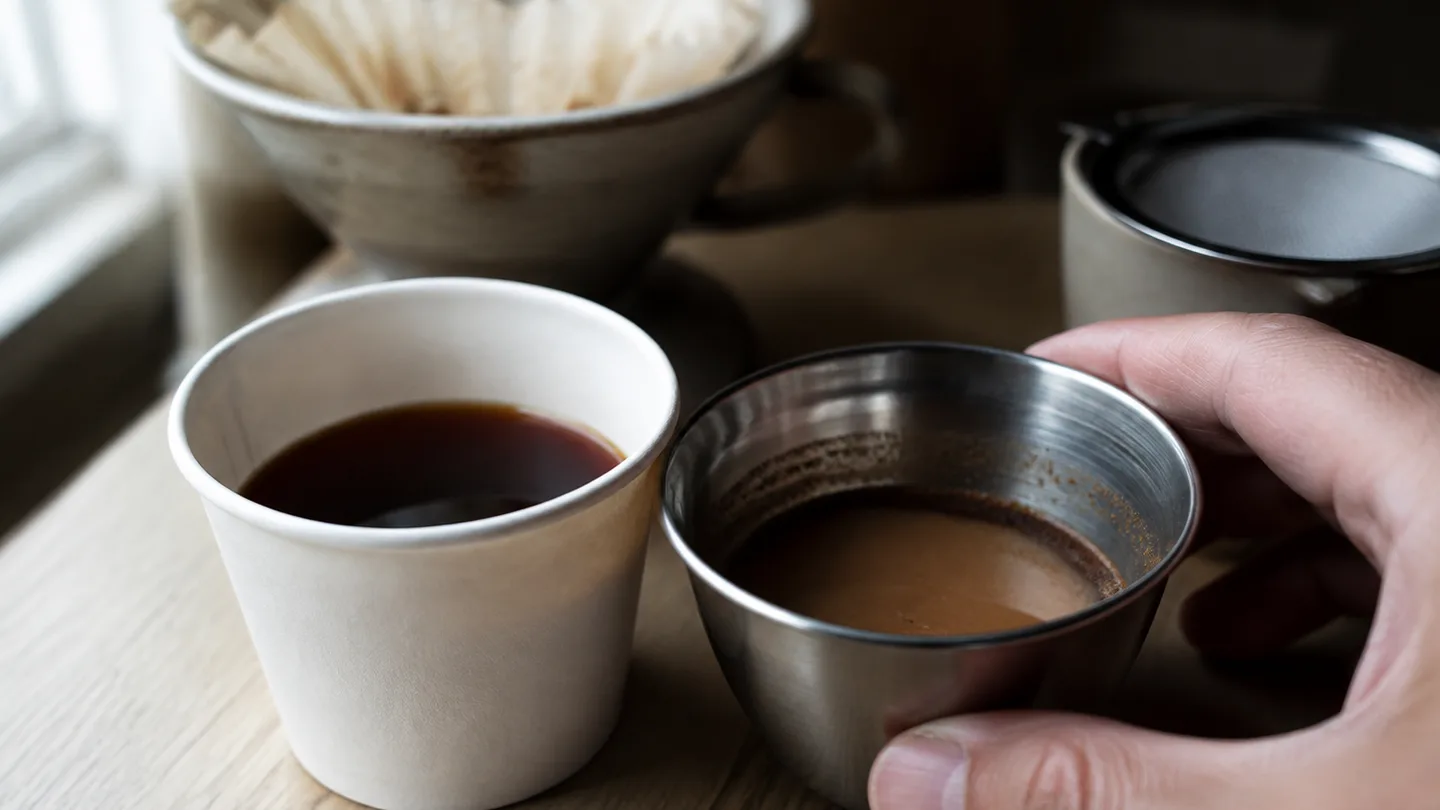
Paper normally produces more clarity, less sediment, and a lighter body. Metal normally produces more oil, more suspended fines, and a heavier texture. Those are extraction consequences of what the filter allows through, not evidence that one material is universally superior.
TDS, or total dissolved solids, means the concentration of dissolved material in brewed coffee. A metal-filtered cup can taste stronger because suspended particles and oils add weight, but that does not mean the coffee extracted more efficiently. A paper filter can produce a cleaner-tasting cup at the same ratio without making the coffee weak.
Neither filter can rescue stale beans, an unsuitable grind, or severe channeling. Channeling occurs when water finds an easier path through part of the coffee bed, leaving some grounds under-extracted while other areas receive too much flow. The filter changes the evidence you taste; it does not repair the uneven bed that created it.
A fair test recipe: 15 g coffee, 240 g water, and 93°C
Start with a controlled baseline before adjusting either filter to its preferred setting. Use 15 g of the same coffee and 240 g of the same water, a 1:16 brew ratio, and water between 92°C and 96°C. Use the same brewer shape where possible, because cone angle, outlet size, and support ribs affect flow as well as the filter.
- Rinse or flush the filter, then discard the water. Keep the brewer and cup warm.
- Add the coffee and make a 30–45 second bloom with enough water to wet the bed evenly.
- Use the same pour pattern for both filters and finish at 240 g total water.
- Record total drawdown, taste, and visible sediment before changing the recipe.
A bloom gives trapped gas time to escape and makes the early bed easier to wet evenly. The mechanism is straightforward: carbon dioxide released from roasted coffee leaves the grounds when hot water arrives, and uneven degassing during the main pour can disturb flow and encourage channeling.
Run the comparison twice if you want a useful answer. First keep grind and pouring identical so the filter is the main changed variable; then make a practical second brew with the metal filter one small grind step coarser and less aggressive agitation. For the ratio itself, the pour over coffee ratio guide and the coffee to water ratio calculator are useful when you change dose or serving size. The Specialty Coffee Association brewing control standards are also a useful reference for the vocabulary of ratio and strength.
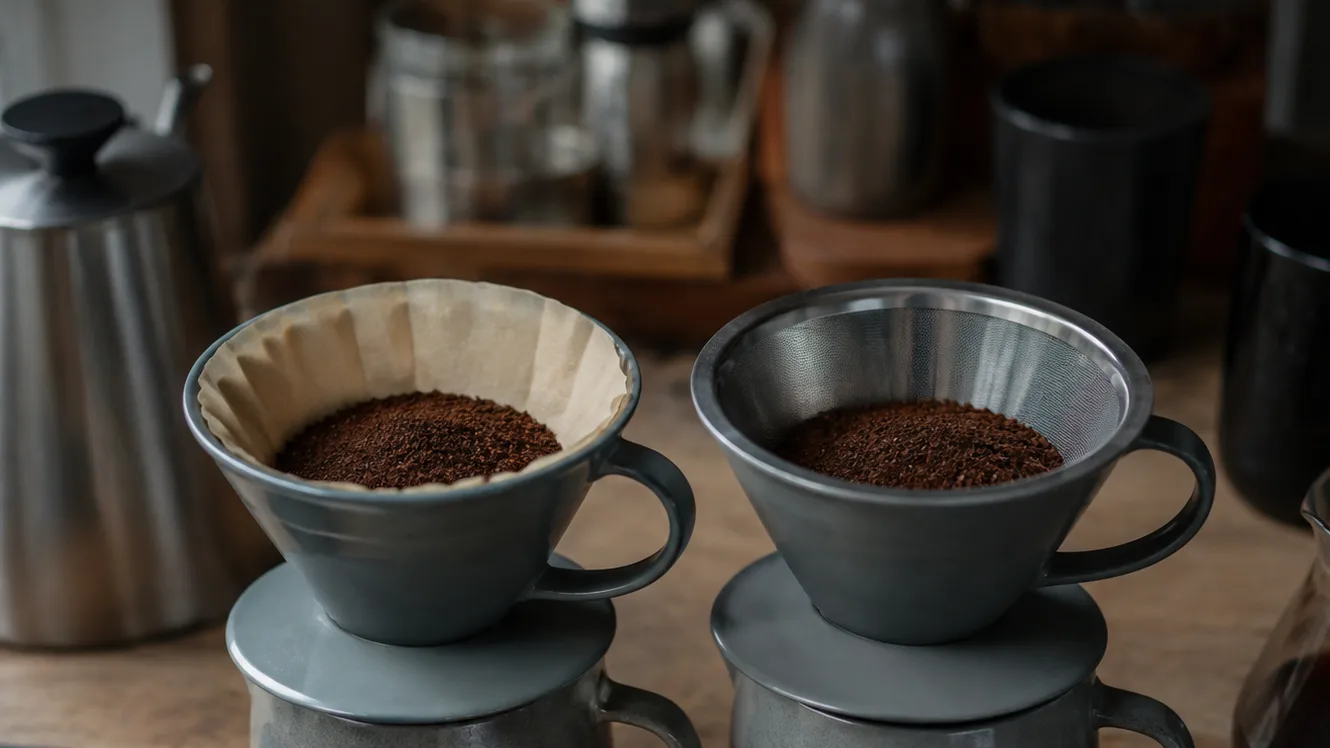
Paper rewards a steady pour: rinse, bloom for 30-45 seconds, finish around 2:30-4:00
Paper rewards a stable coffee bed. Seat the filter fully against the brewer, rinse the entire paper surface with hot water, and discard the rinse water rather than letting it dilute the brew. A thorough rinse also warms the brewer and cup; if the first sip tastes papery, increase the rinse before changing the beans or grind.
Add the grounds, level them gently, and use the baseline 30–45 second bloom. After that, pour in a controlled spiral or a small number of steady pulses. Aggressive stirring and repeated high-energy swirls can push fines into the paper, where they form a dense layer and slow the last part of the brew.
For many 15–20 g paper brews, 2:30–4:00 is a useful observation range rather than a pass-or-fail target. Cone shape, roast level, grind distribution, dose, and paper construction can move the timing. If the brew stalls late and tastes dry, try one small step coarser before adding more water or extending the recipe.
Metal needs room to drain: start one grind step coarser and reduce agitation
Do not copy a paper recipe blindly into a metal filter. Keep the 1:16 ratio as the starting point, but begin one small grind step coarser than the paper setting. The goal is to reduce the number of fines available to pack against the mesh while preserving enough contact time for extraction.
Bloom for 30–45 seconds, then use one or two calm pours. Avoid stirring unless dry pockets remain visible after the bloom; a gentle settling swirl is safer than repeatedly churning the bed. Metal does not need help forcing every particle into the mesh.
Watch roughly 2:45–4:30 as an initial observation range, not a universal target. Some metal filters drain quickly at first and then slow sharply as fines collect near the outlet. If the cup is thin and the flow is very fast, move one small step finer; if it is muddy and slow, go coarser, reduce agitation, and clean the filter.
Keep a coffee grind size chart nearby only as a starting reference. The useful adjustment is the one tied to the cup: finer for a fast, sharp brew; coarser for a slow, harsh or sediment-heavy brew.
Use the symptom, not the filter, to diagnose sour, bitter, thin, or muddy coffee
The table below gives a checking order, not a set of laws. Keep the ratio at 1:16 while testing, change one control, and brew again before changing the filter as well.
| What you taste or see | Likely mechanism | Make this first change |
|---|---|---|
| Sharp, sour, or lemony and empty | Under-extraction from a coarse grind, short contact, or uneven wetting | Move one small step finer and keep the pour pattern steady |
| Bitter, dry, or astringent | Over-extraction or uneven extraction from a fine grind, long contact, or heavy agitation | If the brew ran long, go one step coarser; if timing was normal, reduce agitation |
| Thin but clean | Low extraction or a cup that is too dilute for the coffee | Try one small step finer first while keeping the 1:16 ratio |
| Muddy, gritty, or heavy with sediment | Fines passing through metal, fines clogging paper, or excessive agitation | Go one step coarser, pour more gently, and clean the filter |
| Papery or cardboard-like | Paper flavor from an inadequate rinse | Rinse the full paper surface with more hot water and discard it completely |
| Very slow final drip | Fines migration has packed the filter surface or mesh | Use a slightly coarser grind and less agitation on the next brew |
Time is supporting evidence, not the verdict. A 3:00 brew can be sour if the bed was uneven, while a 4:00 brew can be balanced if the coffee, filter, and grind produce a slower but even flow. The broader guide on why is my coffee bitter starts with the same order: inspect grind and agitation before blaming the material.
Metal deserves one extra check. If the cup is muddy and the drawdown is slowing, do not automatically grind finer because the brew seems weak; the suspended fines may be adding texture without adding the clean dissolved flavor you want.
Paper versus metal by use case: light roast, dark roast, V60, Chemex, and daily volume
The use-case decision is clearer than filter marketing. For light, floral, or highly acidic coffees, paper is the winner because lower sediment and oil carryover make delicate differences easier to separate. Paper is also the better choice for diagnostic brewing, especially in a V60-style dripper where you want grind and pour changes to show up clearly.
For darker roasts or coffees that taste better with a round, weighty texture, metal is the winner. Its extra oils and suspended material can make the cup feel fuller, but the trade-off is greater sensitivity to grind distribution, agitation, and cleaning. If the metal brew becomes muddy, that is a maintenance or particle-management problem, not proof that metal cannot work.
For a Chemex-style brewer, paper is the safer default because the thick paper and broad support shape are part of the intended clarity and presentation. A metal filter is not interchangeable with every cone, V60, or Chemex-style brewer: outlet size, cone angle, filter height, and support ribs determine whether it sits securely and drains properly.
For high daily volume, metal can win on workflow if immediate rinsing and regular cleaning fit your routine. Paper can win on consistency and speed because disposal removes the cleaning step. The surprising conclusion is that paper is often the better measurement tool, while metal is the better texture tool.
Maintenance is part of the brew: one-use paper versus immediate metal cleaning
Paper is discarded after one brew, so its maintenance cost is measured in preparation and disposal. Metal should be rinsed immediately after brewing, before oils and fine particles dry onto the mesh. A quick rinse is not enough if flow slows, oily residue remains, or sediment in the cup increases from one brew to the next.
There is no honest universal replacement interval for a reusable metal filter. Mesh gauge, handling, cleaning method, and exposure to heat all affect how long it remains useful. Replace it when the mesh is torn, permanently distorted, or still restricts flow after thorough cleaning.
A reusable filter is not automatically the simpler choice. Choose it because you want its texture and reuse, not because metal is somehow a more correct version of paper.
FAQ: compatibility questions before you switch filters
Can you use a paper filter inside a metal pour-over filter?
Sometimes, if the metal filter supports the paper’s shape without folding it into the outlet or leaving side gaps. Expect greater flow resistance, so recalibrate the grind and do not assume the paper-only recipe still applies.
Will a metal filter fit every V60, Chemex, or cone-shaped dripper?
No. Fit depends on the cone angle, outlet opening, filter height, and support ribs. Run the 300 g water-only test before comparing coffee, and make sure the insert cannot tilt or leave a bypass channel.
Can you use pre-ground coffee with a metal pour-over filter?
Yes, but pre-ground coffee can contain a broad particle mix with more fines than a carefully adjusted fresh grind. A slightly coarser setting and gentler agitation may reduce mesh clogging and sediment.
Choose paper when you want the filter to disappear from the cup. Choose metal when the filter’s texture is part of the point.
Frequently Asked Questions
Can you use a paper filter inside a metal pour-over filter?
Sometimes, if the metal filter supports the paper's shape without folding or blocking the outlet; expect greater flow resistance and recalibrate the grind rather than assuming the original recipe still applies.
Will a metal filter fit every V60, Chemex, or cone-shaped dripper?
No; fit depends on the cone angle, outlet opening, support ribs, and filter height, so confirm physical support and run a water-only flow test before comparing coffee.
Can you use pre-ground coffee with a metal pour-over filter?
Yes, but pre-ground coffee often contains more fines that can pass through or clog the mesh, so a coarser setting and gentler agitation may be needed.