Pour Over Coffee Ratio: The 1:15 Rule and When to Break It
When your scale reads 20 g of coffee, the 1:15 pour over coffee ratio gives you 300 g of water. That total includes the 50 g bloom, so the later pours add 250 g, not 300 g. The useful part of 1:15 is not that it is universally right; it is a fixed concentration baseline while grind, heat, and agitation explain the taste.
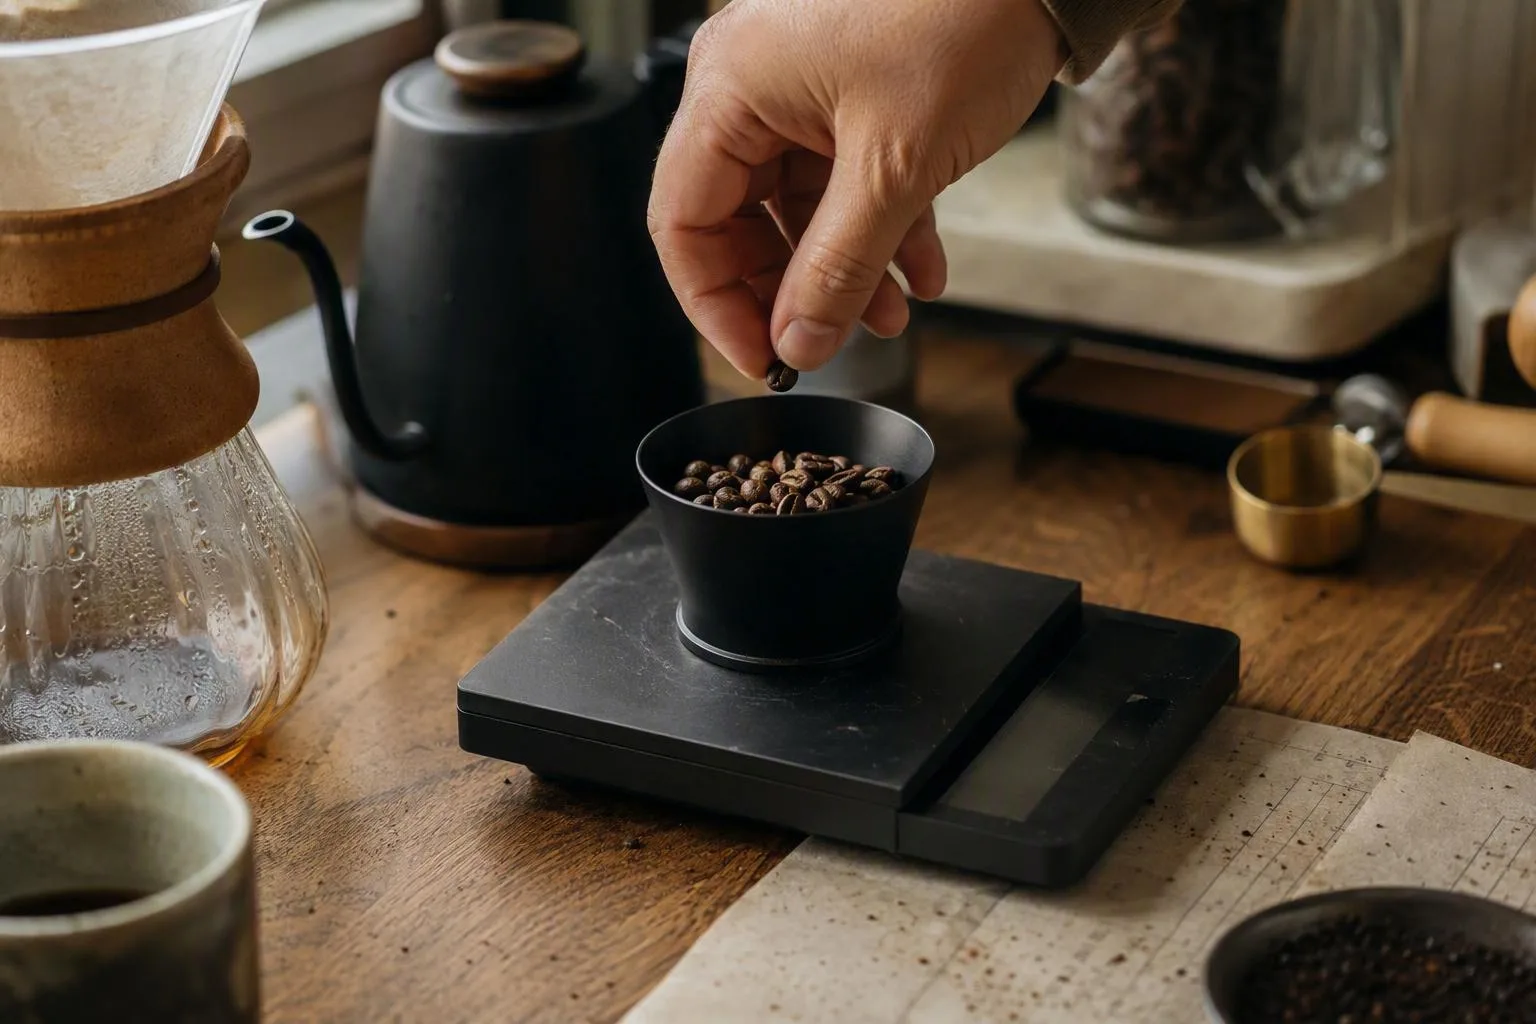
Put 1:15 on the scale: 20 g of coffee means 300 g of water
A brew ratio compares the dry coffee dose with the total water you add. In a 1:15 coffee ratio, one gram of dry coffee is paired with 15 grams of water. The calculation is dose multiplied by 15: 20 g × 15 = 300 g.
The water in the bloom belongs in the total
If you pour 50 g for the bloom and then add 250 g during the main pours, you have used 300 g altogether. The bloom is not extra water sitting outside the recipe. The separate guide to coffee bloom is useful for understanding saturation, gas release, and agitation, but the ratio calculation stays the same.
| Coffee dose | Water at 1:15 | Simple use |
|---|---|---|
| 12 g | 180 g | Small single cup |
| 15 g | 225 g | Small cone brew |
| 20 g | 300 g | Two modest cups |
| 30 g | 450 g | Larger server brew |
These are recipe-water figures, not the amount that will land in your cup. The grounds hold back some water along with the brewed coffee, so the server weighs less than the water you poured. That retention changes beverage yield; it does not turn a 20 g dose with 300 g added water into a different recipe ratio.
For a dose outside these examples, use the coffee to water ratio calculator rather than doing the multiplication under a stream of water. Keep the ratio fixed while you diagnose the cup, then change one variable at a time.
Moving from 1:13 to 1:18 changes concentration before it solves extraction
Ratio and extraction answer different questions. TDS, short for total dissolved solids, describes how concentrated the brewed liquid is: how much dissolved coffee material is present relative to the liquid carrying it. Extraction describes how much soluble material has moved out of the dry grounds and into the water.
Take the same 20 g dose. At 1:13, you add 260 g of water. At 1:18, you add 360 g. If both brews remove the same amount of coffee material from the bed, the 1:13 brew will be more concentrated because that material is spread through less liquid.
The larger recipe can still extract more. More water passing through the bed can continue dissolving material, provided the grind, flow, and contact conditions let it do so. Yet the finished drink may taste weaker because the extra water dilutes what was extracted. A cup can therefore be more extracted and less concentrated at the same time.
This is why adding water is a poor first response to a sour cup. Sour, sharp, or hollow flavours can indicate under-extraction, while bitterness and drying can indicate over-extraction or uneven extraction. The ratio changes concentration more directly than it changes the amount removed from the grounds.
Use 1:15 as a baseline, not a universal extraction target. Ratios such as 1:14, 1:15, 1:16, and 1:17 are close enough to compare without changing the whole brew design. If you want the formal concentration-versus-extraction vocabulary, the Specialty Coffee Association brewing control chart is a useful reference, but you can make the practical decision from taste.
Water can complicate the diagnosis. It is the solvent, not a blank carrier, and its dissolved minerals change the chemical environment around the coffee. If your dose, grind, temperature, and pouring are stable but the cup keeps shifting, check coffee-water composition guidance before assuming the ratio is at fault.
Break the rule deliberately: when 1:14, 1:16, or 1:17 is the better choice
Choose a ratio after deciding whether the problem is concentration or extraction. A clean, balanced cup that feels too light needs a different adjustment from a sharp, hollow cup, even if both are described as thin.
| Ratio | Water for 20 g | Move here when |
|---|---|---|
| 1:14 | 280 g | The cup is balanced but lacks body |
| 1:15 | 300 g | You need a neutral starting baseline |
| 1:16 | 320 g | The balanced cup tastes too intense |
| 1:17 | 340 g | You want still more dilution from an intense cup |
Here is the important correction to a common ratio shortcut: do not move toward 1:14 because a balanced cup is already too concentrated. Less water per gram of coffee makes the liquid more concentrated. Move toward 1:16 or 1:17 for that problem. Use 1:14 when the cup is clean and properly extracted but lacks weight.
If the cup at 1:15 is sour or hollow, keep the ratio still and start with a one-step-finer grind. If it is bitter or drying, keep the ratio still and reduce extraction with a one-step-coarser grind, gentler agitation, or slightly cooler water. Changing the ratio at the same time hides the useful answer.
Roast colour is a clue, not a command. Very light, dense coffees can resist extraction in a given brewer, so finer grinding or hotter water may be more useful than adding coffee. Darker coffees can become harsh when high heat and long contact pull too much roast-derived bitterness into the cup. The bean decides how far you can push the other dials.
My strongest practical rule is simple: use ratio to correct a balanced cup that is too concentrated or too diluted. Use grind, heat, contact time, and agitation to correct a cup that is not yet balanced.
At 1:15, taste tells you whether to touch grind, heat, or agitation
Start with the cup, then use the drawdown as supporting evidence. The table below assumes a paper cone, a 20 g dose, and 300 g of water. “One step” means one small setting change on your grinder, not a dramatic jump across several clicks.
| What you taste | Likely direction | First controlled change | Mechanism |
|---|---|---|---|
| Sour, sharp, or hollow | Under-extraction | Grind one step finer | Smaller particles expose more surface area and usually slow flow |
| Bitter, drying, or harsh | Over-extraction or excessive agitation | Grind one step coarser, or use water 2–3°C cooler | Less contact or energy can reduce the amount of harsh material pulled out |
| Clean but thin | Balanced extraction, low concentration | Change from 1:15 to 1:14 | Less water leaves a more concentrated beverage |
| Thin and sour together | Under-extraction, not simply dilution | Keep 1:15 and grind finer | More extraction is needed before concentration can be judged |
| Muddy or astringent | Fines migration, channeling, or uneven pouring | Reduce agitation first | Tiny particles can clog parts of the filter while water finds easier paths elsewhere |
Fines are the very small coffee particles created during grinding. With aggressive stirring, swirling, or a forceful kettle stream, they can migrate downward and partly block the paper. That can slow the bed while other areas receive less water.
Channeling is water taking a low-resistance route through the coffee instead of contacting the bed evenly. A high stream, an uneven coffee mound, or pouring repeatedly against one side of the filter can create that route. The result can be a cup that is both harsh and hollow: some grounds are overworked while other grounds contribute very little.
Reduce agitation before changing three other settings. Pour lower and more gently, avoid repeated swirls once the bed is evenly wet, and keep the stream moving across the coffee rather than drilling one spot. This is a better test than immediately grinding finer, because finer coffee can create even more fines and make the blockage harder to interpret.
A drawdown is the time from the first pour until most of the water has passed through the bed. For this 20 g/300 g cone brew, roughly 2:45–3:45 is a useful starting window, not a pass-or-fail standard. A slow brew can come from a fine grind, excess fines, or heavy agitation; a fast brew can come from a coarse grind, channeling, or an uneven bed. Time alone cannot identify the cause.
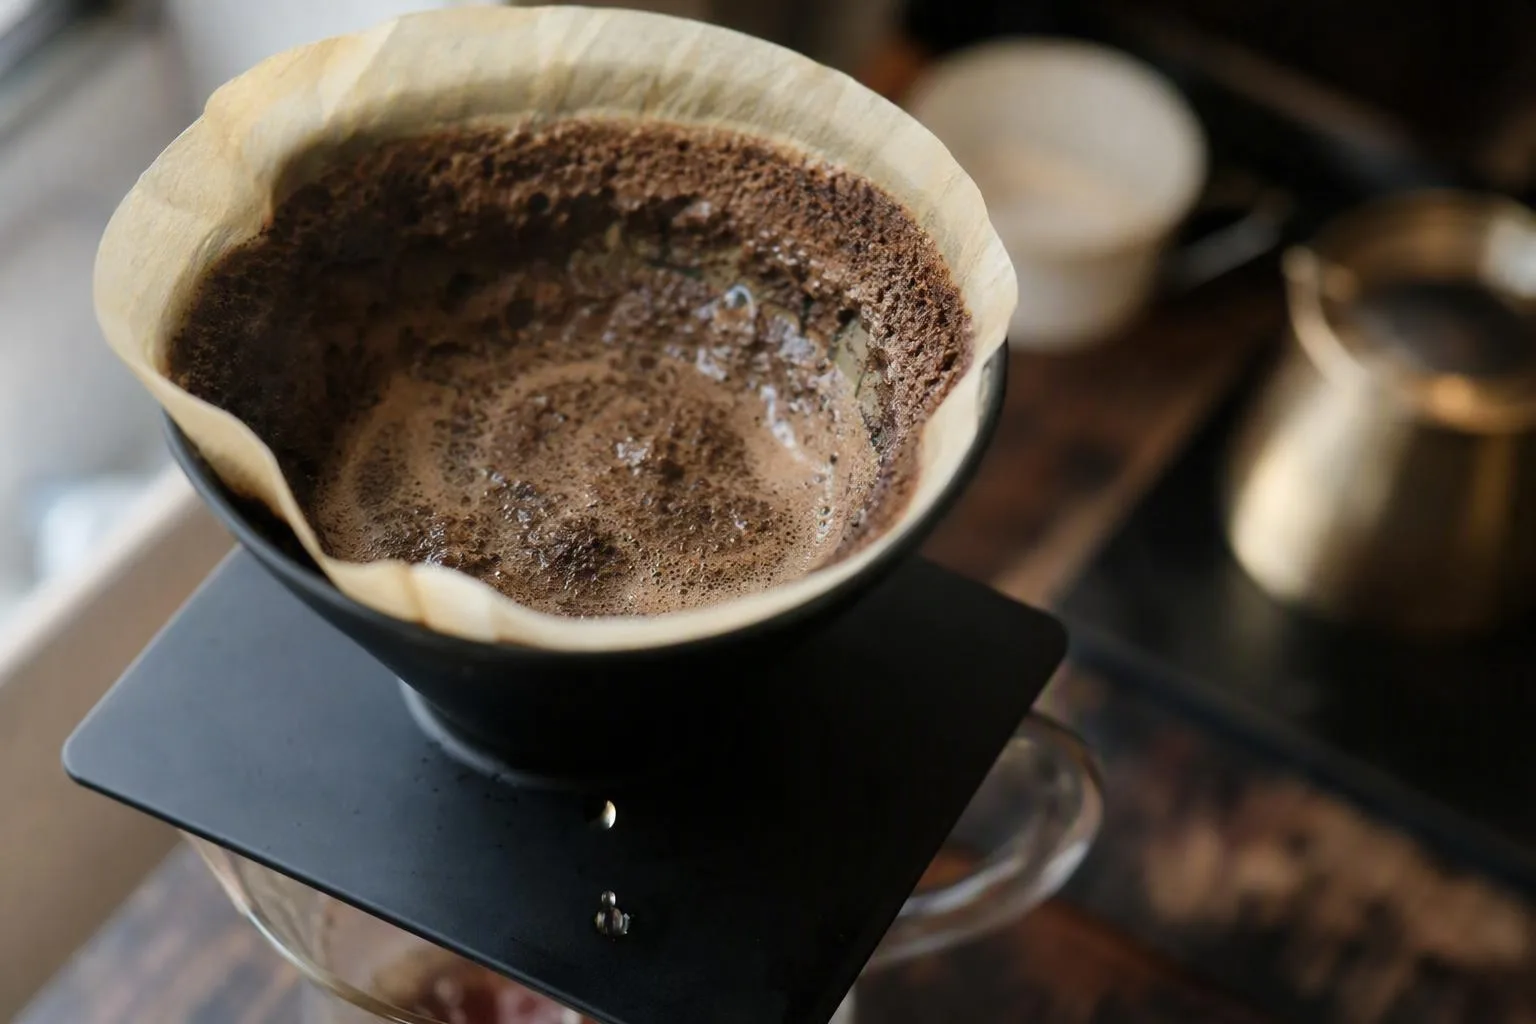
Use time to ask a better question: does the taste agree with the flow? A slow, bitter cup supports a coarser-grind or lower-agitation test. A fast, sour cup supports a finer-grind test. If the time looks ordinary but the taste is wrong, trust the taste and leave the ratio fixed.
The controlled test: 20 g, 300 g, a 50 g bloom, and one change at a time
Here is the controlled brew to use tonight. It gives you enough detail to repeat the cup without pretending that one grinder setting or one timer reading transfers perfectly between brewers.
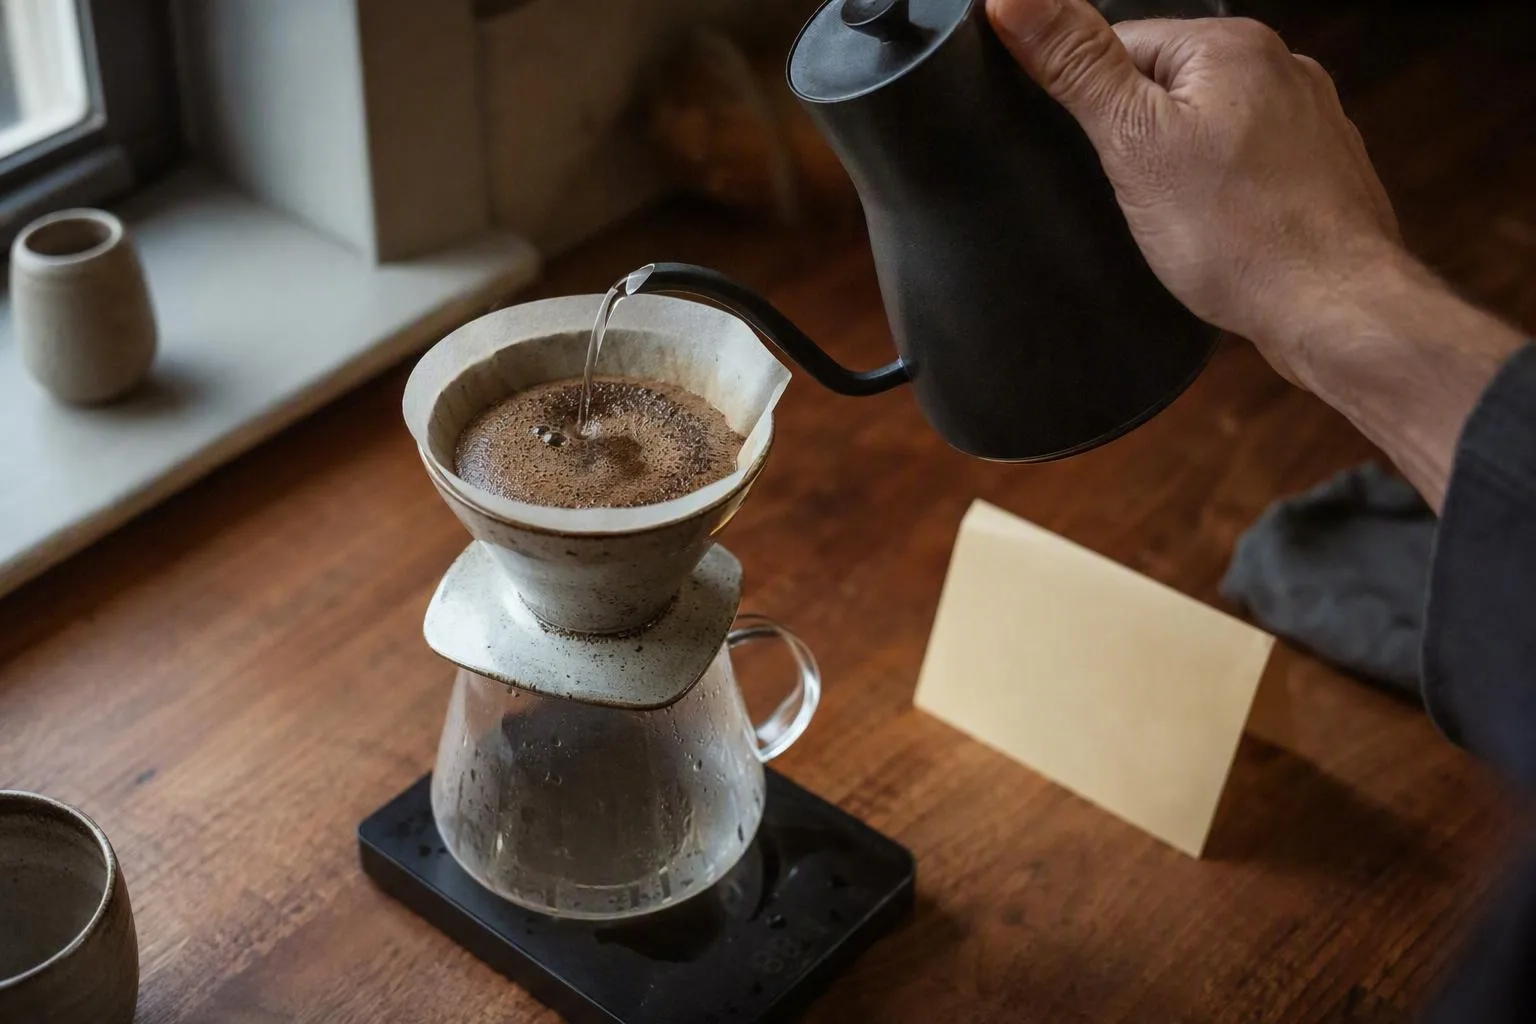
- Measure the recipe. Weigh 20 g of coffee and prepare 300 g of water. Start around 92–96°C. If a darker roast already tastes roasty or drying, start closer to 90–93°C instead of adding more heat.
- Grind medium-fine. Use a setting that lets water pass steadily without racing through the bed. Record the grinder position because the label on one grinder does not translate directly to another.
- Bloom with 50 g. Pour enough to wet the bed evenly, then give the brewer one gentle swirl. Wait 30–45 seconds. The goal is full wetting; the escaping carbon dioxide from recently roasted coffee can otherwise push water away from dry pockets.
- Make the main pours. Pour steadily to 200 g, then continue to 300 g once the bed has accepted most of the previous pour. Keep the stream controlled and avoid striking one point. Do not make the final weight hit a hidden timestamp; note elapsed time as a reference point rather than a target.
- Watch the drawdown. Use roughly 2:45–3:45 as the starting window for the finished brew, then taste it. A coffee outside that window can still be good, and a coffee inside it can still be poorly extracted.
- Write down the result. Record dose, total water, water temperature, grind setting, bloom time, the time you reached 300 g, and the finish time. On the next brew, change only one of those variables.
Three adjustment branches
- Sour or hollow: keep 20 g and 300 g, then grind one step finer. If the next cup is still sharp and the flow is very fast, repeat one small change before raising temperature.
- Bitter or drying: keep the ratio and choose either one step coarser, 2–3°C cooler water, or less agitation. Do not make all three changes in one brew.
- Balanced but too light: change to 1:14, using 280 g of water for the same 20 g dose. If it is balanced but too intense, change to 1:16 with 320 g instead.
This sequence makes the ratio useful because it stays still long enough to reveal what the other dials are doing. The most transferable coffee note is not “this bean likes 1:15.” It is “at 1:15, this grind and pouring pattern produced a clean cup that needed less dilution.”
Three questions the 1:15 rule does not settle
Can you use a 1:15 ratio for iced pour-over coffee?
Yes, but count the ice as part of the final dilution. For 20 g of coffee and 300 g total water, a useful starting split is 200 g of hot brew water and 100 g of ice in the server. The bloom can still be 50 g, leaving 150 g for the remaining hot pours.
The hot water controls extraction; the melted ice controls the final concentration. That means the drink is brewed more concentrated before dilution than a 20 g/300 g hot recipe. If the iced cup tastes weak, reduce the ice or increase the hot-water share only after deciding whether the hot brew itself was balanced.
Does the same 1:15 ratio work for a flat-bottom dripper?
It is a sound starting ratio, but do not transfer the cone brewer’s grind setting without testing it. Flat-bottom and cone brewers distribute water through different bed shapes, and their flow can respond differently to fines and pouring pattern. Keep 1:15 constant first, then adjust grind or pouring based on taste and drawdown.
Should very fresh coffee use a different pour-over ratio?
Not automatically. Fresh coffee can release more carbon dioxide during the bloom, changing how quickly the bed wets and how water moves through it. Begin at 1:15, observe the bloom and flow, and adjust bloom time, agitation, or grind before changing the ratio simply because the roast is fresh.
Think of 1:15 as a lab bench, not a law. Hold it steady while you fix extraction; break it only when the extraction tastes balanced and the concentration is the part that still feels wrong.
Frequently Asked Questions
Can you use a 1:15 ratio for iced pour-over coffee?
Yes, but count the ice as part of the final dilution. For 20 g of coffee and 300 g total water, a starting split could be about 200 g hot brew water and 100 g ice, then adjust the hot-water share for the brewer's retention and the desired strength.
Does the same 1:15 ratio work for a flat-bottom dripper?
It is a sound starting ratio, but flat-bottom and cone brewers distribute water and retain fines differently. Keep 1:15 constant first, then adjust grind and pour pattern based on drawdown and taste rather than transferring the same grind setting.
Should very fresh coffee use a different pour-over ratio?
Not automatically. Fresh coffee can release more carbon dioxide, which changes bloom behavior and flow, so begin at 1:15 and adjust bloom time, agitation, or grind after observing the brew instead of changing the ratio solely because the roast is fresh.