Espresso Drinks Explained: Ratios, Milk, and Foam at Home
A 36 g espresso can become a cortado with 36 g of milk or a latte with 180 g of milk. The shot has not changed, but the dilution, texture, and perceived strength have; that is the useful way to understand espresso drinks at home.
Put the serving cup on a scale, brew the espresso by mass, and treat the milk as a second ingredient rather than as a vague pour. Once you separate the shot ratio from the finished-drink ratio, café names become much easier to reproduce.
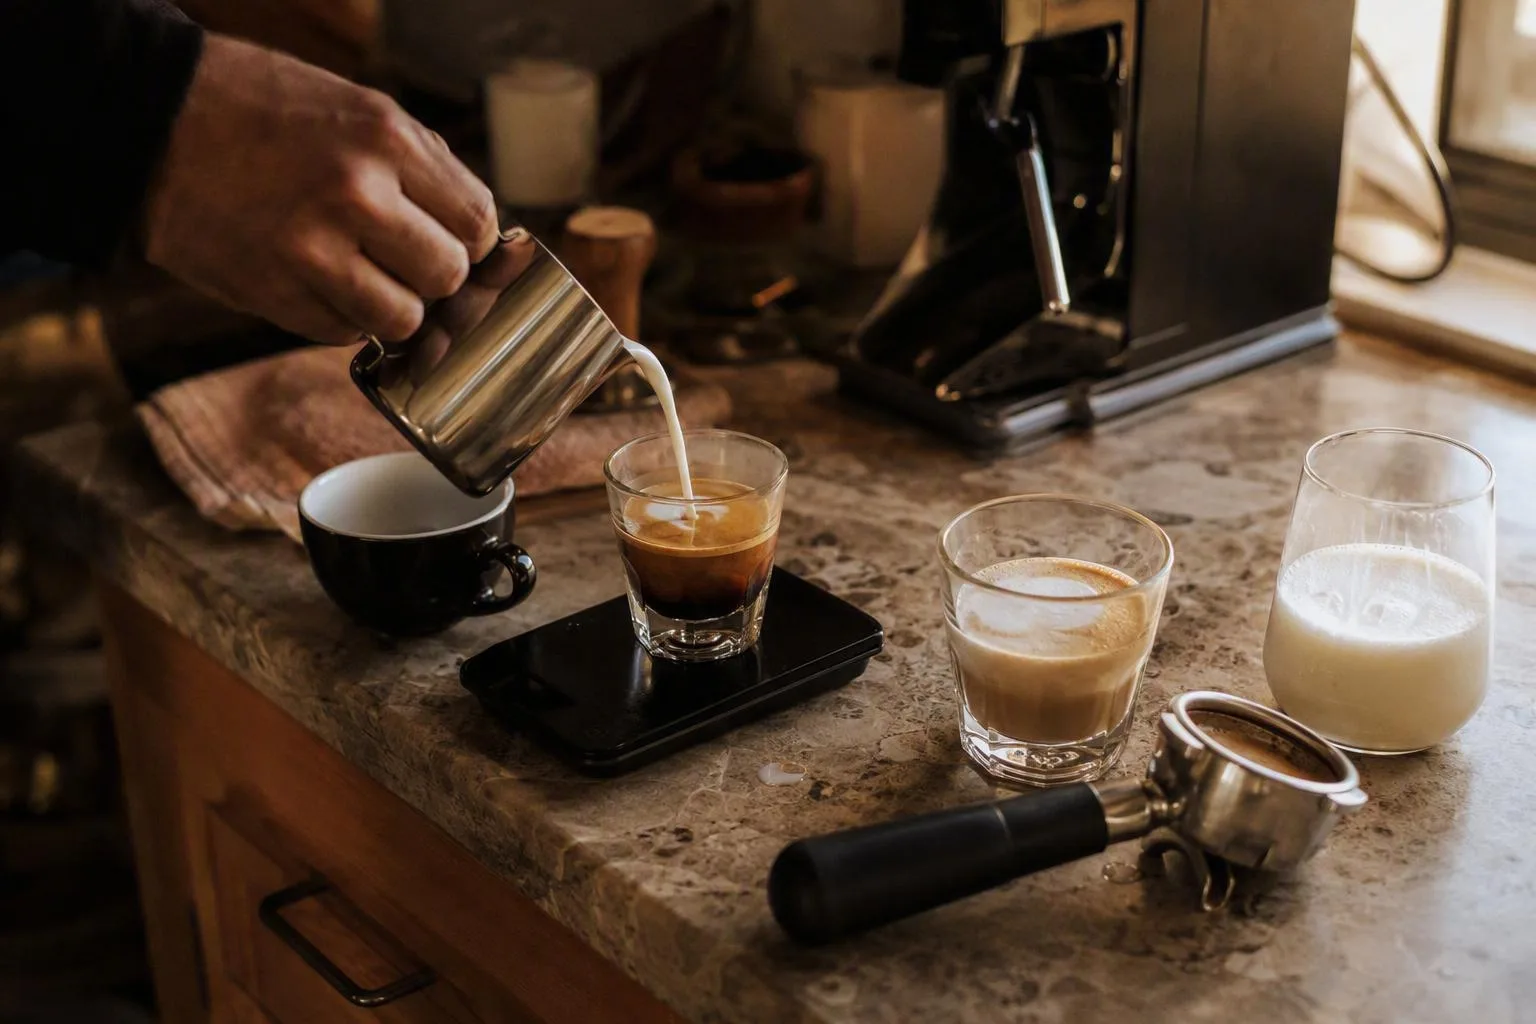
Lock the espresso first: an 18 g dose, 36 g yield, and a 25–35 second starting point
Start with espresso as a mass problem. An espresso brew ratio is the relationship between the dry coffee dose and the liquid espresso that comes out. An 18 g dose stopped at 36 g gives a 1:2 ratio, which is a practical home starting point for milk drinks because it gives you enough concentrated coffee to survive dilution without making the shot unnecessarily short.
Use roughly 25–35 seconds from pump start as a diagnostic range, not as a finish line. If the espresso tastes balanced at 22 seconds or 38 seconds, taste outranks the timer. Time tells you that the puck offered a certain resistance; it does not tell you whether the cup contains the right balance of extracted material.
Adjust grind size by flavour. A sharp, thin, lemon-like shot commonly points toward under-extraction, so a slightly finer grind is the first change to test. A bitter, drying shot commonly points toward over-extraction, so a slightly coarser grind is the cleaner first move. Change one thing, then brew another shot at the same dose and yield.
Weigh the espresso instead of judging the liquid level. Crema, the gas-filled foam on fresh espresso, makes volume unreliable: two shots at the same liquid mass can occupy different heights in the cup. If you change the dose, the coffee to water ratio calculator can preserve the same starting relationship by scaling the yield with it.
For a neutral glossary check, Wikipedia's overview of espresso is useful, but the scale and the taste of your own shot should decide the next adjustment.
Translate the menu into finished mass: the espresso-to-milk map
Once the shot is fixed, the drink name mostly describes what you add to it. The table below uses 30–40 g of espresso as the common finished-shot range; the 36 g yield from an 18 g dose sits in the middle.
| Drink | Espresso | Typical addition | What the build emphasizes |
|---|---|---|---|
| Macchiato | 25–40 g | 5–15 g foam | Mostly espresso with a small softening layer |
| Cortado | 30–40 g | 30–50 g milk | Near-equal coffee and milk mass |
| Flat white | 30–40 g | 90–140 g milk | Integrated milk with a shallow foam layer |
| Cappuccino | 30–40 g | 60–100 g milk | More incorporated air and a thicker cap |
| Latte | 30–40 g | 150–240 g milk | Milk-forward dilution with a thin foam layer |
| Americano | 30–40 g | 90–180 g water | A larger, milk-free drink |
| Mocha | 30–40 g | Latte-like milk plus 15–25 g chocolate syrup | Milk, espresso, and chocolate sweetness |
Café names vary by country and shop, so these are extraction-based reference builds rather than universal laws. A small cortado glass and a large latte cup can make the same mass look dramatically different. That is why finished mass is more useful than a cup label when you are trying to repeat a drink.
Think of milk as both dilution and texture. The espresso-to-milk ratio controls how much coffee character remains, while the amount of air controls whether the surface is flat, glossy, or capped with spoonable foam. Two drinks can contain the same milk mass and still feel different if one has more incorporated air.
Foam is a texture setting: 55–65 °C milk, 2–20 mm foam, and bubbles you can barely see
Microfoam is milk containing very small, evenly distributed bubbles. At home, the important variable is not simply how much milk you heat; it is how much air you introduce and how thoroughly you blend that air into the liquid.
For dairy milk, use about 55–65 °C as a practical target for sweet-tasting, pourable texture. Above roughly 70 °C, milk is more likely to develop cooked flavours and a rougher foam texture. A thermometer helps while you learn, but the pitcher should also feel hot enough that you need to change grip rather than hold it comfortably for a long time.
With a steam wand, begin with the tip close enough to the surface to make a quiet paper-tearing sound. That surface phase injects air; lowering the tip and creating a whirlpool then breaks larger bubbles into the liquid and distributes them. The goal is not a mountain of foam. It is a uniform emulsion that pours as one fluid rather than separating into milk below and bubbles above.
A cortado usually needs only about 1–3 mm of foam, a flat white about 3–6 mm, a latte about 5–10 mm, and a cappuccino about 10–20 mm. These are visible-layer starting points, not measurements of the air hidden throughout the drink. A narrow cup can make the same foam mass look deeper than it does in a wide bowl.
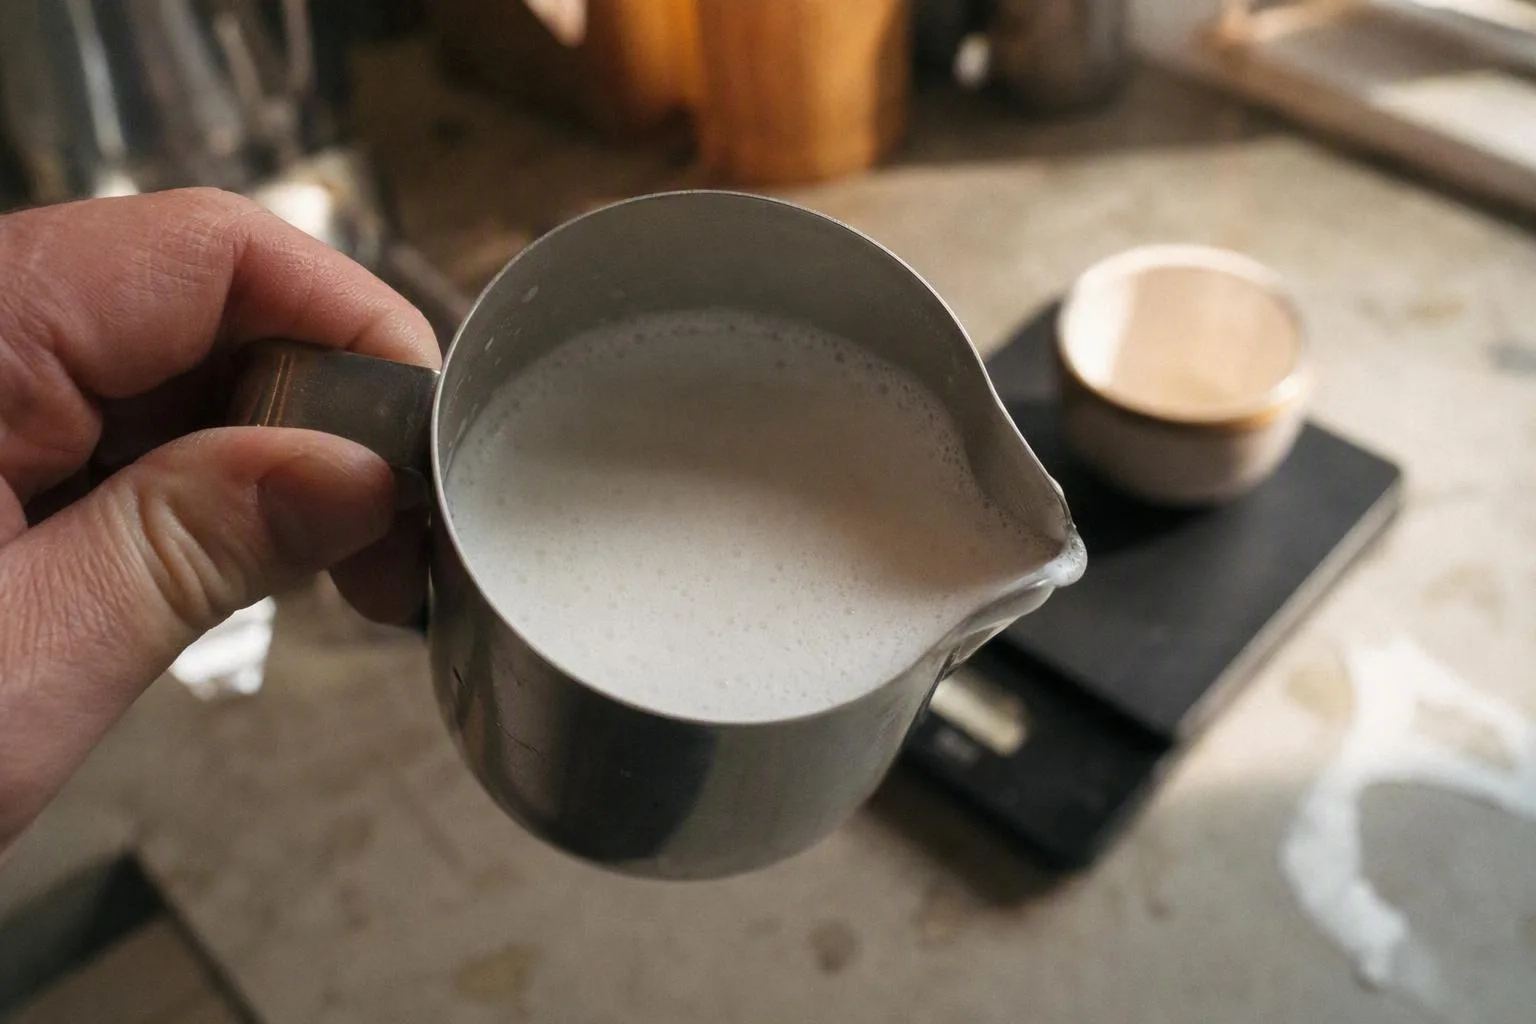
For a flat white or latte, keep the milk moving as you pour so the microfoam stays integrated with the espresso. For a cappuccino, a more central pour can leave a thicker foam cap instead of distributing every bubble through the drink.
Why the same 36 g shot can be a cortado, flat white, or latte
Here is the arithmetic. Put 36 g of espresso in the cup and add 36 g of milk: that is a 1:1 coffee-to-milk build, a useful cortado reference. Add 108 g of milk instead and you have 36 g espresso plus 108 g milk, or 1:3. Add 180 g and the build becomes 1:5, a latte-style starting point.
The espresso itself has not become weaker because the grinder changed. Milk has diluted the espresso compounds and changed their delivery with fat, protein, and foam. Air adds volume far more than it adds mass, which is why a heavily foamed cappuccino can look large without containing as much milk as a latte.
Weighing the additions makes the strength change visible. A cup that tastes watery but otherwise balanced is often not an extraction failure; it may simply contain more milk than the shot can support. Extra milk can soften or disguise an over-extracted shot, but it cannot repair the uneven extraction inside the puck.
Build the drinks by mass: a home recipe sheet for eight common orders
Use the same espresso base for the whole set: 18 g ground coffee, about 36 g espresso, and a grind adjusted until the shot tastes balanced. Brew into the final cup when practical, tare the scale, then add the other ingredient by mass. If you steam milk separately, weigh the pitcher before and after pouring or weigh the cup again after the espresso.
- Straight espresso: Serve the 36 g shot on its own. Let the crema settle briefly if you want to judge the liquid texture rather than the initial foam height.
- Macchiato: Add 5–15 g of dense foam. Place it centrally so the small milk addition marks the espresso rather than turning the drink into a miniature latte.
- Cortado: Add 36–45 g of textured milk. Keep the foam shallow and pour continuously enough to combine the milk with the shot.
- Flat white: Add 90–120 g of finely textured milk. Keep the pitcher moving and aim for a glossy, integrated surface with little separate cap.
- Cappuccino: Add 75–105 g of milk with more incorporated air. Pour enough of the liquid portion into the espresso to combine, then finish centrally to preserve the thicker foam layer.
- Latte: Add 150–180 g of textured milk. Use less air than for a cappuccino and keep the pour controlled so the larger milk mass does not wash out every coffee note.
- Americano: Add 90–150 g of hot water to the 36 g espresso. Add less water for a denser drink and more for a longer, lighter cup; the water changes dilution without adding milk texture.
- Mocha: Add 15–25 g chocolate syrup and stir it into the espresso before adding 150–180 g of textured milk. Mixing the syrup with the shot first prevents a sticky layer at the bottom.
These masses are starting recipes, not commands. If the latte tastes too quiet, reduce the milk before lengthening the espresso yield. If the cappuccino tastes harsh, correct the espresso first; adding more foam changes the delivery of the flavour but leaves the extraction issue in place.
No steam wand? Match the target with a French press, whisk, or no foam
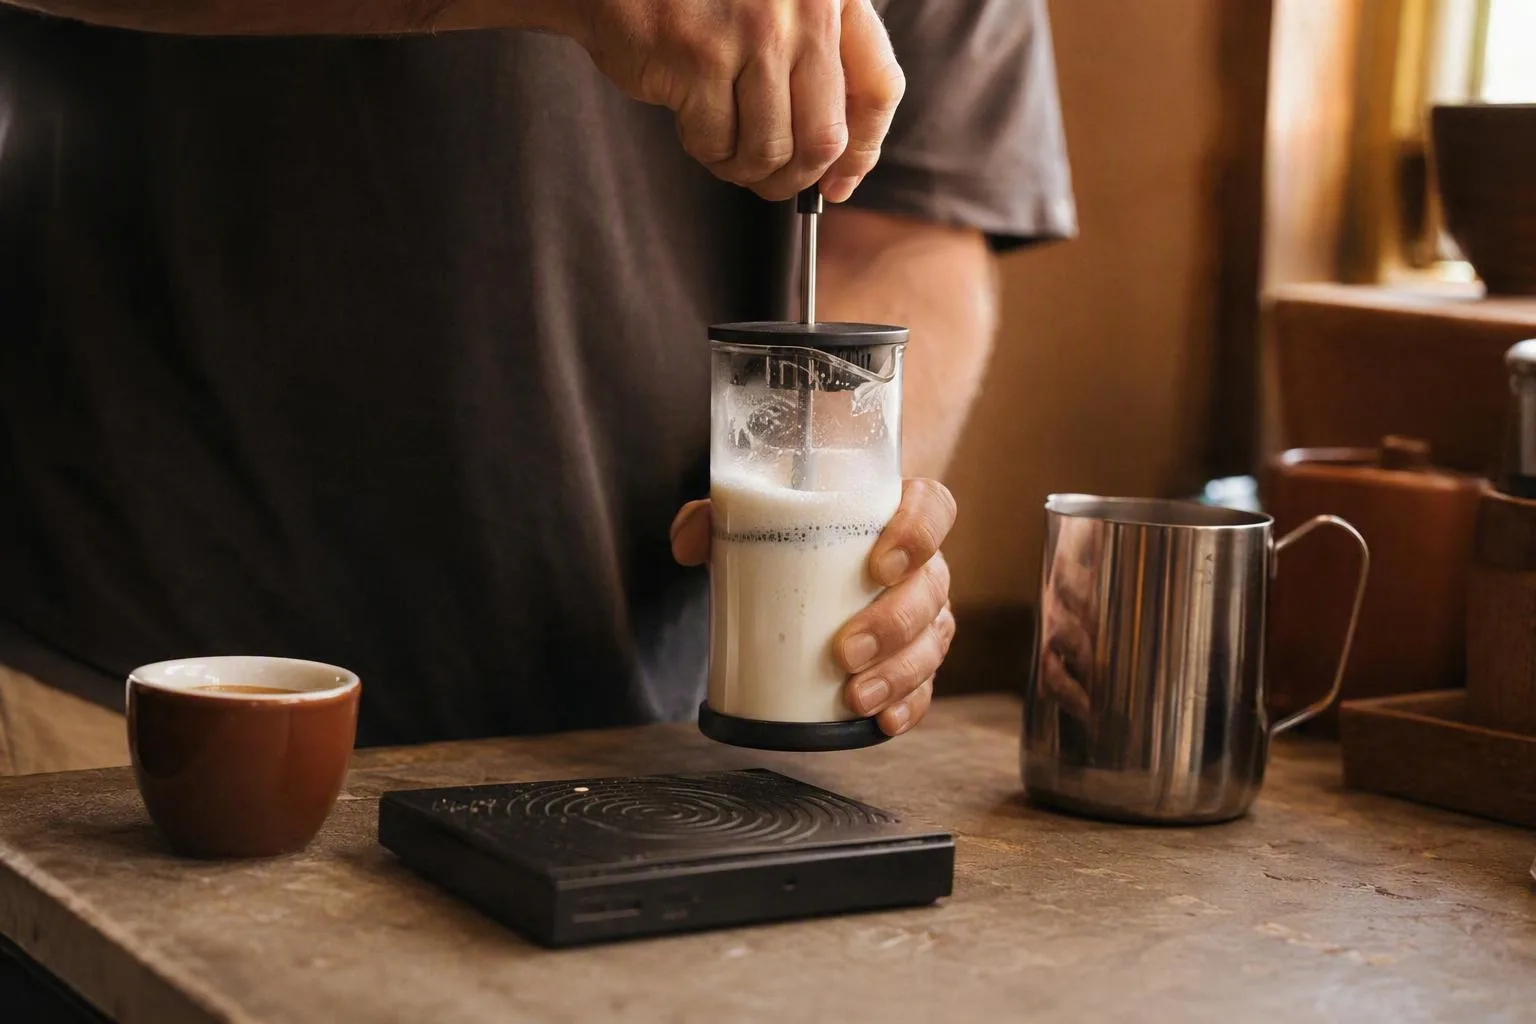
A French press can produce a usable foam cap without pretending to create steam-wand microfoam. Heat the milk to 55–65 °C, pour it into the press, and use about 10–20 short plunges over 10–15 seconds. Swirl the milk, let it rest briefly so the largest bubbles can break, then pour the smoother portion first and the foam last.
With a handheld frother, aerate near the surface for roughly 10–20 seconds, then submerge it briefly to blend the bubbles through the milk. Keep the whisk below the surface during the blending phase; lifting it repeatedly pulls in fresh, coarse air.
Both methods usually leave larger bubbles and less elastic foam than a steam wand, so a cortado or low-foam flat white is a more realistic target than glossy latte art. If consistency matters more than a foam cap, use warm, un-aerated milk and make the drink by mass.
Taste and texture faults tell you which dial to turn
Diagnose the espresso before diagnosing the milk. Use this table as a checking order: make the first change listed, keep the other variables fixed, and taste the next cup before making a second adjustment.
| What you notice | Likely mechanism | First change |
|---|---|---|
| Sour, sharp, or thin espresso | Under-extraction | Grind slightly finer while keeping dose and yield steady |
| Bitter, dry, or mouth-drying espresso | Over-extraction | Grind slightly coarser and repeat the same yield |
| Balanced espresso but watery latte | Too much dilution | Reduce milk from 180 g toward about 150 g |
| Cooked-tasting milk | Excessive heating | Stop closer to 55–65 °C |
| Coarse, bubble-heavy foam | Too much surface air or not enough blending | Shorten surface aeration and spend longer creating a whirlpool |
| Sour and bitter flavours together | Possible channeling | Improve puck preparation before changing the milk |
Channeling means water finds easier paths through part of the coffee bed, so some grounds receive too little contact while other areas receive too much. At a bottomless portafilter, look for uneven flow or pale streams; those are useful clues, not proof by themselves. Distribution, tamping, dose fit, and grinder fines can all affect what you see.
The clearest rule here is to correct the shot before using milk to hide it. A cappuccino can cover a harsh edge and a latte can bury a thin shot, but neither changes the path water took through the puck. Make the espresso acceptable on its own, then choose milk mass and foam to shape the drink you want.
Choose the drink by the result you want, then keep one variable fixed
Choose a macchiato or cortado when coffee presence matters most. Choose a flat white when you want a larger milk component without a tall foam cap, a cappuccino when foam is the defining texture, a latte for a smoother milk-forward cup, and an Americano when you want a longer drink without milk.
The cortado is the best first calibration drink for this method because its roughly 1:1 espresso-to-milk ratio leaves little room for dilution to hide a poor shot or badly textured milk. Once that small drink tastes right, moving to a flat white or latte becomes a controlled change in milk mass rather than a new recipe mystery.
Three practical questions about espresso drinks at home
Can you make espresso drinks with plant milk?
Yes, but plant milks differ in protein, fat, and stabilizers, so their foam stability and bubble size can differ from dairy milk. Start around 50–65 °C, introduce less air for a latte or flat white, and judge the finished texture rather than assuming it will behave like dairy milk. A plant milk that pours smoothly with a thin layer is more useful than one that produces a tall, unstable cap.
What cup size should you use for a cappuccino or latte at home?
Choose the vessel from the finished recipe mass rather than its label. A cappuccino commonly fits a roughly 150–180 ml vessel, while a latte commonly fits about 240–300 ml. Leave enough headroom for foam, but do not fill a large cup with extra milk simply because it looks empty; that changes the ratio you meant to brew.
Can you make a latte with a single espresso shot?
Yes, but a single shot of roughly 25–40 g paired with 150–240 g of milk will taste very milk-forward because the milk mass is several times larger than the espresso. For more coffee presence, reduce the milk toward 90–140 g or use the 18 g dose and 36 g yield starting point from the recipe sheet.
Espresso drink names are useful shorthand, but the scale gives you the underlying recipe. Fix the extraction, weigh the addition, and treat foam as a texture setting; that sequence transfers from a cortado to a latte without depending on the size of the cup or the name printed on the menu.
Frequently Asked Questions
Can you make espresso drinks with plant milk?
Yes, but plant milks differ in protein, fat, and stabilizers, so foam stability and bubble size vary. Start around 50–65 °C, use less added air for a latte or flat white, and judge the finished texture rather than assuming dairy-milk behavior.
What cup size should you use for a cappuccino or latte at home?
Use the finished recipe mass rather than the cup label: a cappuccino commonly fits a roughly 150–180 ml vessel, while a latte commonly fits about 240–300 ml. Leave enough headroom for foam and avoid using a large cup that forces extra milk into the recipe.
Can you make a latte with a single espresso shot?
Yes, but a single shot of roughly 25–40 g espresso paired with 150–240 g milk will taste very milk-forward. For more coffee presence, reduce the milk to about 90–140 g or use the 18 g dose and 36 g yield starting point described in the main recipe sheet.