Espresso Drinks to Make at Home: Ratios for Milk, Foam, and Shots
A 36 g espresso shot can become a coffee-forward 50 g cortado or a soft 180 g latte without changing the coffee dose. The variable that moves the drink most is not the name on the menu; it is how much milk you add and how much air you fold into it.
Start with the espresso on its own, then build the milk drink by weight. That order matters: milk cannot repair under-extraction, meaning too little soluble material has been pulled from the grounds, or channeling, where water finds fast paths through an uneven puck. If you want to compare labels beyond these home recipes, café-association terminology resources are worth checking, since usage varies by region.

Set the shot first: 18 g in, 36 g out, 25–35 seconds
Espresso brew ratio compares the dry coffee dose with the liquid espresso yield. An 18 g dose that produces 36 g in the cup is a 1:2 ratio, a useful starting point because it gives you enough concentration for milk without making the shot automatically heavy or harsh.
Treat 25–35 seconds, measured from pump start, as a working window rather than a score to force. A shot can land at 30 seconds and still taste sour if water has missed parts of the puck; another can run at 24 seconds and taste balanced with a particular coffee and machine. Grind size, dose distribution, basket depth, and roast development all affect the time.
Begin around 90–96 °C. The lower end can suit a darker or more soluble roast, while a lighter roast may respond better to the upper end and a slightly longer extraction. These are starting positions, not promises that every bean will behave the same way.
- Weigh the dose. Put the portafilter on the scale, tare it, and add 18 g of ground coffee. Distribute the grounds before tamping so dense and loose areas do not compete for water.
- Start the shot and watch yield. Place the cup on the scale, start the pump, and stop the brew near 34–36 g. A little liquid may continue dripping, so learn where your machine lands after the pump stops.
- Taste before adding milk. Sour, sharp, or thin usually calls for one small move finer. Bitter, drying, or hollow usually calls for one small move coarser, especially if the shot is also slow.
- Record one change. Keep the dose, yield, and temperature fixed while you adjust the grind. That gives the next shot a readable comparison instead of three moving targets.
If your grinder’s steps are unfamiliar, a coffee grind size chart can orient you, but the taste and flow of your own machine should make the final decision. The espresso needs to taste reasonably complete before milk enters the cup.
Milk mass is the clearest divider between cortado, flat white, cappuccino, and latte
Once the shot is stable, milk mass becomes the simplest control for drink strength. Air changes the volume of steamed milk, but it adds very little mass, so weighing what enters the cup is more repeatable than filling a measuring jug to a visual line.
| Drink | Milk added to a 36 g shot | Texture | Result |
|---|---|---|---|
| Cortado | 40–60 g | Lightly steamed | Dense, direct espresso character |
| Flat white | 90–130 g | Fine integrated microfoam | Coffee-forward but smoother |
| Cappuccino | 90–120 g | More aerated foam | Rounder, with a stronger foam presence |
| Latte | 150–220 g | Thin, glossy foam layer | Soft and milk-forward |
The lower milk range in a cortado keeps the espresso concentrated. A flat white uses more milk but still presents a strong coffee core because the texture is compact and the drink is not built around a thick cap of dry foam. The cappuccino range overlaps the flat white by mass; its separation comes mainly from how much air is incorporated.
The useful home distinction behind flat white vs latte is therefore dilution plus texture. Choose a cortado or flat white when you want the espresso to remain easy to identify. Choose a latte when the goal is a gentler, milk-led drink that gives a rough shot less room to dominate.
Those are operating recipes, not universal definitions. Cafés may use different cups, shot volumes, or naming conventions, which is why a gram-based home build is more dependable than trying to copy a menu label by eye.
Foam has two measurable targets: 55–65 °C and glossy microfoam
Milk foam has two separate jobs: add the right amount of air and keep that air integrated in the liquid. Aim for roughly 55–65 °C in the pitcher. Stopping near 60–63 °C gives you a little room for residual heat while keeping the milk comfortably below the point where overheating becomes obvious.
For latte or flat-white texture, introduce air for roughly 2–5 seconds, depending on steam-wand strength and the amount of milk in the pitcher. A powerful wand may need only a brief stretch; a weaker wand may need longer. A cappuccino needs a longer air-injection phase, but the correct duration is the one that creates a visibly larger foam layer without making the milk dry or stiff.
Microfoam means fine bubbles that are dispersed through the milk rather than sitting as a separate raft on top. The finished milk should look glossy and pour like wet paint. Keep the wand tip near the surface at the beginning so it makes a quiet paper-tearing sound, then lower it slightly and create a whirlpool to fold the larger bubbles back into the milk.
Large bubbles collapse because air was introduced too aggressively or never properly integrated. The mechanism is milk protein denaturation: heat changes the proteins’ shape and behavior, allowing them to help stabilize air bubbles, but excessive heat can weaken the texture you are trying to build. Once milk climbs past roughly 70 °C, it can taste dull and the foam can become less stable.
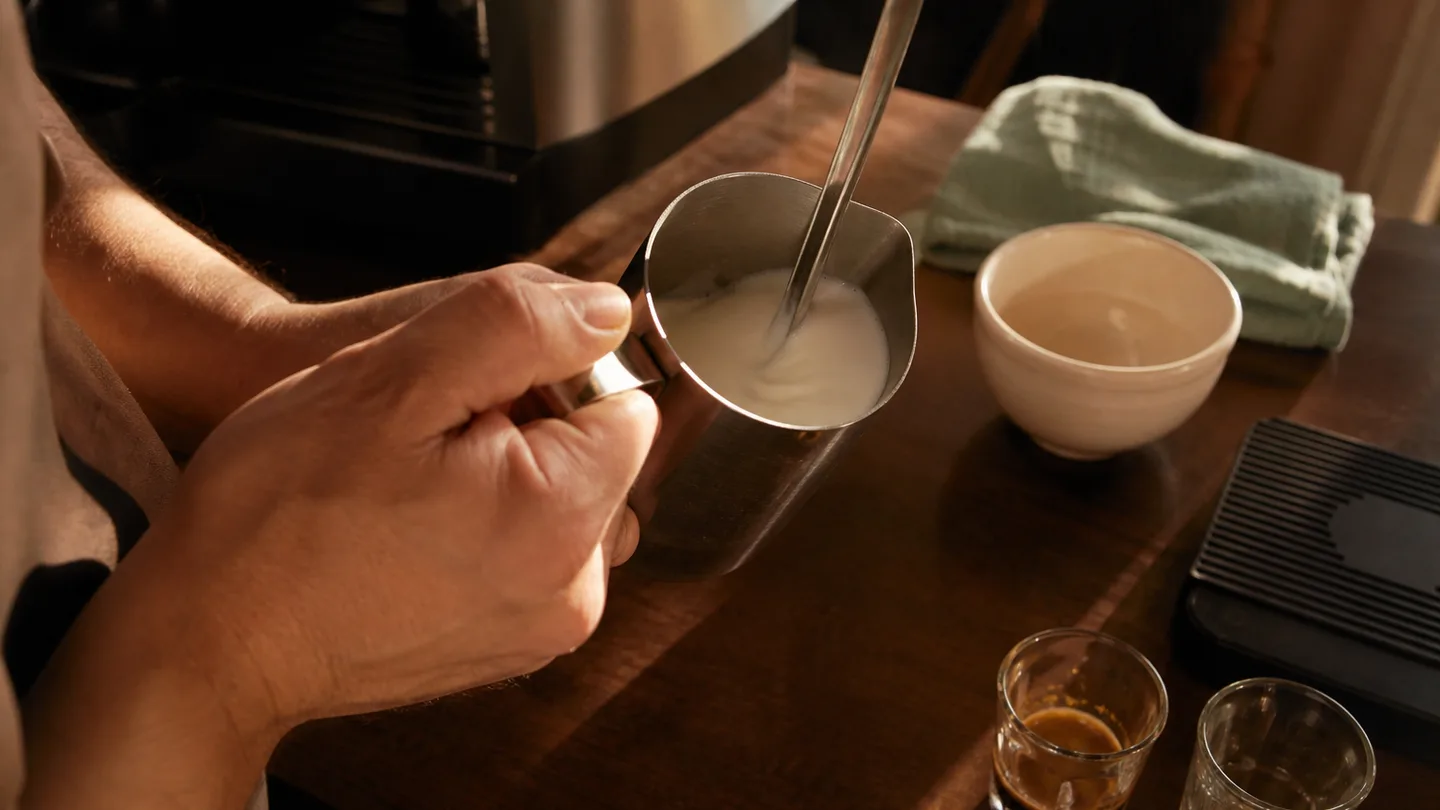
Five home recipes, written in grams rather than cup names
Pull the same 36 g espresso yield for each recipe below, then weigh the milk that goes into the cup. The names describe the intended balance; the grams and texture make the result repeatable.
| Drink | Espresso | Milk or foam | How to build it |
|---|---|---|---|
| Espresso macchiato | 36 g | 10–20 g foam or steamed milk | Top the shot with a small spoonful of dense foam |
| Cortado | 36 g | 40–60 g milk | Steam with minimal air and pour directly into the espresso |
| Flat white | 36 g | 90–130 g milk | Use glossy, tightly integrated microfoam |
| Cappuccino | 36 g | 90–120 g milk | Stretch longer to create a more aerated texture |
| Latte | 36 g | 150–220 g milk | Use modest aeration and a thin, pourable foam layer |
For the macchiato, the foam is an accent rather than a second beverage. For the cortado, keep the milk thin and hot but not heavily aerated. The larger flat-white and latte builds benefit from a smooth pour because separated foam makes the first sips taste different from the last.
A cappuccino is not defined here by filling a cup with a fixed volume of foam. It is the more aerated member of the pair, while the flat white is tighter and more liquid. Two drinks can contain similar milk mass and still feel different because one holds more air.
Tare the serving cup on the scale and pour until the display reaches the target milk mass. A measuring cup records expanded foam volume, which changes with air incorporation; the scale records the amount of milk you actually added. That is the small procedural change that makes these espresso drinks easier to repeat at home.

Scaling rule: preserve the espresso-to-milk ratio when you change shot size
If you change the espresso yield or want a larger drink, scale the milk instead of filling the cup until it looks right. The simple rule is:
milk mass = espresso yield × chosen espresso-to-milk multiplier
For a 36 g shot, a 1:1.5 milk ratio gives 54 g of milk. A 1:3 ratio gives 108 g, and a 1:5 ratio gives 180 g. Those numbers explain why a cortado and a latte can begin with the same shot yet finish with very different intensity.
If your chosen espresso yield is 18 g, use roughly half those milk amounts: about 27 g, 54 g, or 90 g for the same three multipliers, assuming the smaller extraction is equally stable. Do not confuse this drink ratio with the espresso brew ratio. The 1:2 in an 18 g dose and 36 g yield describes coffee grounds to espresso; it does not mean two parts milk.
A coffee to water ratio calculator is useful for the coffee side of the recipe, but it cannot choose the milk multiplier. Keep those calculations separate so a change to the shot does not quietly make the finished drink watery.
Read the symptom before changing the recipe: a troubleshooting map
Diagnose the espresso before blaming the milk. If the base is wrong, adding foam only changes how the error is delivered.
For a sour or thin shot, check under-extraction first: too little soluble coffee has entered the water. Channeling, uneven distribution, and a light roast can all push the cup in that direction. Channeling sends water through a few fast paths; uneven distribution creates dense and loose zones in the puck; a lighter, less-developed roast can require more extraction work before it tastes complete. Treat those as possible mechanisms, then use the flow and taste together rather than assuming one cause.
| Symptom | First adjustment | Mechanism |
|---|---|---|
| Sour or thin espresso | Move the grind one small step finer; keep dose and yield fixed | Under-extraction leaves more desirable and bitter-sweet soluble material behind. If the stream is patchy, improve distribution before making a large grind change. |
| Bitter or drying espresso | Move one small step coarser, especially if the shot runs slowly | Over-extraction pulls a heavier share of soluble material and can leave a harsh, drying finish. |
| Balanced espresso becomes watery in milk | Reduce milk by 20–30 g before changing the shot | Excessive milk dilution lowers espresso concentration even when the base shot is sound. |
| Milk tastes cooked or dull | Stop steaming at 60–65 °C | Excess heat changes flavor and can reduce foam stability. |
| Cappuccino foam collapses | Stretch the milk in a controlled way, then roll it into a smooth whirlpool | Air that remains in large bubbles is not integrated into the liquid and breaks down quickly. |
| Flat white is too foamy | Shorten the air-injection phase and spend longer rolling | Too much surface air creates a separate foam layer instead of compact microfoam. |
Change one variable at a time. If you grind finer, do not also raise the temperature, change the dose, and double the milk; you will know that the cup moved, but not why. A useful sequence is to calibrate 18 g in and 36 g out, choose the milk mass, steam to 55–65 °C, and then adjust only the one symptom that remains.
Save that sequence next to the scale. The most transferable recipe is not a café’s cup size; it is a stable espresso yield, a weighed milk mass, and foam whose texture you can describe.