Water Temperature for Pour Over Coffee: 90–96°C Explained
Start at 94°C. For water temperature for pour over coffee, that middle setting gives you room to move hotter or cooler without changing the rest of the recipe. Use 90–92°C when a darker roast is turning harsh, 93–94°C for many medium roasts, and 95–96°C when a light roast tastes sharp, thin, or underdeveloped despite flowing normally.
The useful question is not “What is the best temperature?” but “Is heat the variable limiting this brew?” The steps below give you a repeatable way to answer that with a 2°C adjustment instead of chasing single-degree changes.
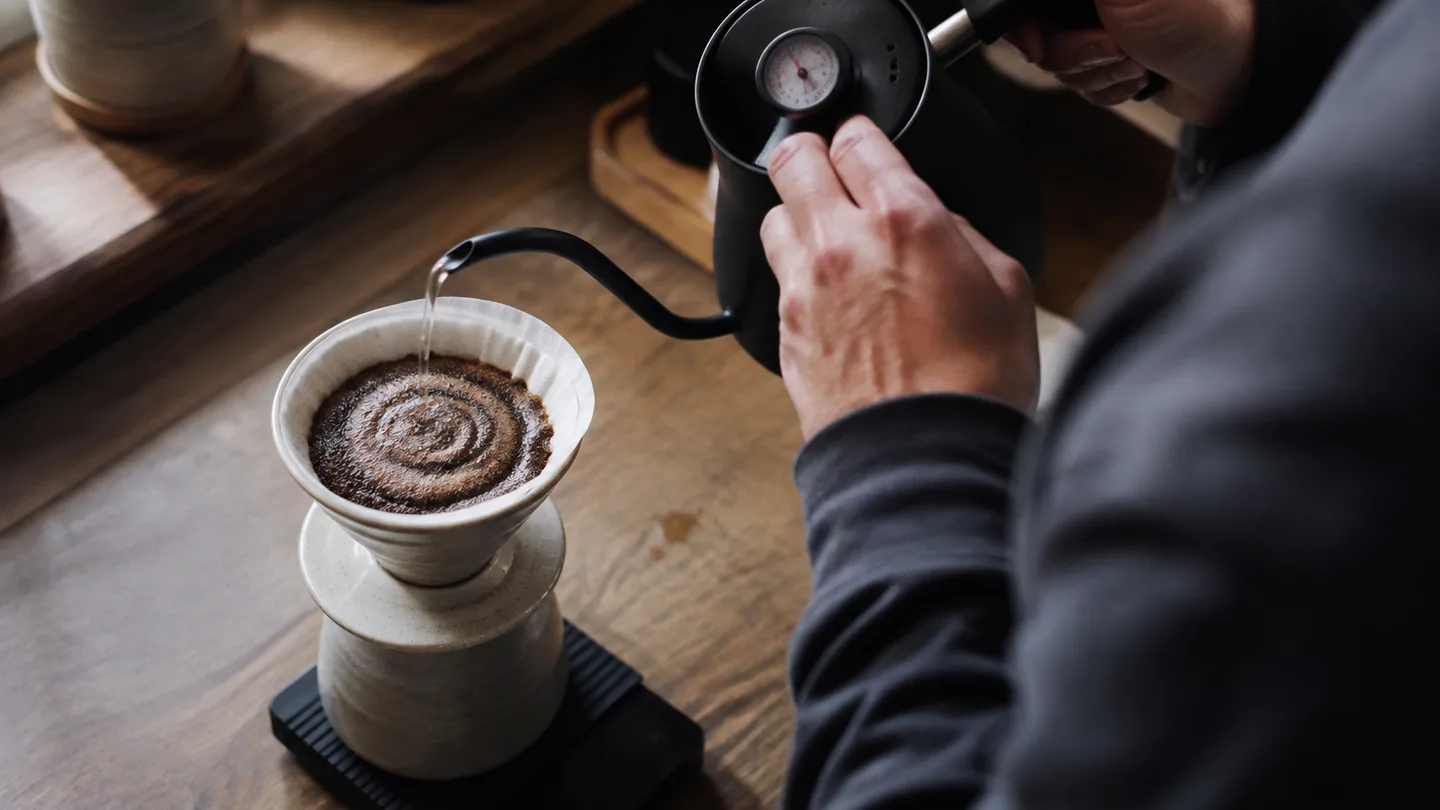
Start at 94°C: the practical answer to water temperature for pour over coffee
A 94°C starting point works because it sits near the middle of the practical 90–96°C range. It gives a light coffee enough heat to develop without making a darker, highly soluble roast the first suspect for bitterness or dryness.
Begin around 90–92°C for a dark roast, especially if the cup already tastes roasty, sharp, or drying. Try 93–94°C for a medium roast. A lightly developed or dense light roast is a reasonable first candidate for the upper end, worth testing because the water has more work to do before enough material dissolves.
Treat those bands as starting points, not laws attached to roast labels. If the coffee flows at a normal pace but tastes sour and thin, raise the temperature by about 2°C. If it flows normally but tastes bitter or drying, lower it by about 2°C. For a full baseline sequence, use the pour over coffee instructions, then change only the temperature.
Hotter water accelerates extraction—but it does not fix uneven flow
Extraction is the process of dissolving coffee compounds into water. Water temperature affects the rate of that process: within the 90–96°C range, hotter water generally moves soluble material out of the grounds more quickly when grind, ratio, water, and pouring stay the same.
That faster rate can make an underdeveloped cup taste sweeter, more open, and less sharply sour. The same change can push a balanced brew toward bitterness or dryness if the coffee was already giving up enough soluble material. Temperature changes the speed of extraction; it does not decide whether water reaches the coffee evenly.
Channeling is the formation of faster paths through the coffee bed. Water follows those paths, over-extracting a small area while leaving other grounds under-extracted, so raising the temperature can make the uneven parts more pronounced rather than correcting them.
Poor agitation creates dry pockets. Excessive swirling can move fine particles into the filter and slow the drawdown. That is why temperature is best understood as a speed dial, not a steering wheel.
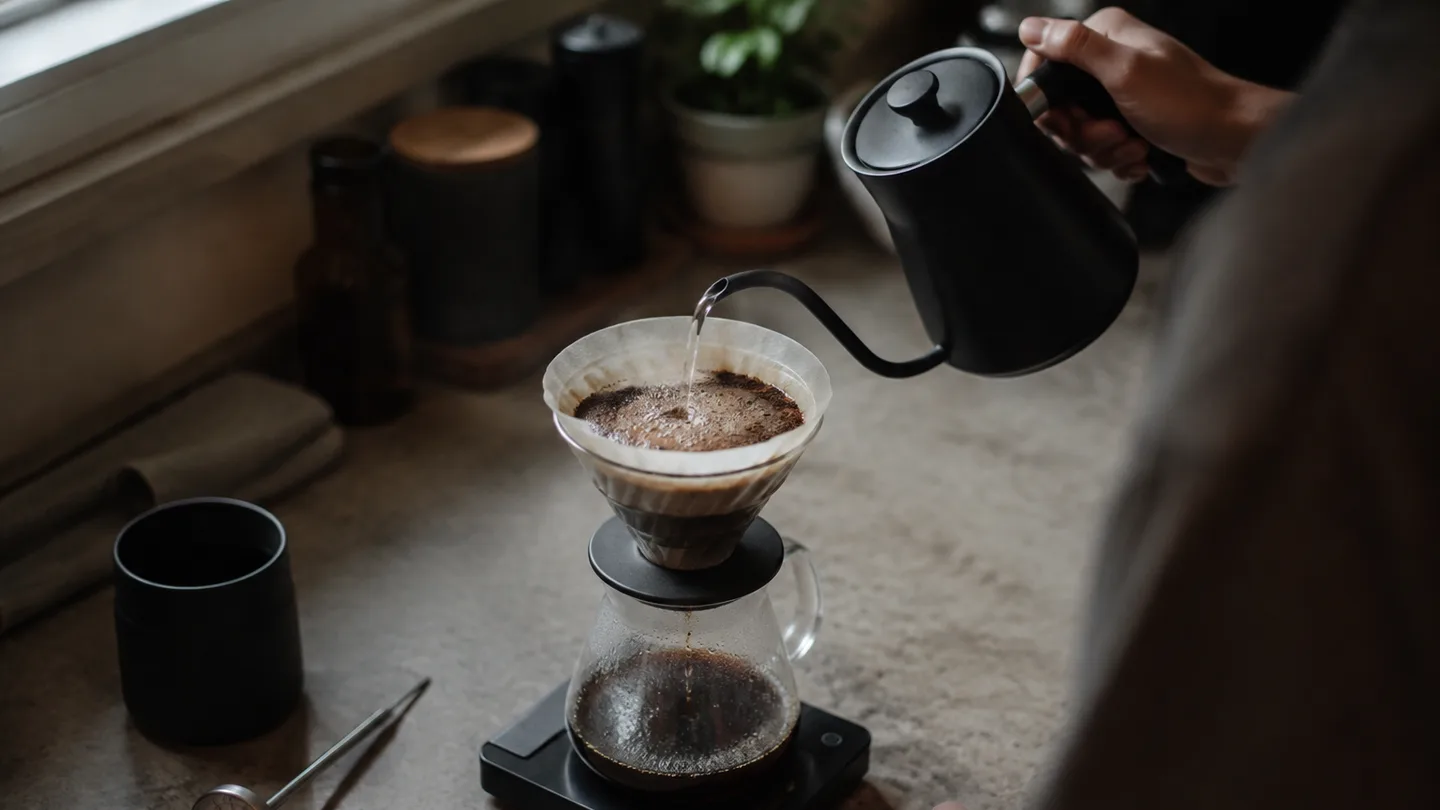
Roast level decides where to sit inside 90–96°C
Roast level is a useful first filter because roast development changes how readily the coffee releases soluble material. A practical map is 94–96°C for many light roasts, 92–94°C for many medium roasts, and 90–92°C for many dark roasts.
Lightly developed coffee can remain sharp and thin at 90°C because the brew may not dissolve enough material during its contact time. At the other end, a dark roast can become bitter, woody, or dry near 96°C because readily soluble material is extracted quickly. Those are starting hypotheses, not guarantees.
The roast name does not tell you everything. Processing method, bean density, freshness, water composition, and the brewer’s flow can shift the useful temperature by several degrees. A high-density light coffee is worth testing at 95–96°C, while a dark coffee that drains slowly may need both a coarser grind and cooler water rather than heat alone.
Think in terms of a decision order: roast level chooses the opening temperature, then taste and flow decide the next move. The best temperature for pour over is the setting that develops the cup without making uneven extraction harder to diagnose.
The number on the kettle is not the temperature in the coffee bed
The number on the kettle is a setpoint, not a direct reading of the coffee bed. Water loses heat while it travels through the spout, meets a room-temperature dripper, and spreads across the grounds; an unheated ceramic brewer and carafe can pull the brew temperature down before the main pour is complete.
The bloom also changes the temperature situation. During a 30–60-second bloom, a small amount of water sits against relatively cool grounds, so the slurry can cool while gases escape and the coffee wets. That cooling is one reason a kettle set to 94°C should be treated as a repeatable starting condition rather than a promise that every part of the bed remains at 94°C.
Preheat the brewer and serving vessel with hot water, discard that water, and begin pouring promptly. Keep the same bloom length, pulse timing, and pouring movement whenever you compare temperatures. A planned 2°C change is useful only when uncontrolled cooling is smaller than the change you are trying to study.
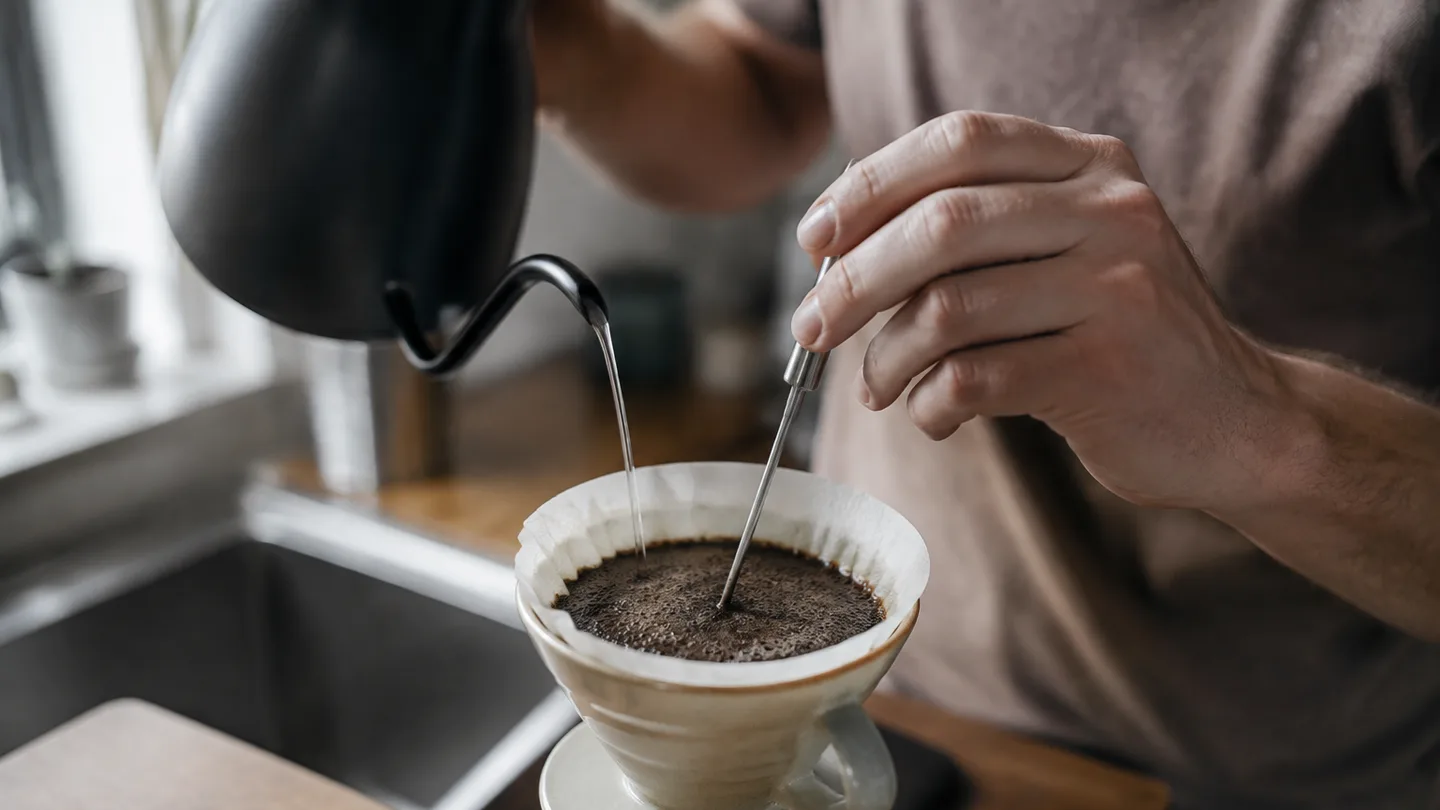
A thermometer helps you check whether your kettle is behaving consistently and whether a manual boil-and-wait routine is repeatable. Display accuracy matters less than using the same routine every time. At altitude, the boiling point changes with air pressure, so authoritative boiling-point references can help you interpret what “boiling water” actually means in your kitchen.
Compare temperatures on a fixed 1:16.7 recipe, not by changing three dials
Use 15 g of coffee and 250 g of water as a clean comparison recipe. That is a 1:16.7 brew ratio, meaning one part coffee to about 16.7 parts water. It is large enough to taste clearly and easy to repeat without turning the test into a full production brew.
Hold the grinder setting, filter, brewer, water source, bloom, pour pattern, and total brew time as steady as your setup allows. Ratio mainly changes beverage strength, grind size changes resistance and contact time, and temperature changes the rate at which compounds dissolve. If you alter all three, a sweeter cup does not tell you which dial caused it.
Scale the recipe with the coffee to water ratio calculator if you normally brew a larger dose. Then follow the same sequence from the pour over coffee instructions and use the coffee bloom guide to keep the wetting and bloom consistent before comparing heat.
Diagnose the cup before moving the temperature
The pairings below are clues home brewers commonly report, not laboratory diagnoses. Start with the first change in the final column; one controlled adjustment gives you more information than making the grind, ratio, and temperature move together.
| What you taste | Mechanism to check | First change |
|---|---|---|
| Sour, sharp, and thin | Under-extraction from low heat, a coarse grind, or fast flow | If drawdown is normal, raise temperature 2°C; if it is fast, grind finer first. |
| Bitter, roasty, or drying | Too much extraction, or a highly soluble coffee giving up harsh material quickly | If flow is normal, lower temperature 2°C; if the brew is slow, coarsen the grind first. |
| Drying astringency with mixed sweetness | Uneven extraction from channeling, aggressive agitation, or fines migration | Make the pour more even and reduce swirling before changing temperature. |
| Weak but clean | The brew may be too dilute rather than under-extracted | Use slightly less water, such as moving from 1:16.7 toward 1:16, while keeping temperature steady. |
| Heavy, dull, or muddy | Fine particles may be migrating into the filter, or contact time may be excessive | Reduce agitation first; coarsen slightly only if the slow drawdown repeats. |
Drawdown time is a clue, not a target. If the brew finishes dramatically fast, check grind size and pouring before adding heat. If it stalls or runs very slowly, check for an overly fine grind, too much agitation, or fines collecting at the filter.
| Flow symptom | What it suggests | First response |
|---|---|---|
| Very fast from start to finish | Low bed resistance, coarse particles, or a channel | Grind one step finer if the bed looks even; correct the pour if water is cutting a visible path. |
| Very slow or stalled | Fine grind, fines migration, or excessive agitation | Use less swirling and a slightly coarser grind on the next brew. |
| Fast at first, then suddenly stalls | Fines have moved down and blocked the filter | Use gentler pulses and avoid repeated stirring of the bed. |
| Normal flow but sour taste | Heat, ratio, or coffee development may be limiting extraction | Raise temperature 2°C before changing another variable. |
If the flavor question still feels unclear, the longer diagnosis in why is my coffee sour is useful because it separates under-extraction from simple dilution. The key rule is simple: use temperature after flow is reasonably controlled, not as a substitute for controlling flow.
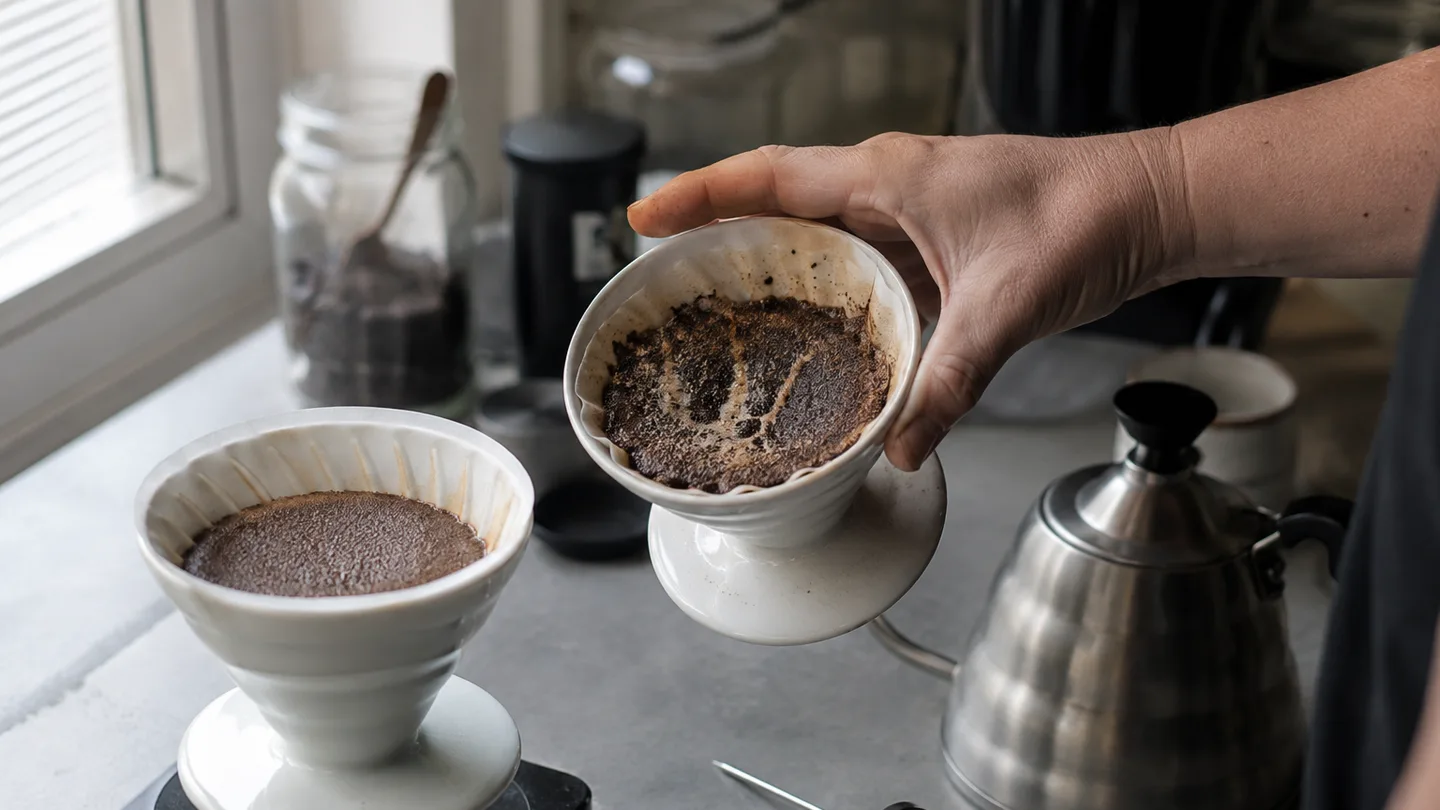
A 92°C-versus-96°C test you can run with 15 g and 250 g water
This test isolates heat without requiring a refractometer or a new piece of equipment. Brew the same coffee twice, preferably close together, and keep the grinder, filter, water, brewer, and pouring pattern unchanged.
- Preheat the brewer and carafe, then weigh 15 g of coffee and prepare 250 g of water.
- Set the first brew to 92°C. Use the same grind you already use for this coffee.
- Bloom with 45 g of water for 45 seconds. Then pour to 150 g, followed by a final pour to 250 g, using the same movement and timing in both brews.
- Repeat the recipe at 96°C. Do not change the grind to make the second brew “match” the first.
- Record total drawdown time and taste both cups as they cool, noting acidity, sweetness, bitterness, body, and dryness.
If the 96°C cup is clearly sweeter and less sharp while flow remains similar, heat was a reasonable candidate for the limitation. If it is drier or more bitter, the coffee is asking for less heat. If the cups are effectively the same, temperature was probably not the controlling variable; look next at grind, pouring, ratio, or water chemistry.
That result is testable rather than theoretical. Repeat the comparison with the same recipe, and the temperature call is weakened if the apparent improvement disappears or reverses while the other variables remain controlled.
Move in 2°C steps, and stop when the cup loses its fault
Use 94°C as the default, move toward 96°C for a normally flowing cup that tastes sour and underdeveloped, and move toward 92°C for a normally flowing cup that tastes bitter or drying. Keep lighter roasts near the upper end and darker roasts near the lower end until the cup gives you a reason to leave those bands.
Do not make temperature the next dial when drawdown is dramatically fast or slow. A fast brew needs a grind and flow diagnosis; a stalled brew needs a check for fineness, fines migration, or agitation.
After one or two 2°C changes, stop forcing the problem into the 90–96°C range. Return to grind size, brew ratio, agitation, or water. Temperature can make a good extraction more expressive, but it cannot make an uneven extraction even.
Quick answers to three temperature questions
Is boiling water too hot for pour over coffee?
In a typical sea-level kitchen, boiling water is about 100°C, above the 90–96°C starting band used here. It may still work for some coffees, but test 96°C first so you can tell whether the extra heat improves development or simply increases harshness.
Should V60 and Chemex use different water temperatures?
Not by brewer name alone. Filter thickness and flow change contact time, so start with the roast-based range and correct grind or pouring before inventing a separate temperature rule for each brewer.
Do you need a temperature-controlled kettle?
No. It can make repeatable 2°C comparisons easier, but preheating, consistent timing, and a stable manual routine matter more than chasing a perfectly precise display reading.
For formal brewing terminology, compare your notes with Specialty Coffee Association brewing guidance. The useful lesson is not that one number wins every brew; it is that a temperature change becomes informative only after the rest of the recipe is steady.
Frequently Asked Questions
Is boiling water too hot for pour over coffee?
At sea level, 100°C is above the article’s 90–96°C starting band and may extract quickly, especially with darker or highly soluble coffee. Test 96°C first rather than assuming boiling water is always wrong or always right.
Should V60 and Chemex use different water temperatures?
Not by brewer name alone. Filter thickness and flow change contact time, so begin with the roast-based temperature range and use grind size and pouring to correct flow before inventing a separate temperature rule.
Do you need a temperature-controlled kettle for pour over coffee?
No. Consistent timing, brewer preheating, and a repeatable water temperature matter more than display precision; a thermometer or stable manual routine can still support useful 2°C comparisons.