Can You Freeze Coffee Beans? Yes—Here’s How to Do It Right
Yes—but the useful question is not whether a freezer can make coffee fresh. It is whether you will finish the bag before aroma loss becomes obvious. If you buy 250 g and brew 20 g a day, freezing a portion early can protect the final doses; it cannot put aroma back into beans that already taste flat.
That makes freezing a calendar decision, not a rescue trick. Whole roasted beans are most worth freezing when the bag will sit for several weeks, especially if you bought a coffee you want to keep for a slower brewing schedule.
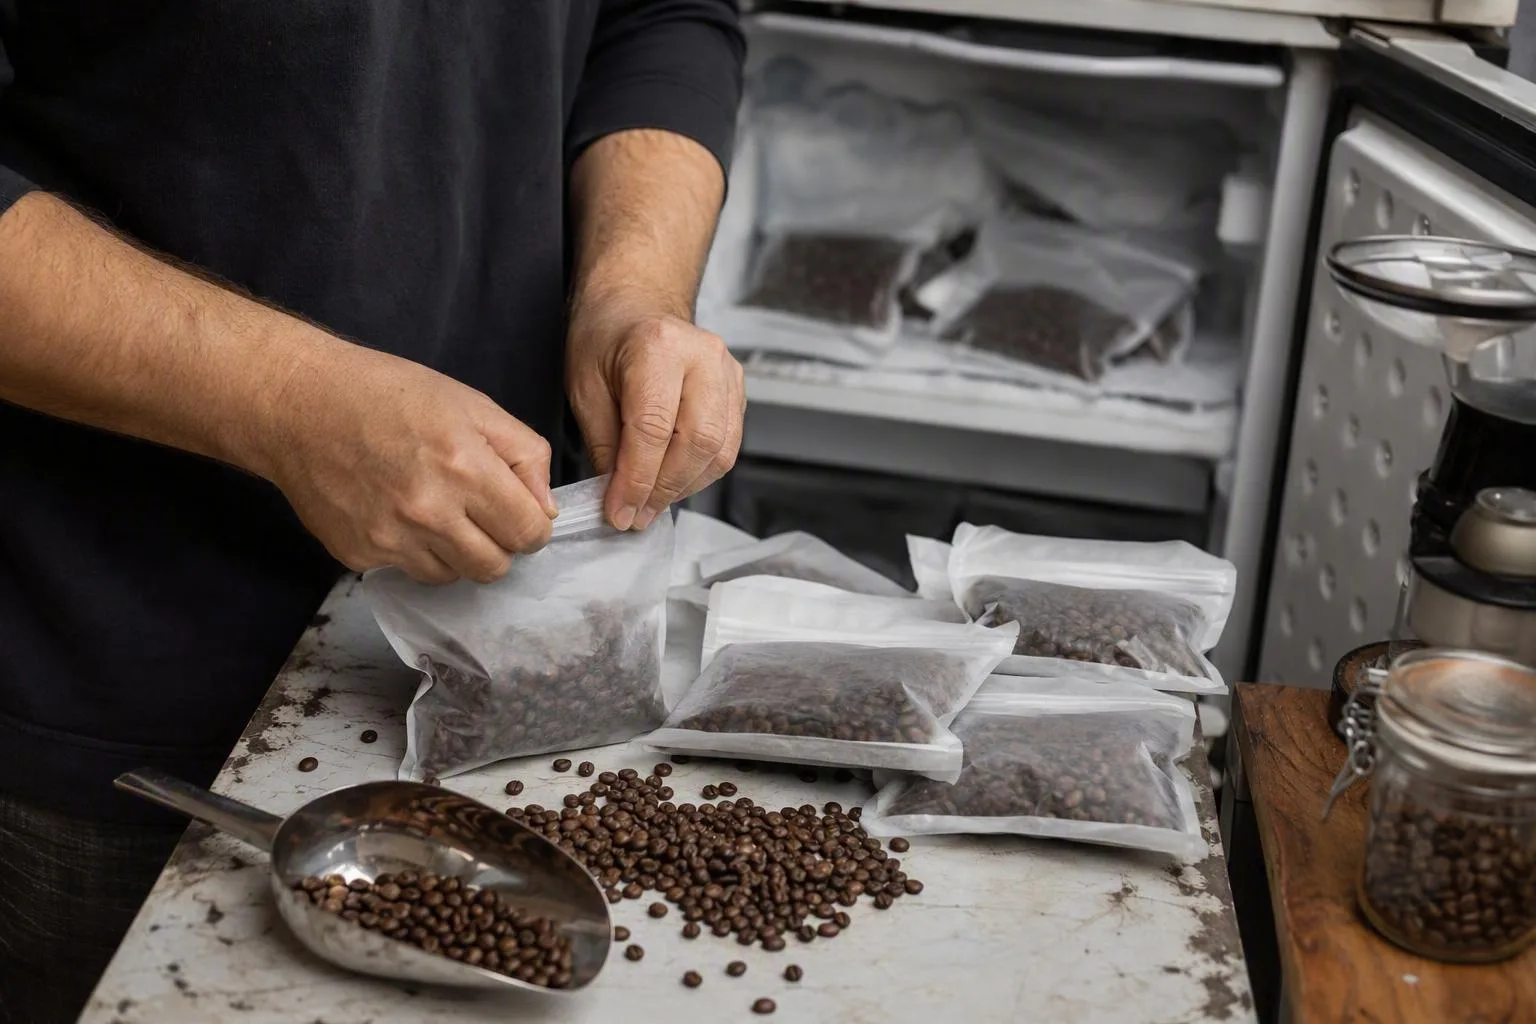
The 2–4-week decision window: freeze beans before staling, not after
Freezing helps by slowing the processes that change a roasted bean after opening. Lower temperature slows oxidation and the loss of volatile aroma compounds, so the coffee has less time to move away from the flavor you bought. It does not reverse staling, and it does not rebuild aromas that have already escaped.
Use two to four weeks as a practical decision window, not as a universal expiry date. If you brew through a bag in seven to fourteen days, the extra packaging and thawing steps may add more fuss than value. If the bag will sit for a month or more, freezing becomes a sensible way to hold the surplus.
Here is the arithmetic. A 250 g bag brewed at 20 g per day gives you about twelve full brews, with a small remainder. At that pace, the bag is finished in under two weeks. The same bag used at 18 g twice a week lasts close to seven weeks, so keeping every portion at room temperature exposes the later doses to a much longer storage period.
Roast level and brew method change the decision too. Beans that are still releasing a lot of carbon dioxide, or CO2, may need more rest before they brew predictably; freezing does not replace that rest. In filter coffee, changing gas release can show up as a different coffee bloom and a shifting extraction. In espresso, it can appear as changing flow and a shot that needs a new grind setting every few days.
The practical call is simple: keep the amount you will use soon in your normal airtight storage, then freeze the rest in doses. Do not freeze a dull, papery bag hoping cold will repair it. Freeze the coffee you want to preserve.
Portion, seal, and label: 15–30 g doses in a −18°C freezer
The good freezer setup is boring, and that is exactly why it works. You want small portions, very little empty space, a barrier against moisture and odors, and a label that tells you what is inside.
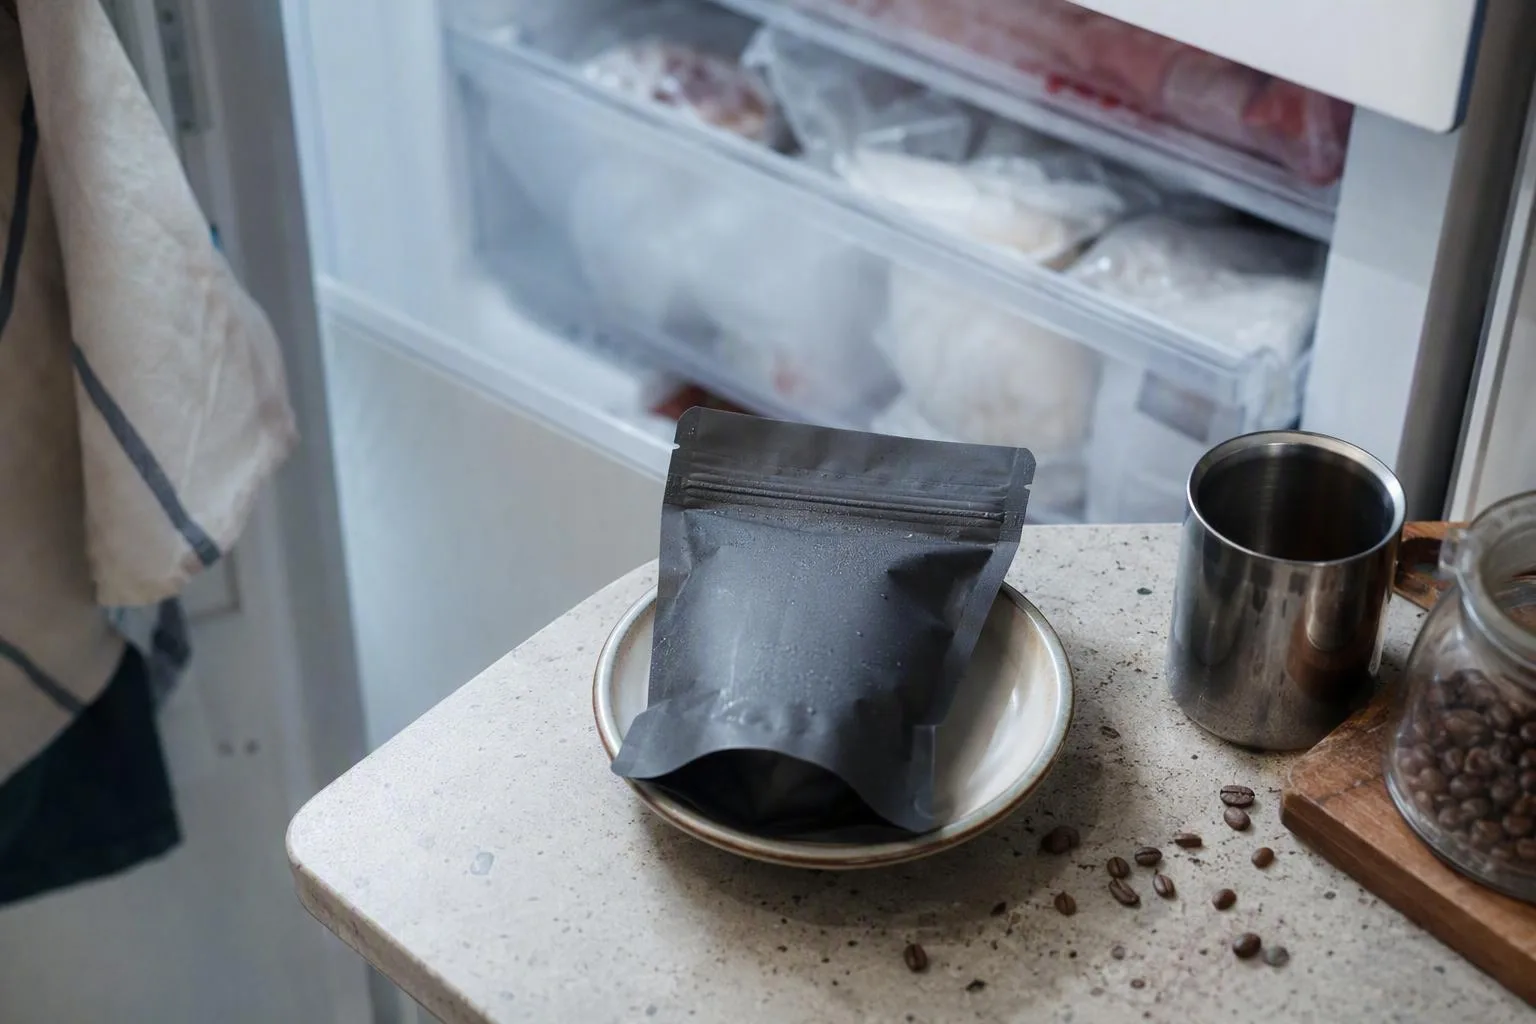
For a typical home brewer, 15–30 g is a useful portion range. It covers an espresso dose at the lower end and a single filter or small immersion brew at the upper end. Use your actual recipe rather than forcing every coffee into the same number.
- Weigh the beans. Portion one brew at a time. A 20 g recipe should get a 20 g packet, not a large bag that you open repeatedly.
- Choose a sealed inner package. Use a freezer-suitable, airtight container or bag with a reliable moisture barrier. The goal is protection, not a particular brand or format.
- Reduce headspace. Gently press out excess air where the package allows it, then seal it fully. Less empty space means less air available to interact with the beans.
- Label before freezing. Write the roast date, freeze date, dose, and intended brew method. A label prevents the common mistake of treating an older espresso portion like a fresh filter portion.
- Freeze the portions together. Put them in the most temperature-stable part of the freezer, away from foods with strong odors. A household freezer near −18°C/0°F is a practical reference point.
- Open only after thawing. Do not inspect a cold portion by opening it halfway. That is how humid room air reaches the beans and creates the condensation you are trying to avoid.
An unopened, high-barrier original coffee bag can be adequate for a short freezer hold if it is intact and has little empty space. An opened resealable bag or a valve bag is less dependable once the seal has been broken. A one-way valve is useful during degassing, but it is not a guarantee against freezer air, moisture, or odors after opening.
If the original bag is not clearly designed for freezer storage, place the sealed portion inside a second moisture- and odor-resistant barrier. The outer layer is not there to make the coffee fresher; it gives you another defense against freezer smells and a weak inner seal.
Portioning is the important part. Opening one large frozen container every morning creates a repeated thaw cycle: cold beans meet room air, the package warms unevenly, and the next freeze starts from a less controlled condition. Single-use portions avoid that loop.
Thaw sealed for 30–90 minutes—or grind frozen when the use case justifies it
There are two defensible ways to handle a frozen portion. For repeatable home brewing, thaw it while sealed. For a controlled grinder experiment, grind it directly from frozen. The first is the default; the second is a variable worth testing rather than a universal improvement.
Workflow A: thaw the portion before opening
Move one 15–30 g portion from the freezer and leave it sealed for roughly 30–90 minutes. The exact time depends on the portion size, package thickness, and room temperature. A thin packet of 18 g beans may warm sooner than a dense container holding several doses.
Open the package only when the beans no longer feel icy through the packaging. If the package is still noticeably cold, leave it closed. The mechanism is condensation: humid room air can reach a cold bean surface, lose moisture as liquid water, and add water unevenly before grinding.
Once the portion is at room temperature, grind and brew it normally. The advantage is not that thawing creates a better flavor. It removes one large handling variable, so the dose behaves more like the coffee you already know how to brew.
Workflow B: grind straight from frozen
Grinding frozen beans can be a worthwhile experiment for brewers interested in particle-size behavior. A colder, harder bean can feed differently through a grinder and fracture differently at the burrs. Depending on the bean density, roast development, and grinder, that may change the balance between very small particles, larger particles, and the speed at which the dose feeds.
It can also feel harder in a hand grinder and less predictable in some hopper-fed setups. That does not make the method wrong; it makes it more equipment- and bean-dependent. If you try it, weigh the dose first, grind it immediately, and brew it without letting the ground coffee sit around.
Do not grind half a frozen portion, leave the rest exposed, and put the remainder back. Once coffee is ground, much more surface area is available to oxygen and moisture. If repeatability is the goal, thaw sealed. If the goal is to study how your grinder responds, test frozen grinding as its own method and keep the comparison controlled.
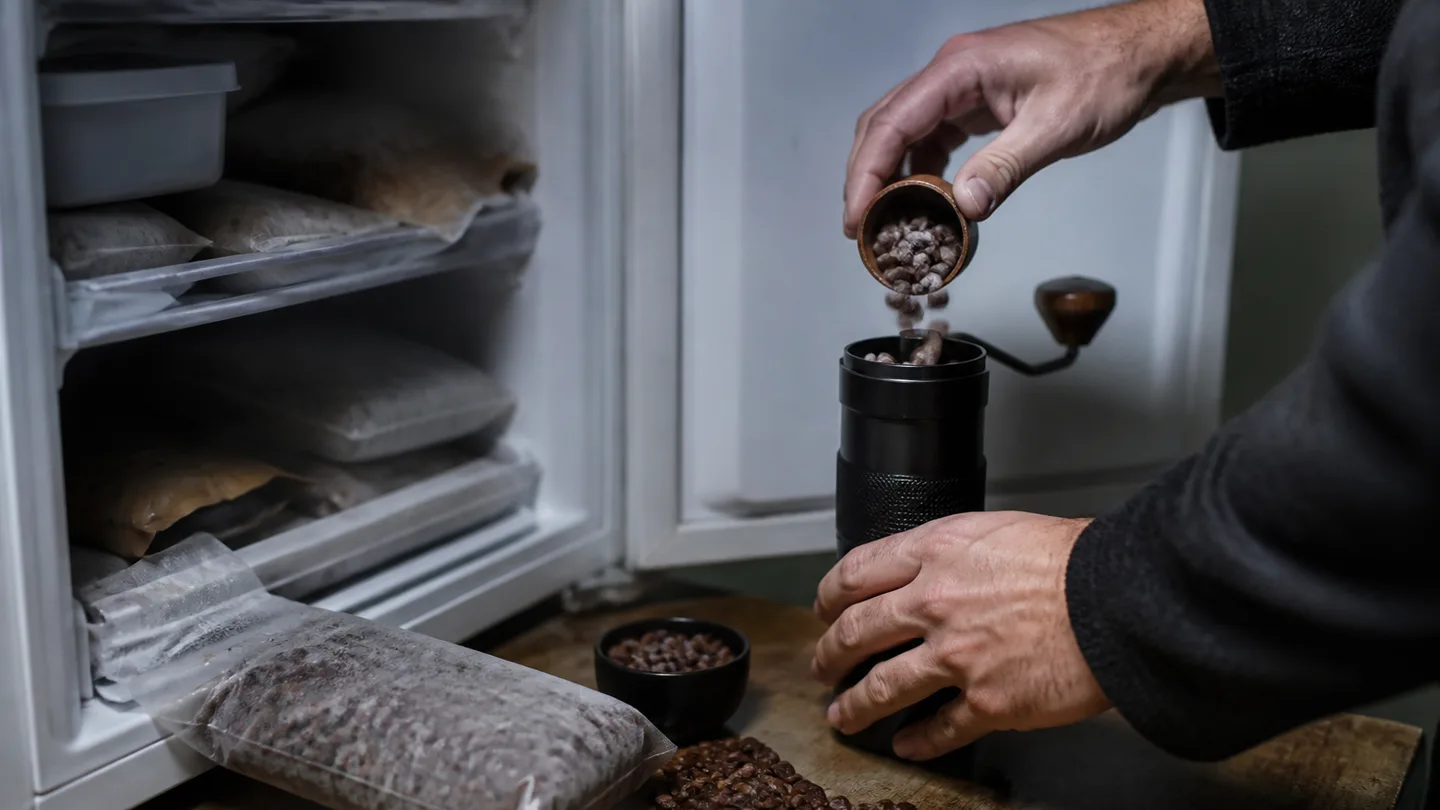
Use a 1:15 control test to separate storage damage from extraction
A frozen coffee can taste disappointing for two different reasons: storage may have muted the aroma, or the brew may simply be under-extracted, over-extracted, or uneven. Do not judge the freezer from one cup brewed at a new grind setting. Set up a paired test instead.
- Take two 20 g portions from the same coffee. Keep one in your normal sealed storage and freeze the other.
- After four to eight weeks, thaw the frozen portion sealed. Open both portions as close together as practical.
- Brew each at 20 g coffee to 300 g water, a 1:15 ratio. A coffee to water ratio calculator can help you scale the test to a different dose.
- Start with the same grind, water temperature around 92–96°C, agitation, bloom, and total brew timing. If you use a coffee bloom, keep its water amount and wait the same for both cups.
- Taste the coffees side by side as they cool. Smell the dry grounds first, then compare aroma, acidity, bitterness, body, and finish.
If you need a starting point for the grind rather than a new recipe, use a coffee grind size chart for your brewer and then change only one setting. The point of the comparison is not to prove that frozen coffee wins. It is to identify whether the difference follows storage or extraction.
| What you taste | Check first | Single next move |
|---|---|---|
| Muted aroma, freezer odor, or a damp cardboard note | Seal, headspace, and odor transfer | Repack one portion with less headspace and retest |
| Sour, sharp, or thin | Under-extraction or insufficient contact | Grind slightly finer before changing another variable |
| Bitter, drying, or harsh | Over-extraction or uneven extraction | Grind slightly coarser and check agitation |
| Clean but less aromatic than the control | Normal aroma loss or a storage difference | Compare packaging before changing the brew recipe |
The table is a checking order, not a claim that every flavor has one cause. Sourness can come from uneven flow, and bitterness can appear alongside under-extraction when the bed extracts unevenly. Start with the most direct explanation, change one dial, and retest before blaming the freezer.
For a separate storage checklist, compare your setup with the National Coffee Association's coffee storage guidance. For the brewing side of the comparison, the Specialty Coffee Association brewing standards are a useful reference point; the purpose here is to keep the paired test consistent, not to copy a universal recipe.
The stop rule is practical. If you finish a bag within two weeks, freezing is optional and may not justify the handling. If you have surplus beans that would otherwise sit for four to eight weeks, portioning and freezing is a reasonable preservation step.
Can you freeze ground coffee too?
Yes, but whole beans are usually the better candidate. Grinding breaks the coffee into many particles and exposes much more surface area to air, so the grounds have less protection once the package is opened. If you must freeze grounds, use single-use portions, remove as much headspace as practical, and never keep reopening one large container.
Can you freeze coffee beans in the original bag?
An unopened, factory-sealed high-barrier bag can work for a short freezer hold. An opened resealable bag or valve bag is less reliable, so portion the beans into sealed freezer-safe packs or add a genuine outer barrier. The package matters more than the label on the package.
Can you refreeze coffee beans after they thaw?
Avoid refreezing whenever possible. Repeated thawing and freezing increases the opportunities for warm, humid air and oxygen to reach the beans. Divide the coffee before the first freeze, then remove only the portion you will brew.
Freezing coffee is not a mystical flavor upgrade. It is a way to pause a coffee before your calendar turns the last doses into a different cup.
Frequently Asked Questions
Can you freeze ground coffee too?
Yes, but whole beans usually preserve aroma better because grinding exposes much more surface area to oxygen. If grounds must be frozen, use small single-use portions with the same airtight, low-headspace packaging and avoid repeated thawing.
Can you freeze coffee beans in the original bag?
An unopened, factory-sealed high-barrier bag can work for short-term freezing, but an opened resealable bag or valve bag is less reliable. Portion opened beans into freezer-safe airtight packs, or add a genuine outer moisture and odor barrier.
Can you refreeze coffee beans after they thaw?
Avoid refreezing whenever possible. Repeated thawing and freezing increases the chance of condensation and oxygen exposure, so divide beans into single-use portions before the first freeze.