Coffee Cupping Ratio: 8.25 g per 150 ml, Explained
At 8.25 g of coffee and 150 g of water, you are using 55 g/L, or about a 1:18.2 coffee-to-water ratio. That number is a useful cupping benchmark because it gives every bowl the same starting strength before you judge aroma, acidity, sweetness, body, or finish.
The detail that causes confusion is what the 150 ml describes. It means water added to the bowl, not the final liquid and not the bowl’s total capacity. Once that is clear, the ratio becomes easy to scale and much easier to troubleshoot.
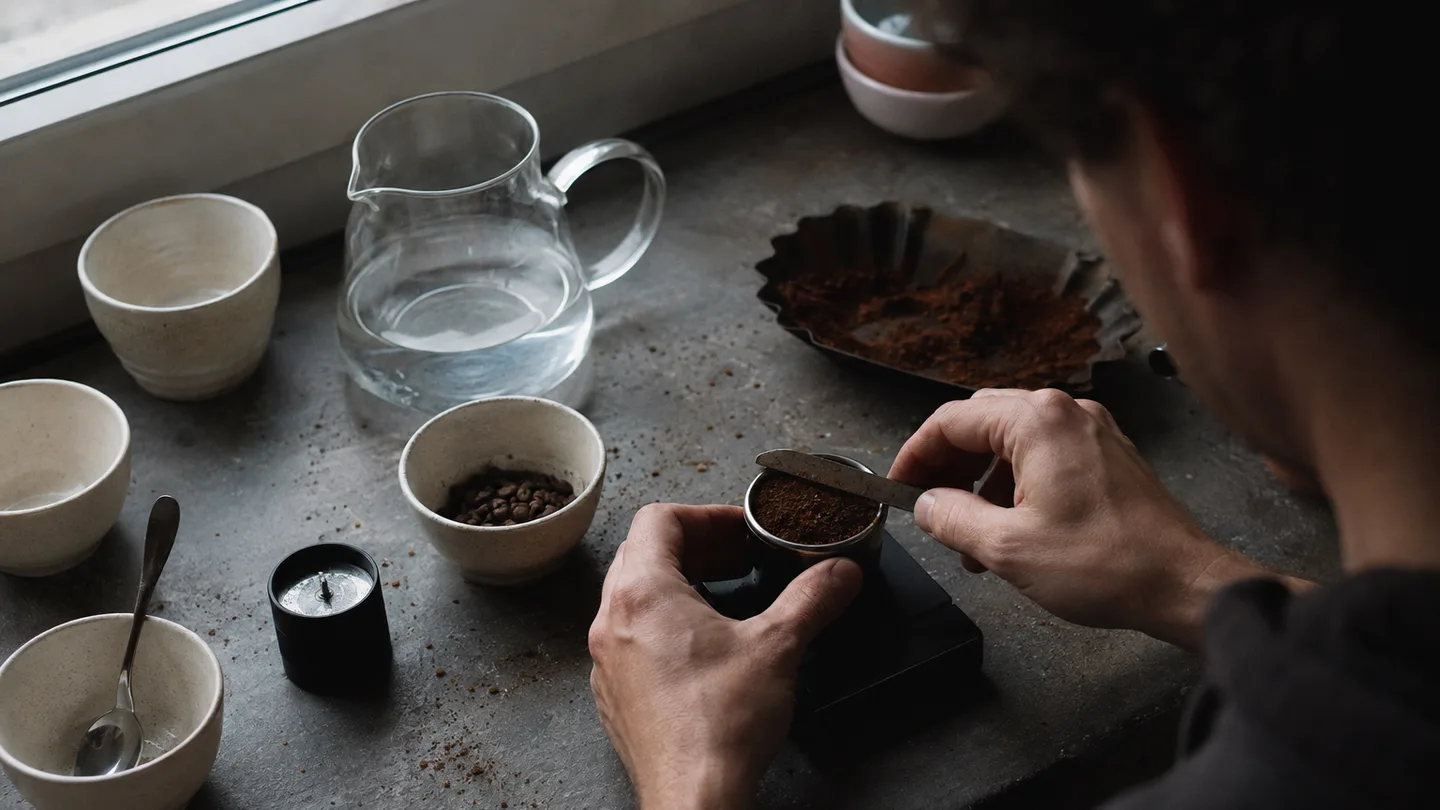
The benchmark in plain numbers: 8.25 g per 150 ml is 55 g/L, or about 1:18.2
A coffee cupping ratio compares the mass of dry coffee with the mass of brewing water. Start with 8.25 g of coffee and divide the water mass, 150 g, by the coffee dose: 150 ÷ 8.25 = 18.18. Rounded to a practical figure, that is 1:18.2.
The same arithmetic gives 55 g of coffee per litre of water. The litres-per-kilogram expression is useful for scaling, while the 1:18.2 expression is easier to recognise when you are comparing cupping with a pour-over or immersion recipe.
When a recipe says 150 ml, read it as 150 ml of water poured into the bowl. A 250 ml bowl does not require more coffee if you only add 150 ml of water. Conversely, filling a large bowl with 300 ml while keeping the dose at 8.25 g changes the strength to roughly 1:36.4. The vessel sets the practical headspace; the water mass sets the ratio.
For a kitchen-scale workflow, treat 150 ml of brewing water as approximately 150 g and weigh it directly. Water near normal brewing temperature is close enough to that one-to-one working conversion for a home comparison; chasing a tiny density correction would distract from larger variables such as grind distribution, pouring, and temperature loss.
That makes 8.25 g a repeatable benchmark, not a law of coffee. Use it when you want several coffees to enter the same test with the same coffee mass per unit of water. If you are preparing one mug to drink, you are free to choose a different ratio based on the brewer, filter, and concentration you want.
Scale the benchmark without changing its strength: 5.5 g/100 ml to 16.5 g/300 ml
The scaling formula is simple: coffee dose in grams = water volume in millilitres × 0.055. The 0.055 comes from 8.25 ÷ 150. It preserves the same 55 g/L strength as the bowl gets larger or smaller.
| Water added | Coffee dose | Approximate ratio |
|---|---|---|
| 100 ml | 5.5 g | 1:18.2 |
| 150 ml | 8.25 g | 1:18.2 |
| 200 ml | 11 g | 1:18.2 |
| 250 ml | 13.75 g | 1:18.2 |
| 300 ml | 16.5 g | 1:18.2 |
For two 150 ml bowls, weigh 16.5 g of coffee in total and divide it evenly, or weigh each bowl separately if your grinder retains grounds. For four bowls, the water total is 600 g and the coffee total is 33 g. The method matters more than whether the arithmetic is done in one batch or bowl by bowl, but identical doses remove one easy source of confusion.
Keep the water mass constant across samples. Do not fill each bowl to the same visual level unless the bowls are identical and you have already checked that the volume matches. A broad cup and a narrow cup can look equally full while holding different amounts of water.
The coffee to water ratio calculator is useful when you are working with a non-standard sample size, but the hand calculation is worth remembering. Multiply the water number by 0.055, then round only as far as your scale allows. If a scale reads in whole grams, 8 g or 9 g is a workable approximation; if it reads to 0.1 g, 8.3 g is close enough for most home comparisons.
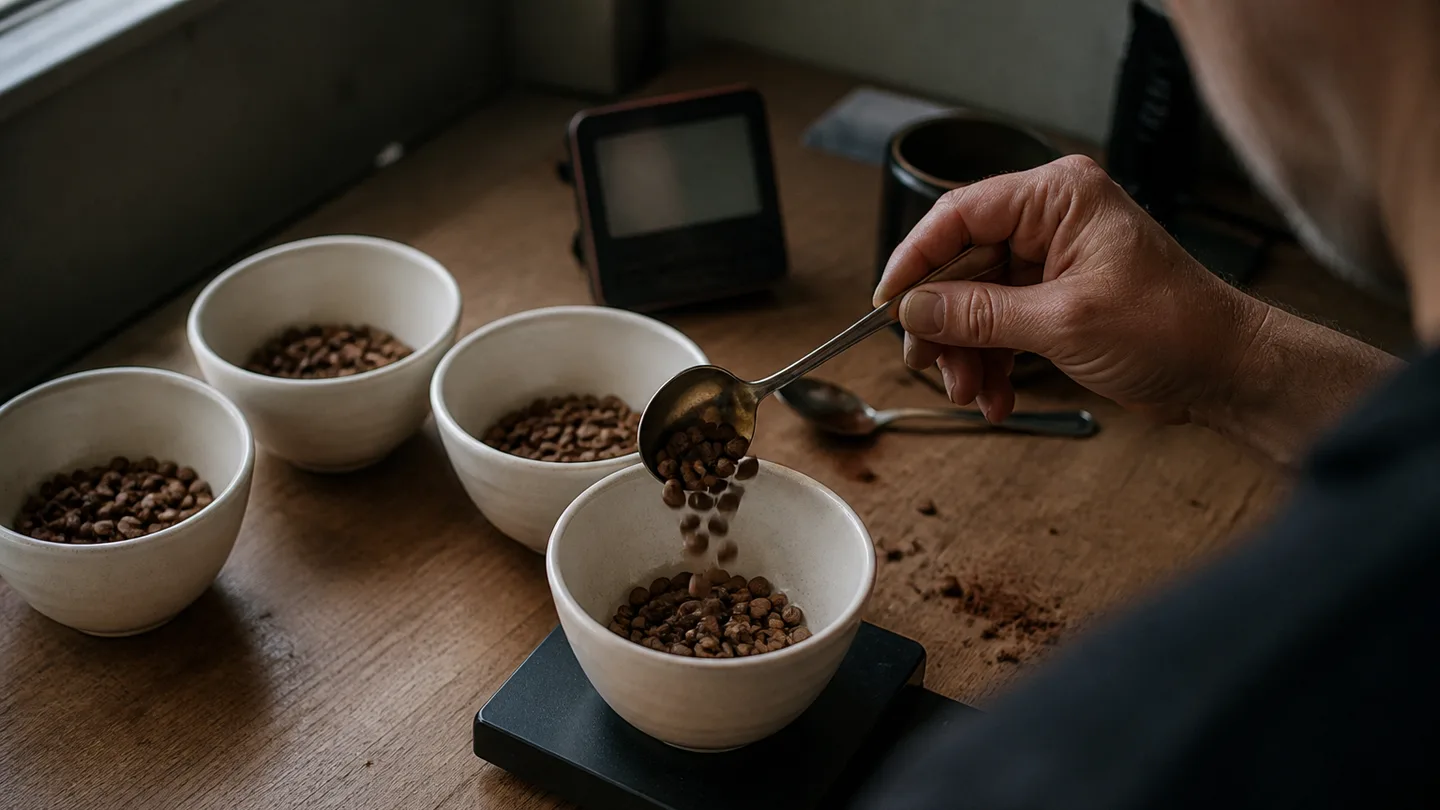
Why 1:18.2 is not directly transferable to a V60 or French press
Two terms explain the difference. Extraction is the material pulled out of the coffee grounds by water. Concentration is how much dissolved coffee is present in the liquid you drink. A ratio mainly sets the starting concentration; grind, heat, agitation, and contact time influence how extraction develops.
Cupping is an immersion method. The grounds are covered by water and left in the bowl, so there is no paper bed drawing water through at a controlled flow rate. Fine particles remain in the bowl and can stay suspended until they settle or reach the spoon. That changes both the extraction path and the texture in the cup.
Percolation brewers such as a V60 add a different mechanism: water moves through a bed of grounds and exits through a filter. The coffee bed, paper resistance, pouring pattern, and flow rate all affect how long parts of the bed stay in contact with water. The same 1:18.2 ratio can therefore produce a different balance in a pour-over than it does in a cupping bowl.
For a V60, a practical starting range to test is around 1:15 to 1:17. For a French press, around 1:12 to 1:15 is a more useful first comparison when you want a denser, heavier drink. Those are starting points, not fixed rules. Bean density, roast development, filter paper, grinder fines, and the amount of water retained by the grounds can move the useful range.
This is why a cup of coffee prepared at 1:18.2 is not automatically weak. In cupping, the absence of paper drawdown and the presence of sediment make the drink behave differently. A V60 at the same ratio may taste lighter or sharper if its flow and grind do not produce enough extraction, while a French press at the same ratio may feel more textured because mesh filtration leaves more suspended material.
The comparison covered in pour over coffee vs french press is therefore an extraction question before it is a preference question. My call is clear: 8.25 g per 150 ml wins when the job is comparing coffees under a repeatable immersion test. It does not win as a universal drinking recipe, because the best daily ratio depends on how your brewer moves water through the coffee.
A timed home cupping: 93°C water, a 3–5 minute crust break, and tasting from 8 minutes
The most useful home cupping is controlled without becoming precious. Use clean bowls of the same size, the same grinder setting, and the same water for every sample. Keep a pen nearby; a short note such as “sweet at 10 minutes, drying at 15” is more useful than trying to remember the whole cup.
- Prepare the samples. Weigh 8.25 g of whole-bean coffee for each bowl. Grind medium-coarse, using one setting across the whole flight. The exact click or dial number is not portable between grinders, so use the coffee grind size chart as a visual reference rather than treating a label such as “medium” as a measurement.
- Heat the water. Bring 150 g of water to about 93°C. A narrow controlled range around that point is more useful than chasing a perfect display reading. If the coffee is very dark and tastes harsh, starting a little cooler is a reasonable later test; do not change temperature on the first pass if comparison is the priority.
- Smell the dry grounds. Before adding water, lean over each bowl and note the aroma. This is not a separate score that proves freshness or quality. It gives you a baseline, so you can notice which aromas become stronger, softer, or less distinct after wetting.
- Pour all the water at once. Start the timer as the pour begins and make sure the grounds are fully saturated. For this comparison, skip a separate bloom. A bloom is useful in many pour-over recipes because it manages gas release and flow; adding one here creates another timing and agitation variable without helping the bowls compare more fairly.
- Break the crust after 3–5 minutes. A floating layer of wetted grounds forms on the surface. Push through that crust with a spoon in a few deliberate movements, then smell the wet aroma as the trapped volatile compounds are released. The purpose is not to whip the bowl into a vortex. Aggressive stirring can move fines into suspension and make later tasting harder to read.
- Skim the surface. Remove foam and loose grounds with two spoons or one spoon used carefully. You are not trying to filter the coffee. You are clearing the surface so the spoon collects liquid consistently and large floating particles do not dominate the first sip.
- Taste from about 8–12 minutes. Spoon a small amount, draw it across the palate, and revisit the bowl as it cools. Early tasting can emphasise heat and sharp acidity; later tasting often makes sweetness, bitterness, astringency, and body easier to separate. The changing temperature is part of the information, not a failure of the method.
Use a clean spoon between coffees if possible. Otherwise, the previous bowl can carry a little sediment or aroma into the next one, which is especially distracting when samples are close in character.
For a formal reference point, the Specialty Coffee Association cupping protocol is the document to consult when you want to compare your home routine with a more standardised evaluation format. At home, consistency is the main goal: identical dose, water, grind, timing, and tasting order.
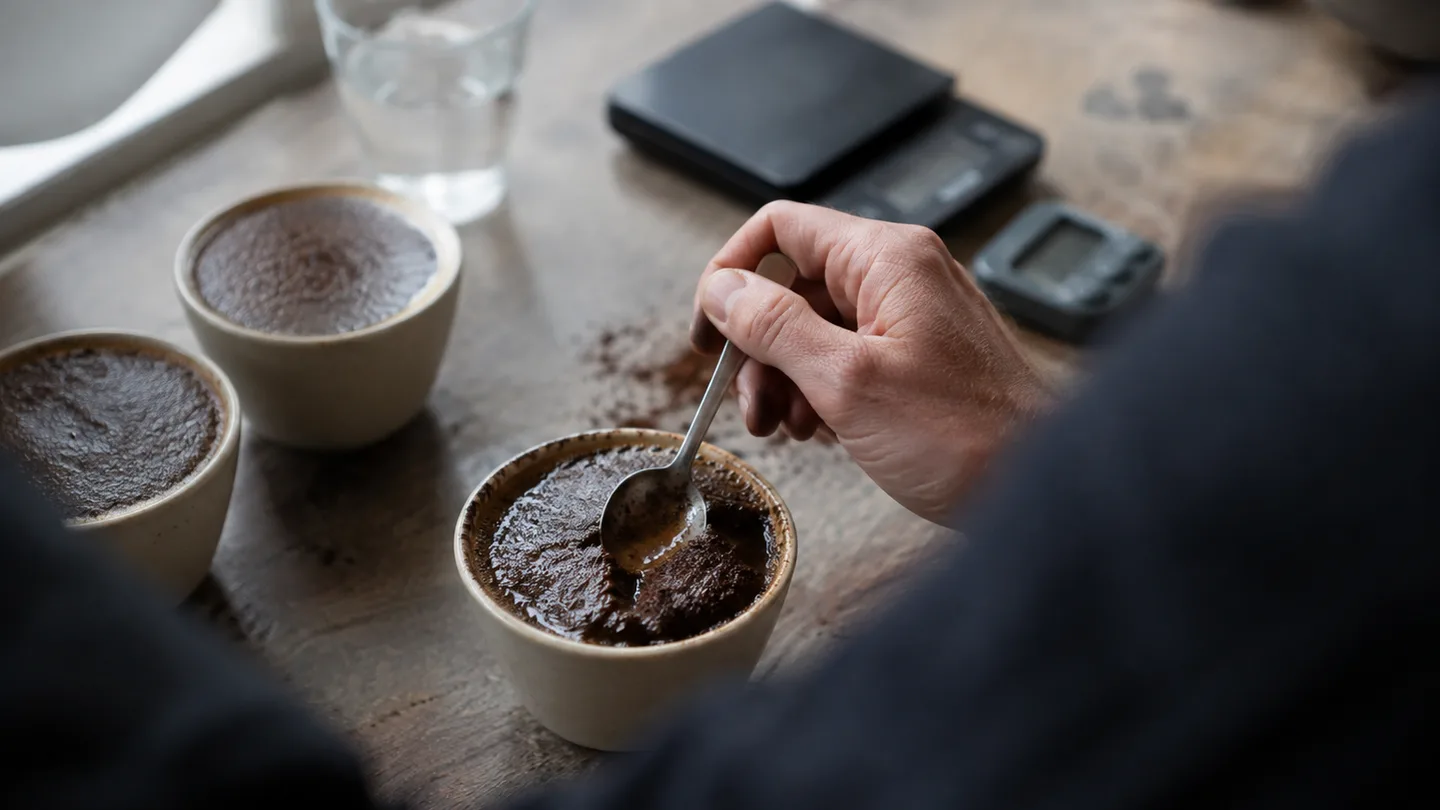
Thin, bitter, or muddy? Keep 8.25 g fixed while you diagnose extraction
Do not change the ratio, grind, and water temperature at the same time. That gives you a different drink but no useful explanation. Keep 8.25 g and 150 g fixed first, then make one small adjustment based on the symptom.
| What you taste | Mechanism to check first | One controlled change |
|---|---|---|
| Thin, sharp, hollow, or sour alongside weak sweetness | Possible under-extraction from a coarse grind, low heat, or short contact | Grind one small step finer and repeat |
| Bitter, harsh, or drying on the finish | Possible excessive extraction from a fine grind, high heat, or forceful agitation | Grind one small step coarser and repeat |
| Muddy, gritty, or heavy with sediment | Fines migration and suspended particles, not automatically over-extraction | Break the crust more gently and skim without stirring again |
| Two bowls taste strangely different despite the same recipe | Dose, water mass, grind distribution, or pour timing may not match | Weigh each bowl and pour each one on the same schedule |
“Sour” is a clue, not a complete diagnosis. A sharp cup with a thin body and little sweetness points toward insufficient extraction more clearly than a bright, juicy cup with a long finish. Roast character and bean structure can also make acidity prominent, so taste the cup at more than one temperature before moving the grinder.
Muddy coffee deserves separate treatment. In a cupping bowl, some sediment is expected because there is no paper filter. The problem is a loss of clarity that prevents you from separating aroma, acidity, and finish. Fines migration, vigorous stirring, and repeatedly scooping from the bottom can all increase the amount of solid material in the spoon.
Once the grind is behaving, run a ratio check if the coffee still feels too light or too dense. Use three identical bowls with 150 g of water each. Put 7.5 g in one, 8.25 g in the second, and 9 g in the third. Those doses are approximately 1:20, 1:18.2, and 1:16.7.
With grind, temperature, and timing held constant, the 7.5 g bowl has a lower coffee concentration and the 9 g bowl has a higher one. The lower dose may make delicate acidity easier to notice but can feel empty. The higher dose may add weight and mute some high notes, but it does not automatically mean that the grounds were extracted more completely.
That distinction is the useful part of the test. If 7.5 g tastes clean but hollow, 9 g tastes heavy, and 8.25 g sits between them, keep the middle ratio and adjust grind only if the cup still lacks sweetness or finishes harshly. If all three bowls are equally sharp and thin, the ratio is probably not the first dial to touch; test grind or temperature instead.
A good cupping ratio can make a bad extraction easier to compare, but it cannot rescue it. The number controls the starting concentration. Your grinder and brew procedure decide whether the cup gives you sweetness and structure or just a stronger version of the same flaw.
Tonight’s repeatable test: weigh 8.25 g of coffee, add 150 g of roughly 93°C water, break the crust at 3–5 minutes, skim gently, and taste from 8–12 minutes. If the cup is thin and sharp, change grind finer once. If it is bitter and drying, change coarser once. Leave the ratio alone until you know what that single adjustment did.