How to Store Coffee Beans Without Stale, Flat Flavour
Open a 250 g bag on Monday, scoop from it twice a day, and by the second week the aroma can seem quieter even though the beans still look unchanged. Put that same bag beside a warm espresso machine, fold the top loosely, and you have created a faster route to flat coffee than the calendar alone.
How to store coffee beans comes down to controlling exposure: keep whole beans cool, dark, dry, and sealed; use a small working portion; and freeze surplus only when it will sit beyond your normal brewing window. A clever valve or vacuum label cannot compensate for heat, headspace, and a bag opened twenty times.
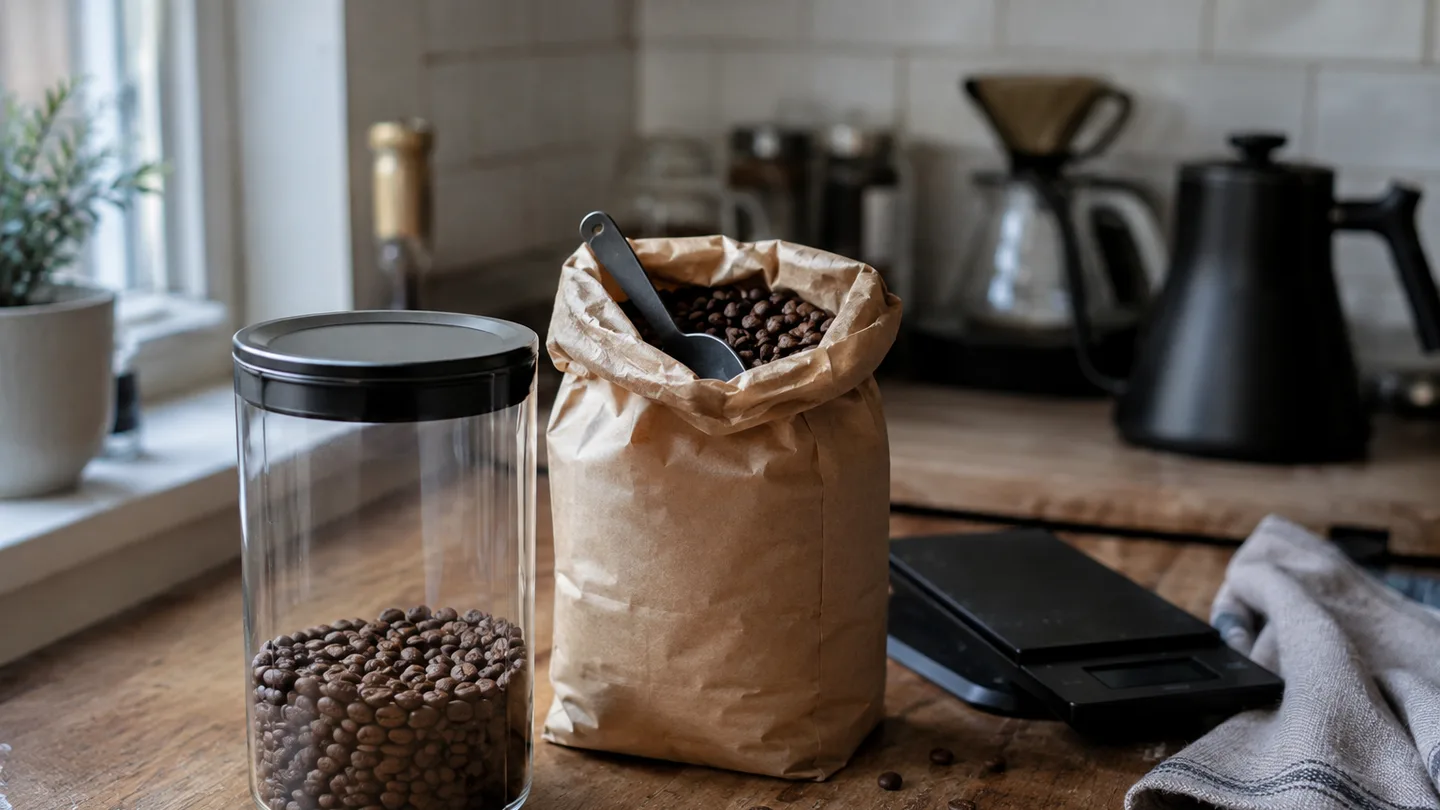
Staling is oxidation plus moisture movement—not simply “old beans”
Stale is not a single event. It is the cup-level result of several exposures stacking up: oxygen, heat, light, moisture movement, and time.
Oxidation is the slow reaction that changes aroma. Oxygen reaches the exposed surfaces of the roasted bean, and some of the compounds that make coffee smell vivid become less available or less stable. The result is usually not a dramatic visual change; it is a quieter nose, less sweetness, and a finish that feels hollow.
Heat speeds the reactions and light adds another avoidable source of exposure. Moisture matters for two reasons in a coffee container: beans exchange moisture with humid air, and a damp or strongly scented storage area can change what reaches the cup. A bag beside a kettle, stovetop, dishwasher, or warm machine is not living in the same environment as a sealed bag in a dark cupboard.
Grinding creates the biggest jump in exposure because it turns a few hundred intact beans into a large mass of freshly exposed surfaces. That is why whole beans can remain aromatic after pre-ground coffee from the same bag has gone flat.
Degassing is a different clock from staling. Freshly roasted beans release carbon dioxide, and that gas can make a brew foam, run unevenly, or taste sharp in the early period. Staling is the later loss of aroma and sweetness as oxygen, heat, moisture, and time do their work.
That distinction gives you a practical target: a stable indoor environment around 18–24°C, kept dark and dry, is a useful baseline for everyday storage. The exact room temperature matters less than avoiding repeated warming, cooling, steaming, and opening. A sealed bag kept at stable room temperature will generally face less heat stress than an opened bag parked against a warm espresso machine.
The container test: airtight, opaque, dry, and sized for a 7–14-day supply
A good container passes four practical tests: it limits air exchange, blocks light, stays dry, and holds an amount you will use within a reasonable working window.
- Airtight enough: the lid or seal should close fully without a loose fold or leaking gasket.
- Opaque or kept dark: direct light should not reach the beans during normal storage.
- Dry: the container must be completely free of rinse water, steam, and old coffee oils before refilling.
- Right-sized: it should contain the portion you expect to use over roughly 7–14 days, not an oversized reserve opened at every brew.
An intact original valve bag is often perfectly serviceable for a normal home supply. Its one-way valve gives carbon dioxide somewhere to go after roasting without leaving the bag permanently open to room air. Once the bag is opened, roll or press the top closed firmly; the valve cannot compensate for a wide opening left exposed on the counter.
An opaque canister is useful when its gasket is clean and its lid closes fully. A clear jar is not automatically useless, but it should live in a dark cupboard; leaving it in sunlight turns transparency into an avoidable exposure. The material matters less than the seal, the light level, and how often the lid is removed.
The real question is headspace and opening frequency. Keeping about 7–14 days of beans in the daily container limits how much of the batch meets room air each time you dose. A half-empty large canister is not automatically bad, but it gives each opening more air volume to exchange with the beans.
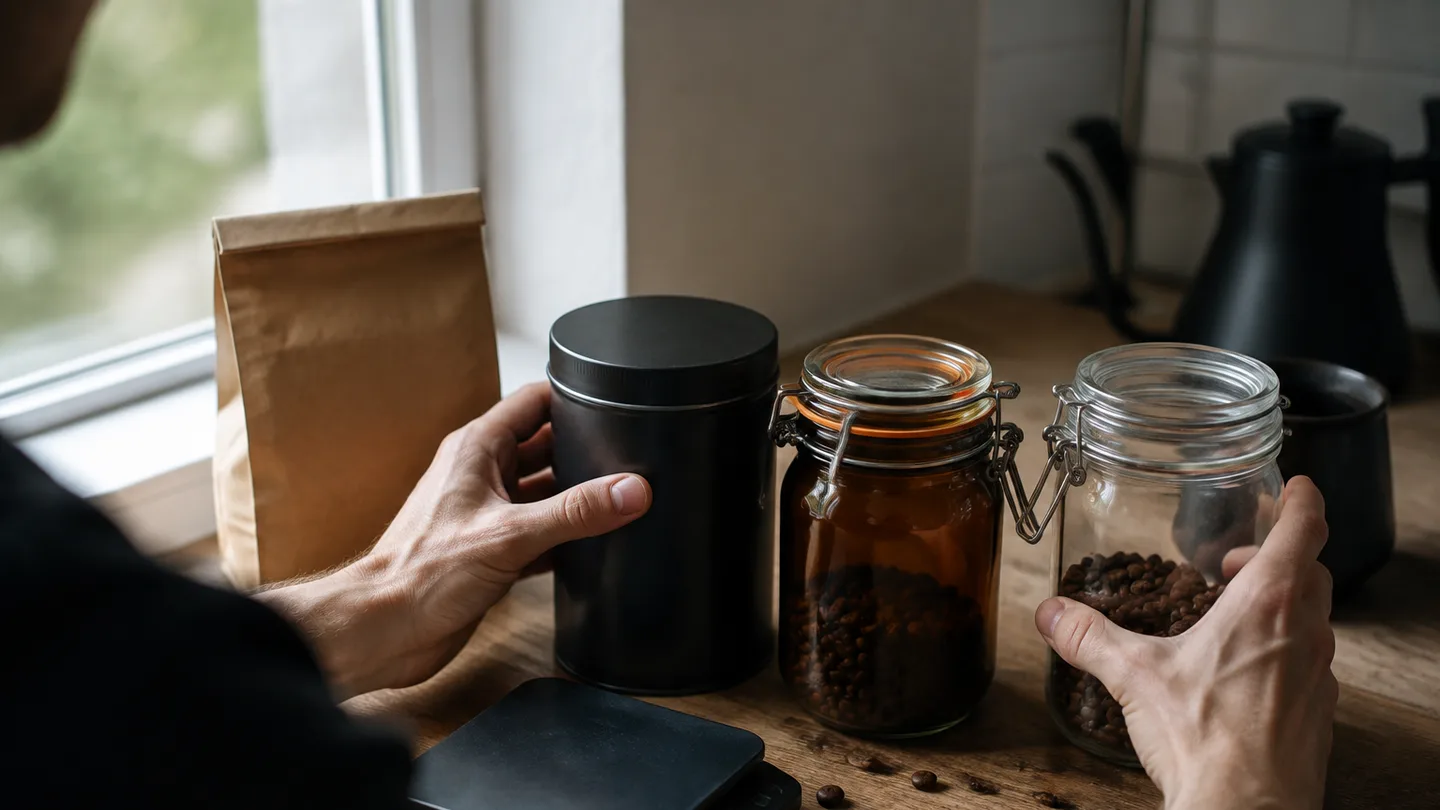
If you want the packaging vocabulary, search for Specialty Coffee Association freshness guidance and coffee packaging guidance on one-way valves. The useful questions are whether the seal holds, whether the material blocks light, and whether the valve is doing a real job.
The best storage container is the one you open less. That is the useful test behind the marketing labels. A modest opaque container used carefully can outperform an expensive vacuum canister that is opened and resealed after every dose.
Cupboard, counter, or refrigerator? Match the location to the real risks
For everyday opened coffee, a stable dark cupboard is the strongest default. It gives you a predictable room-temperature environment without the light, steam, and heat that gather around busy kitchen appliances.
The counter becomes risky when it is close to a kettle, stovetop, dishwasher, sunny window, or machine that radiates heat after brewing. Coffee does not need to feel hot in your hand for the storage area to be warmer and more variable than the rest of the room.
The refrigerator is a poor default for opened beans. The problem is not that cold is inherently harmful; it is the repeated movement between a cold package and humid room air, plus the chance of absorbing food odors when the seal is imperfect. Condensation can form when chilled beans are exposed after removal, and the package may be opened several times before the beans have returned to a stable temperature.
Freezing is different because it is a controlled, sealed process: you portion the beans first, keep the portion closed while it freezes and thaws, and open it only when it is ready to brew.
Use a simple placement rule: keep beans away from steam, direct sun, appliance vents, and the warm side of an espresso machine. If the cupboard beside the machine is noticeably warmer than another cupboard, choose the cooler one even if both are technically indoors.
The five-minute storage routine after opening a new bag
Storage improves when it becomes a small routine rather than a decision you make at every brew. The following process works for a bag used once or twice a day.
- Record the roast date and opening date. This gives you context when the cup changes, without treating the calendar as a freshness verdict.
- Estimate how long the bag will last. At 18 g per brew, a 250 g bag provides about 14 brews and a 340 g bag about 19. If your recipe is not fixed, use a coffee to water ratio calculator to turn the bag into a realistic number of brews before deciding whether to divide it.
- Choose the working portion. If the bag will last beyond your 7–14-day working window, transfer only the amount you expect to use soon into the daily container. Keep the unused portion sealed separately rather than treating the whole bag as a daily hopper.
- Press out excess air without crushing the beans. With a flexible valve bag, gently flatten the empty space above the beans, fold the top several times, and close it firmly. With a canister, fill it only with dry beans and close the lid before moving on to another task.
- Return the container to the same location. A stable cupboard is easier to manage than a series of temporary spots around the kitchen.
Do this tonight:
- Write the roast date on the bag or container.
- Measure the amount you expect to brew over the next week or two.
- Seal the container before putting it down.
- Move it away from steam, sunlight, and warm appliances.
Dividing a large bag adds one transfer, so it is not automatically worth doing for coffee you will finish quickly. It becomes useful when the whole bag would otherwise sit open for much longer than the working window.
The roast-date clock: degassing, peak flavour, and the 2–4-week decision
The roast date is a starting point, not an expiration line. It tells you where the coffee is on its gas-release timeline, but the cup tells you whether the beans are ready for your recipe and palate.
In the early period, carbon dioxide can still be leaving the bean quickly. A brew may foam heavily, taste sharp, or behave inconsistently even when the storage has been excellent. That is a reason to give the coffee more rest before changing five brewing variables at once.
Use 7–30 days as a working starting window for many roasted coffees, not as a universal peak. A dense light roast may need more rest before it extracts evenly, while a darker roast may become expressive sooner because roast structure changes how gas leaves the bean and how readily compounds dissolve.
A dense light roast can still taste lively after the first week, while an exposed bag of darker beans can taste tired much earlier than its roast date suggests. The roast date helps you form a hypothesis; it does not overrule a muted aroma or a papery finish.
The decision rule is simple: let the cup decide whether to rest, continue brewing, or move to a fresher portion.
- If the dry beans smell vivid but the brew is sharp and foamy, give them more rest before blaming storage.
- If aroma is still clear and sweetness is present, keep brewing and change only the recipe variable that needs attention.
- If aroma has faded and the cup tastes hollow or papery, storage exposure has become the more useful suspect.
Freezing beans at −18°C: portion once, thaw once
Freezing is useful when the coffee will sit beyond your normal home-use window. It is not a replacement for a good daily container, and it does not reverse aroma that has already disappeared.
Cold slows the reactions behind flavour loss, but frozen storage only works well when moisture and odors are kept out. The method is controlled portioning, not putting an opened bag in a freezer and hoping for the best.
- Portion the beans before freezing. Use brew-sized amounts or portions that cover several days. The goal is to avoid opening the entire reserve every time you need coffee.
- Use genuinely airtight packaging. A heat-sealed pouch, tightly closed freezer-safe container, or two-layer package gives better protection than a loose fold. Leave as little unnecessary headspace as practical.
- Verify the freezer temperature. The −18°C figure is a target to verify, not an assumption about every home freezer. Check the appliance dial or use a thermometer; if you cannot confirm the temperature, use the coldest stable setting and keep your expectations modest.
- Freeze the portions once. Label each package so you know what it contains and when it went in.
- Thaw while sealed. Bring one portion fully back to room temperature before opening it. Opening a cold package early lets humid air meet the beans and creates the condensation problem you were trying to avoid.
Portion once and thaw once: that is the rule worth remembering. Repeated thawing, loose packaging, freezer odors, and condensation are the failure points. They can leave the beans damp on the surface or make the coffee smell more like the freezer than the roast.
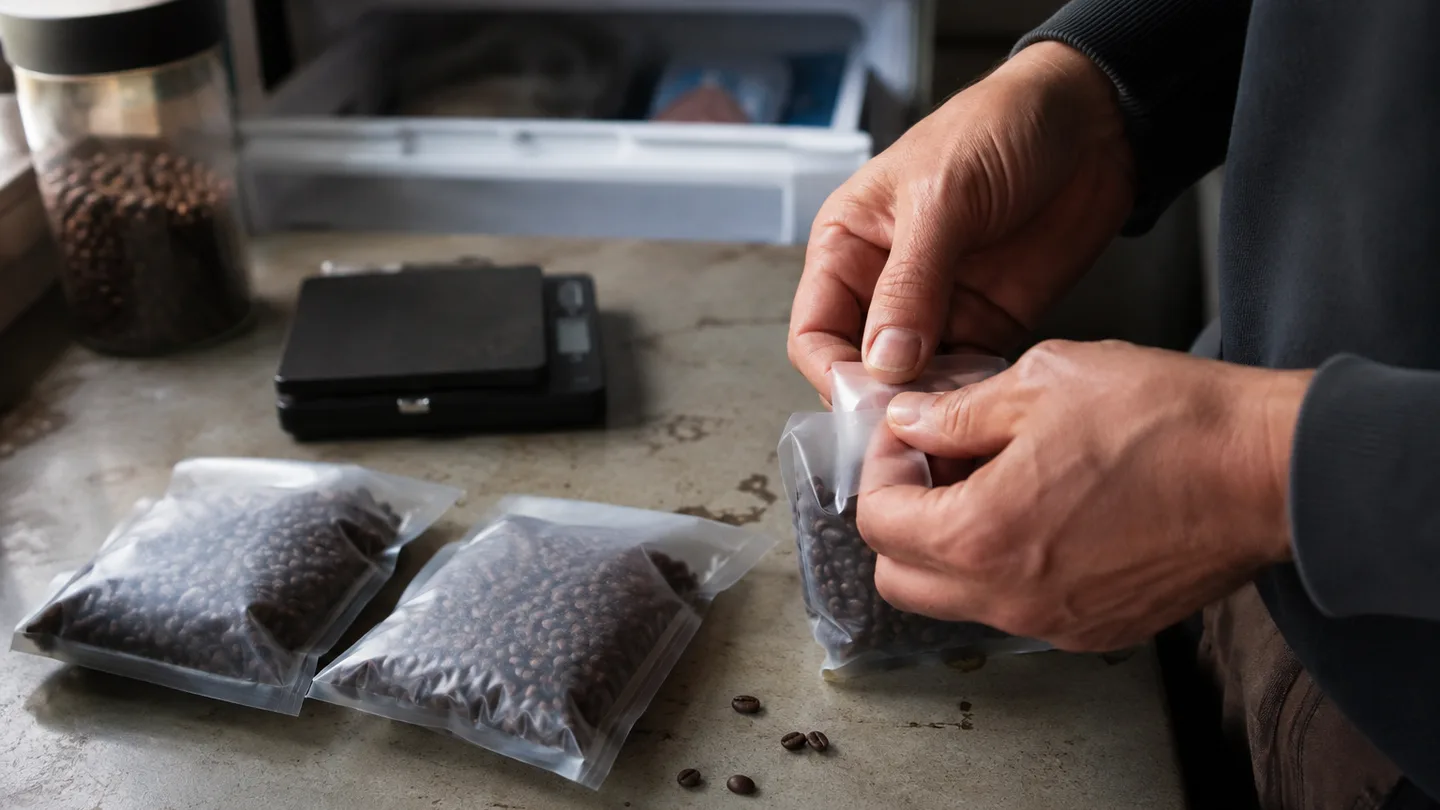
For a batch that will sit beyond the normal home-use window, controlled freezing is the stronger preservation choice than leaving the same reserve in a repeatedly opened cupboard container. The prediction is straightforward: if the frozen portions remain sealed and the room-temperature portion is opened daily, the frozen coffee should retain more aroma after the same storage period.
The winner depends on how quickly you brew. For beans likely to be finished within roughly two weeks, stable cupboard storage is simpler and usually the better workflow. For surplus that would otherwise sit open for a month or more, freezing earns its extra preparation.
Ground coffee changes the rules: use it the same day when possible
Grinding changes the rules because it multiplies the surface available to air. The protective structure of the whole bean has been broken into particles, and oxygen can reach far more of the coffee at once.
Treat same-day use as the quality benchmark for ground coffee. If pre-grinding is unavoidable for travel, batch brewing, or a timed morning routine, 1–3 days is a realistic fallback when the grounds are divided into small airtight portions with little headspace.
Keep each portion dark, dry, and closed until you need it. Do not open one large container several times a day if you can make separate doses instead. A better container can slow decline, but it cannot rebuild the volatile aroma lost when the coffee was ground.
If a new portion brews differently, rule out freshness before chasing tiny grind changes. A coffee grind size chart can help you describe the adjustment, but grind size changes extraction; it does not restore aroma removed by oxygen exposure.
Diagnose the cup: cardboard, muted aroma, and rancid notes point to different failures
Muted aroma with hollow sweetness points first toward oxidation or excessive exposure. The beans may still look normal, so smell them before brewing and compare them with a sealed portion if one is available.
Papery or cardboard notes are a strong stale-coffee clue. They usually mean the coffee has lost enough aromatic lift that the cup is being carried by roast bitterness and texture instead of fragrance.
Damp or musty flavor points toward moisture or odor exposure. Look at the storage location before changing the recipe: a refrigerator, steamy shelf, wet container, or loose package is more useful evidence than the grind setting.
Rancid or paint-like notes suggest advanced oxidation, especially when beans have spent a long time warm and exposed. Freezing cannot repair that portion; the useful move is to stop extending its storage and compare a fresher sealed portion.
Harsh bitterness is the misleading symptom in this diagnosis. Fresh beans can taste bitter from over-extraction, excessive contact time, water temperature, or channeling, so bitterness alone does not prove stale storage.
Sharp, foamy coffee from very fresh beans can indicate incomplete degassing rather than storage failure. If the dry aroma is strong and the cup improves after a little more rest, do not discard the storage method prematurely.
| What you notice | Likely mechanism | Storage clue | Single change to make next |
|---|---|---|---|
| Muted aroma and hollow sweetness | Oxidation | Bag opened often or stored warm | Move the beans to a dark cupboard and reduce the working portion |
| Papery or cardboard finish | Stale aromatic compounds | Loose fold, large headspace, or long-open bag | Seal immediately and compare with a fresher portion |
| Damp, musty, or food-like flavor | Moisture or odor transfer | Fridge, steam, wet container, or loose packaging | Replace the storage setup with a completely dry sealed container |
| Rancid or paint-like note | Advanced oxidation | Warm storage over an extended period | Use a fresher portion rather than trying to hide the flavor with a finer grind |
| Harsh bitterness with lively aroma | Over-extraction or channeling | Beans still smell fresh | Adjust the brew before changing storage |
| Sharp, foamy, gassy cup | Ongoing degassing | Very recent roast | Rest the beans longer before changing the recipe |
Use the smell test before changing your recipe. Smell the dry beans, brew the same dose and ratio, then make one storage change before touching grind size or temperature. A simple coffee cupping comparison can separate a storage problem from an extraction problem: brew an older portion and a sealed fresher portion with the same recipe, then compare aroma first and bitterness second.
FAQ: three edge cases
Can I store coffee beans in a vacuum canister?
A vacuum canister can reduce air exchange while its seal holds, but it is not a substitute for darkness, dryness, and a sensible working supply. Its benefit is limited if you open it repeatedly or the gasket leaks. Treat the vacuum function as one part of the container test, not as a freshness guarantee.
Can I leave coffee beans in the grinder hopper?
The hopper is a poor long-term storage location because beans may see more light, air, warmth, and retained grounds than they would in a sealed container. Use it for the amount you expect to brew within about a day, then return the rest to sealed storage.
How should I store coffee beans while travelling?
For travel, carry only the amount you need in the original valve bag or a small airtight opaque container. Keep it away from heat and steam, and avoid opening the package until you are ready to brew. Separate doses are useful if the trip lasts long enough that one large bag would be opened repeatedly.
The storage decision is really an exposure budget. Spend that budget slowly with a dark, dry, tightly sealed working portion; reserve freezing for coffee that would otherwise sit past its useful window; and grind only what you are ready to brew.
Frequently Asked Questions
Can I store coffee beans in a vacuum canister?
A vacuum canister can reduce air exchange, but it is not a substitute for an opaque, dry container and a small working supply; the benefit is limited if the canister is opened repeatedly or the seal leaks.
Can I leave coffee beans in the grinder hopper?
Use the hopper only for the amount you expect to brew within about a day, because light, warm grinder parts, oxygen exposure, and retained grounds make it poorer long-term storage than a sealed container.
How should I store coffee beans while travelling?
Carry only the amount needed in the original valve bag or a small airtight opaque container, keep it away from heat and steam, and avoid opening the package until you are ready to brew.