Cold Brew Coffee vs Iced Coffee: Which Should You Pick?
A 20 g dose can become an iced coffee in about five minutes, or spend 12 hours in a jar before it becomes cold brew. That clock difference points to the real distinction: one is hot extraction followed by rapid cooling, while the other is cool-water immersion.
On a kitchen scale, the choice is practical. Pick iced coffee when you want aroma and a clean black cup now; pick cold brew when you want an overnight batch with a rounder base for milk or sweetener.
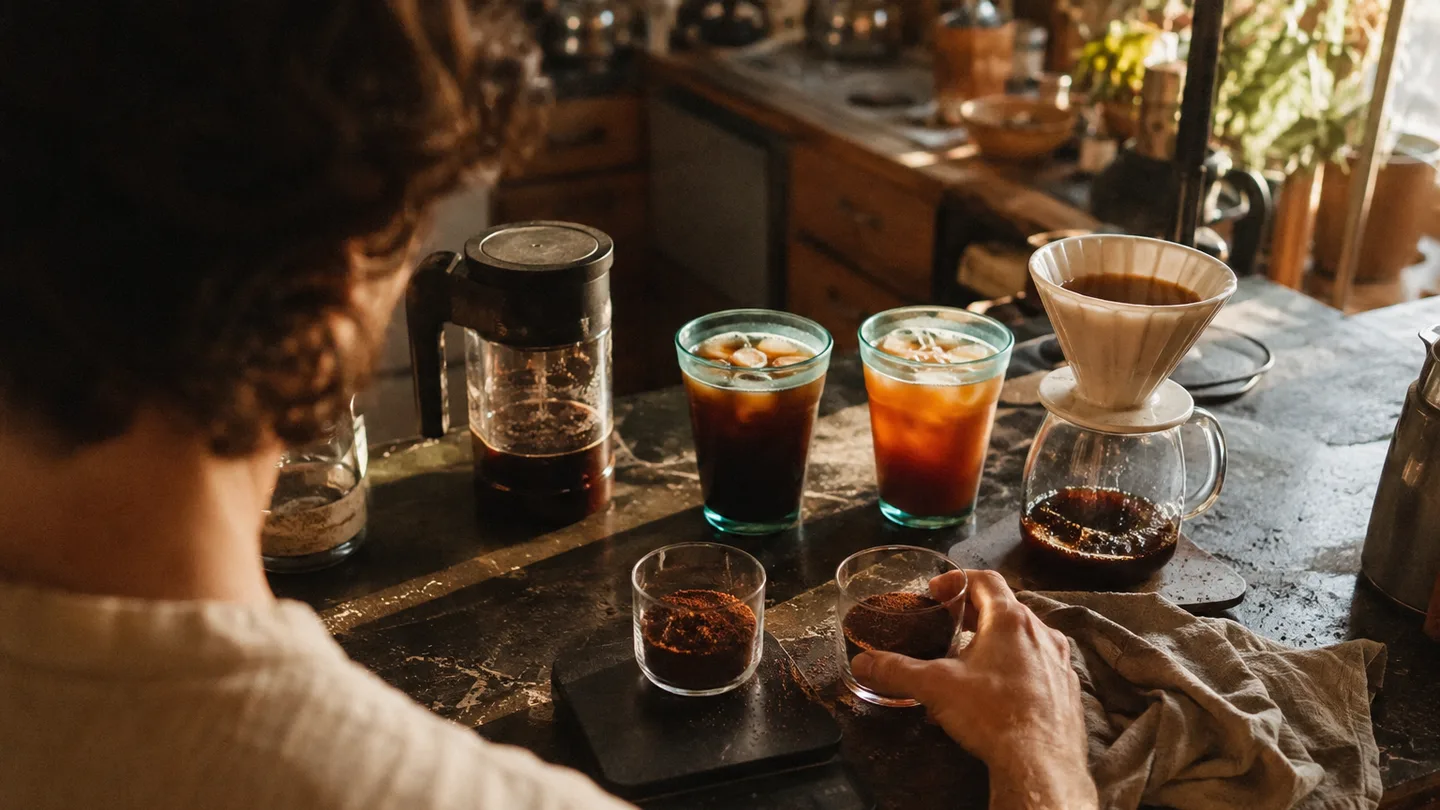
Cold brew coffee vs iced coffee: five minutes versus 12 hours
Cold brew is made by steeping ground coffee in cool or room-temperature water for hours. Iced coffee usually starts as hot-brewed coffee that is chilled, poured over ice, or brewed directly onto ice.
Immersion means the grounds sit surrounded by water for the whole extraction. Percolation means water passes through the grounds and exits the coffee bed, as it does in a pour-over brewer. Cold brew normally uses immersion; many iced-coffee recipes use percolation.
That makes iced coffee a serving format with several possible recipes. Flash-brewed Japanese iced coffee, yesterday’s chilled filter coffee, and espresso poured over ice all fit the broad description, but they do not extract the same way. Cold brew is more specific: a long, cool immersion followed by filtration.
If you want the formal vocabulary around immersion, percolation, brew strength, and extraction, a standard brewing terminology reference can help. For choosing a drink at home, though, the variables on your scale matter more than the label.
Make the comparison fair with one 20 g dose and a 1:15–1:17 final ratio
Use one dose and one final ratio before judging the methods. A brew ratio is the mass of coffee compared with the total water used; for flash brewing, count the ice as water because it melts into the drink.
For a 20 g dose, a useful iced-coffee baseline is 180–210 g of hot water at 90–96°C plus 90–120 g of ice. Pair the amounts so the total lands near 300 g. The cleanest starting recipe is 20 g coffee, 200 g hot water, and 100 g ice: a 1:15 ratio by total water mass.
- Flash-brewed iced coffee: use 20 g coffee and about 300–340 g total water and ice if you want a final ratio near 1:15–1:17. The actual drink will weigh slightly less after filtration because wet grounds retain some water.
- Ready-to-drink cold brew: start around 1:12–1:16, such as 20 g coffee to 240–320 g water. This is a starting range, not a fixed standard; roast level, grind, and steep temperature can move the result.
- Cold-brew concentrate: try 20 g coffee to 120 g water, which is 1:6, then dilute the filtered concentrate with roughly 180 g water or milk to reach a 300 g drink.
Concentrate ratios cannot be compared directly with final-serving ratios. A 1:6 concentrate is designed to be diluted, while a 1:15 ready-to-drink brew is intended to go straight into the glass. If you change the serving size, the coffee to water ratio calculator is useful for keeping the dose and final drink aligned.
Write down whether your ratio describes the steeping liquid, the final drink, or both. That small note prevents a common mistake: calling a cold brew weak because its concentrate number looks different from a flash-brew recipe.
Why iced coffee smells brighter while cold brew feels rounder
Hot water moves soluble coffee compounds into the brew quickly. It also releases more volatile aroma compounds during brewing, so a freshly brewed iced coffee can smell floral, citrusy, or roasted even after the liquid is chilled.
A cold immersion extracts more slowly and presents the finished drink at a low temperature. The result often feels softer and heavier because the cup has less immediate aromatic lift and may carry more dissolved body, especially when it is filtered through mesh rather than paper.
Filtration changes the texture. Paper catches more fine particles and some coffee oils, giving iced coffee or cold brew a cleaner finish. Mesh leaves more suspended material behind, which can add weight but can also create sediment or a muddy impression if the grind produces many fines.
The same coffee can therefore taste brighter when hot-brewed and rounder when cold-steeped. That is an extraction and serving-temperature effect, not proof that one method is universally smoother or more flavorful.
Keep acidity precise. Perceived acidity is the bright, tangy sensation you taste; pH is a measurement of the liquid’s chemical acidity. Cold brew may taste less sharp without being automatically low-acid in every recipe, so judge the cup by flavor and concentration rather than repeating a blanket claim.
The 12–18-hour cold-brew window: time, grind, and temperature
A useful cold-brew starting point is medium-coarse to coarse grounds, 12–18 hours at room temperature, and a ready-to-drink ratio near 1:15. Refrigerator brewing commonly needs a longer window, roughly 16–24 hours, because the colder water slows the movement of soluble compounds into the brew.
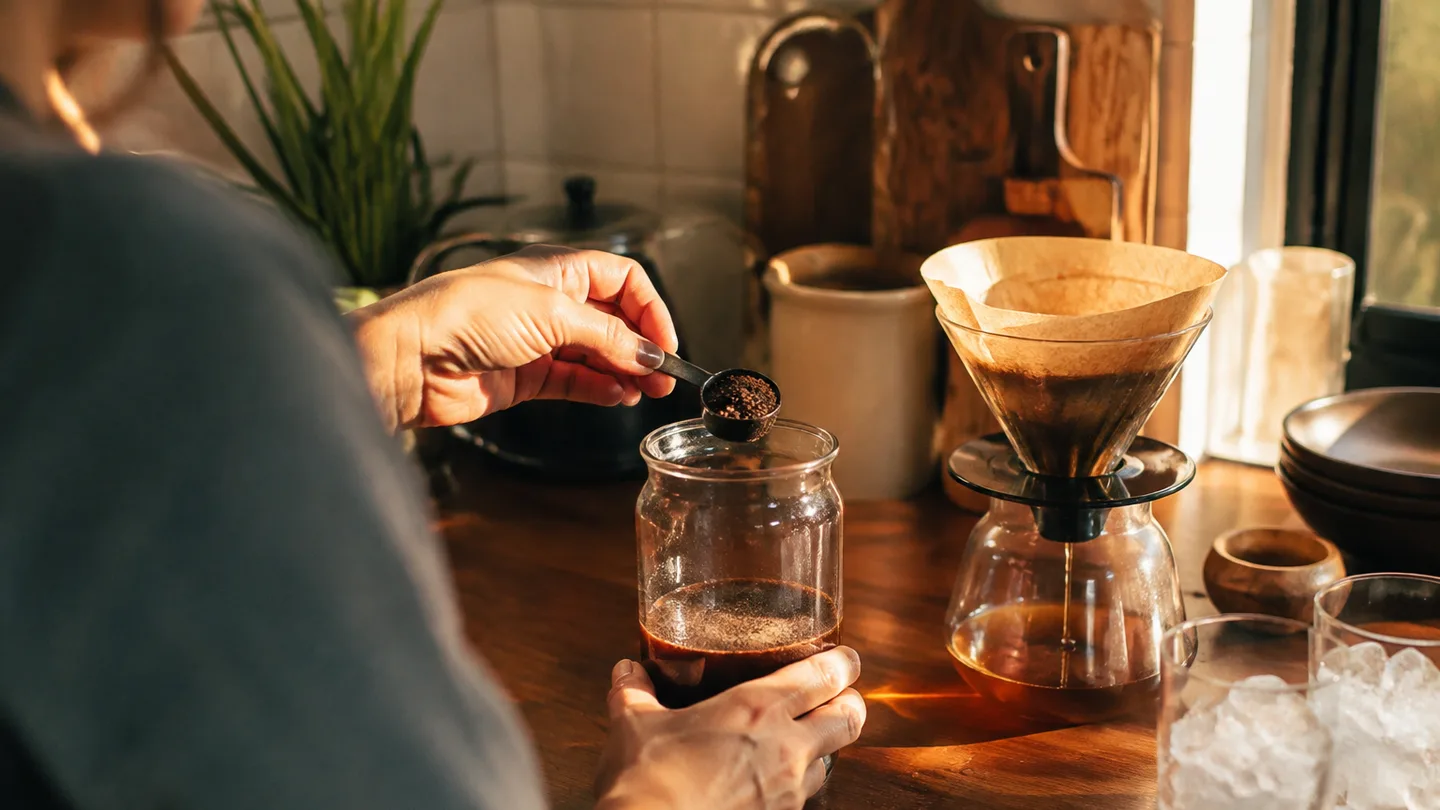
That range shifts with bean density, roast development, grind distribution, water temperature, and ratio. A dark roast with a fine, uneven grind can become harsh before a lighter roast at the same clock time tastes complete. The number on the timer gives you a starting point; the cup tells you which direction to move.
An eight-to-twelve-hour brew can taste thin, sharp, or hollow when the grounds have not released enough soluble material. Extending a 12-hour batch to 16 hours is a sensible first test. A brew that has reached 18 hours and tastes woody, bitter, or drying needs less contact time or a slightly coarser grind.
Finer grinding increases the surface area available to water, which can speed extraction. It also creates more small particles that pass through a mesh filter and continue extracting in the jar. That is why coarsening the grind can improve both flavor and clarity in a muddy cold brew.
For a full process, the cold brew coffee how to make guide is a useful companion, while a coffee grind size chart helps you translate “coarse” into a repeatable grinder setting. Change one variable first. Time is the easiest first adjustment because it leaves the dose and ratio intact.
Iced coffee’s dilution math: use 30–40% ice by final drink weight
Flash brewing works because the ice is part of the recipe from the start. It cools the coffee and supplies planned dilution, so the cup does not depend on melting a random pile of ice after brewing.
For a clean baseline, place 100 g of ice in the serving vessel or carafe. Brew 20 g of coffee with 200 g of hot water at 90–96°C, using a paper filter and a grind suited to your pour-over brewer. A four-to-six-minute brew gives you a practical same-day comparison with cold brew.
That recipe puts about one-third of the final liquid mass in ice. A 30–40% ice share works as a useful starting point for a 300 g drink, but the coffee dose must stay connected to the total. Using 20 g coffee with only 200 g total water creates a concentrated cup; using 20 g with 400 g total water produces a diluted one.
Too little ice leaves the coffee warm for longer, and the drink can taste flat as its aroma fades. Too much ice lowers concentration and makes the cup watery before the coffee has a chance to show its structure.
Flash brewing, sometimes called Japanese iced coffee, is one iced-coffee technique. It is not a synonym for every drink served over ice. Espresso over ice and chilled batch-brew coffee follow different extraction paths and should be diagnosed with their own ratios.
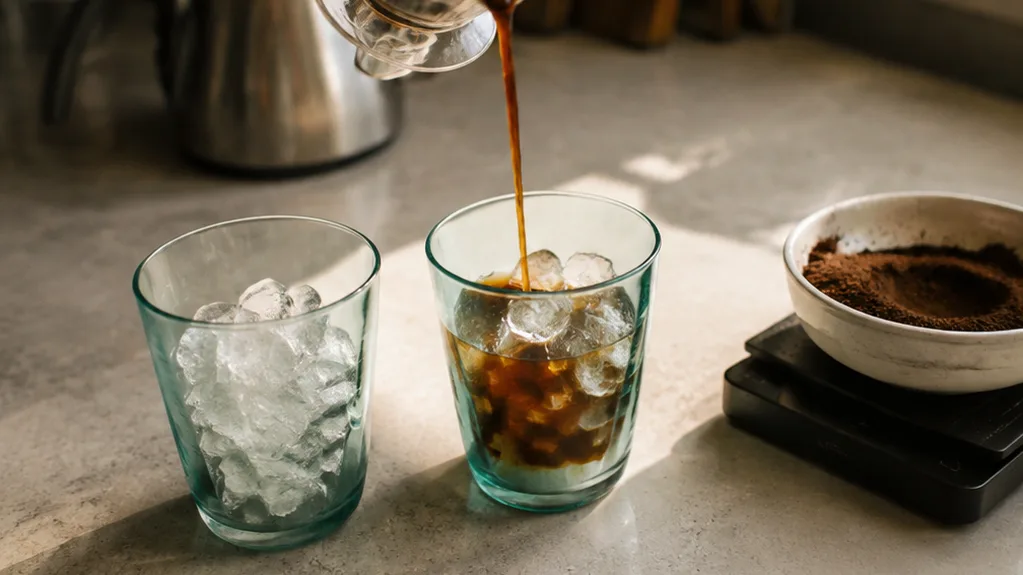
Pick by the drink you want: cold brew wins for make-ahead; iced coffee wins for aroma
Choose iced coffee when you want a drink in roughly 4–6 minutes, brighter fragrance, and more separation between flavor notes. A paper-filtered flash brew is especially useful when you drink the coffee black and want the bean’s acidity to remain visible after chilling.
Choose cold brew when you can plan 12–18 hours ahead and want a rounder, heavier base. The texture commonly works well with milk, syrup, or sweetener because the drink has enough body to remain present after dilution.
Bean choice can shift the balance. Delicate floral or fruit-driven coffees are a sensible starting match for hot-brewed iced coffee because the higher brewing temperature gives their aroma more lift. Chocolate- and caramel-forward coffees often make a forgiving cold-brew base, although grind and time can still push them into dryness.
The practical winner depends on the use case. For a clean black cup right now, iced coffee has the stronger case. For a batch waiting in the refrigerator and a drink built around milk, cold brew is the better tool.
Caffeine and acidity: the two claims the method cannot answer alone
Cold brew is not inherently higher in caffeine. The amount in the glass depends on the coffee dose, coffee-to-water ratio, grind, contact time, extraction temperature, final dilution, and serving size.
If both methods use 20 g of coffee and finish near 300 g of total water, there is no method-only reason to assume one must contain more caffeine. A large cold-brew concentrate diluted into a larger serving can deliver more simply because the recipe used more coffee. A small, strong iced coffee can do the same.
Temperature and time still matter because they change how quickly soluble material moves from the grounds into the water. The sensible comparison is the finished drink, not the word “cold” or “hot” on the menu.
Acidity needs the same care. pH describes the liquid, while sourness describes your sensory response to it. A hot-brewed cup may taste more vivid and tangy because aroma and acidity stand out more clearly; a cold brew may taste gentler because it is served cold and often has a different extraction balance. Neither observation settles every recipe.
If your question is about flavor, adjust the extraction or dilution. That will tell you more than assuming the method has a permanent caffeine or acidity profile.
Troubleshoot by symptom before changing the recipe
Use the first adjustment in the table as a controlled test. Do not change grind, time, ratio, and agitation together; if the next cup improves, you will not know which dial fixed it.
| What you taste | First adjustment | Likely mechanism |
|---|---|---|
| Cold brew is thin or sour at 12 hours | Extend the next batch to 16–18 hours | Under-extraction: the cool immersion has not dissolved enough of the coffee’s soluble material. |
| Cold brew is bitter, woody, or dry at 18 hours | Shorten the next batch to 12–14 hours | Over-extraction: prolonged contact has pulled more harsh and drying compounds into the drink. |
| Cold brew tastes muddy | Coarsen one step and add paper filtration | Fines migration: small particles pass through mesh and keep extracting in the finished brew. |
| Iced coffee tastes watery | Weigh the total water and ice; keep 20 g near 300–340 g rather than drifting toward 400 g | Dilution error: the final ratio has become weaker than intended. |
| Iced coffee tastes sour and hollow | Grind one step finer before changing the dose | Under-extraction: the hot water has moved through too quickly or contacted too little surface area. |
| Iced coffee tastes bitter or drying | Reduce agitation before changing temperature | Over-extraction or fines-driven local extraction: disturbed particles can release more harshness. |
Some coffees are naturally vivid and acidic, so use the combination of sourness with a hollow, underdeveloped finish as the signal to extend a recipe. A bright, aromatic cup with a clean finish may be doing exactly what the bean and roast are capable of doing; extending it blindly can erase the detail you wanted.
For a thin cold brew, extend time before grinding finer. For a bitter cold brew, shorten time before changing the ratio. For iced coffee, check the total water and ice first because an accidental extra glass of meltwater can overwhelm a sound extraction.
The practical verdict: order iced coffee today, batch cold brew for tomorrow
The practical verdict is simple. Pick iced coffee for speed, aroma, and a cleaner black cup. Pick cold brew for overnight preparation, a rounder texture, and a drink that will carry milk or sweetener.
Run this two-method test if the choice still feels abstract:
- Use the same beans and weigh 20 g for each brew.
- For iced coffee, brew 200 g of 90–96°C water through a paper filter onto 100 g of ice.
- For cold brew, steep 20 g of coffee with 300 g of water for 12–18 hours, then filter it well.
- Taste both unsweetened first. Add the same amount of milk or sweetener to a second small sample if that is how you normally drink them.
Keep the dose and final ratio near 1:15, but use a method-appropriate grind. That holds the recipe’s concentration steady without pretending a pour-over grind and a cold-immersion grind should be identical.
If the flash brew wins, your priority is probably aroma and clarity. If the cold brew wins, the longer contact pattern and heavier texture suit your routine. Choose the clock you want, then use grind, time, and dilution to make that method consistent.